Setup EZCA Agent
Prerequisites
Introduction
For EZCA to validate the local domain ownership, we have to install a local agent in your network. This web service will receive all ACME request and validate the domain ownership on behalf of EZCA. In this step we will set up the agent.
Creating and Installing ACME Certificate
The ACME Agent requires a certificate to authenticate to EZCA. This certificate will be automatically rotated by the health API, meaning once it is setup, you will not have to manually renew it.
The certificate must be issued by the CA that this ACME agent will be connected to.
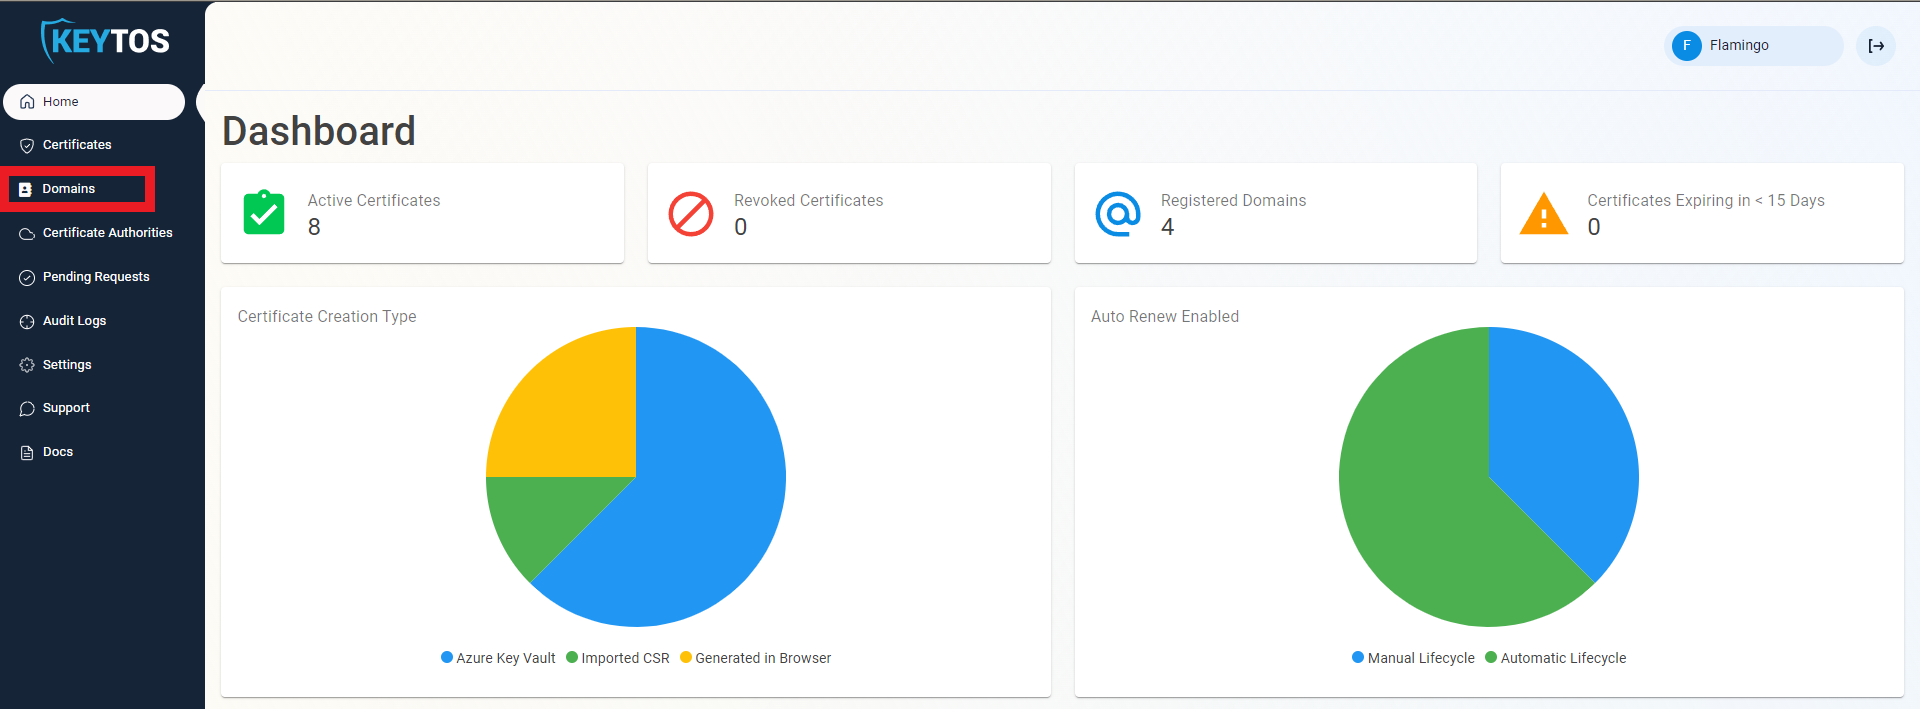
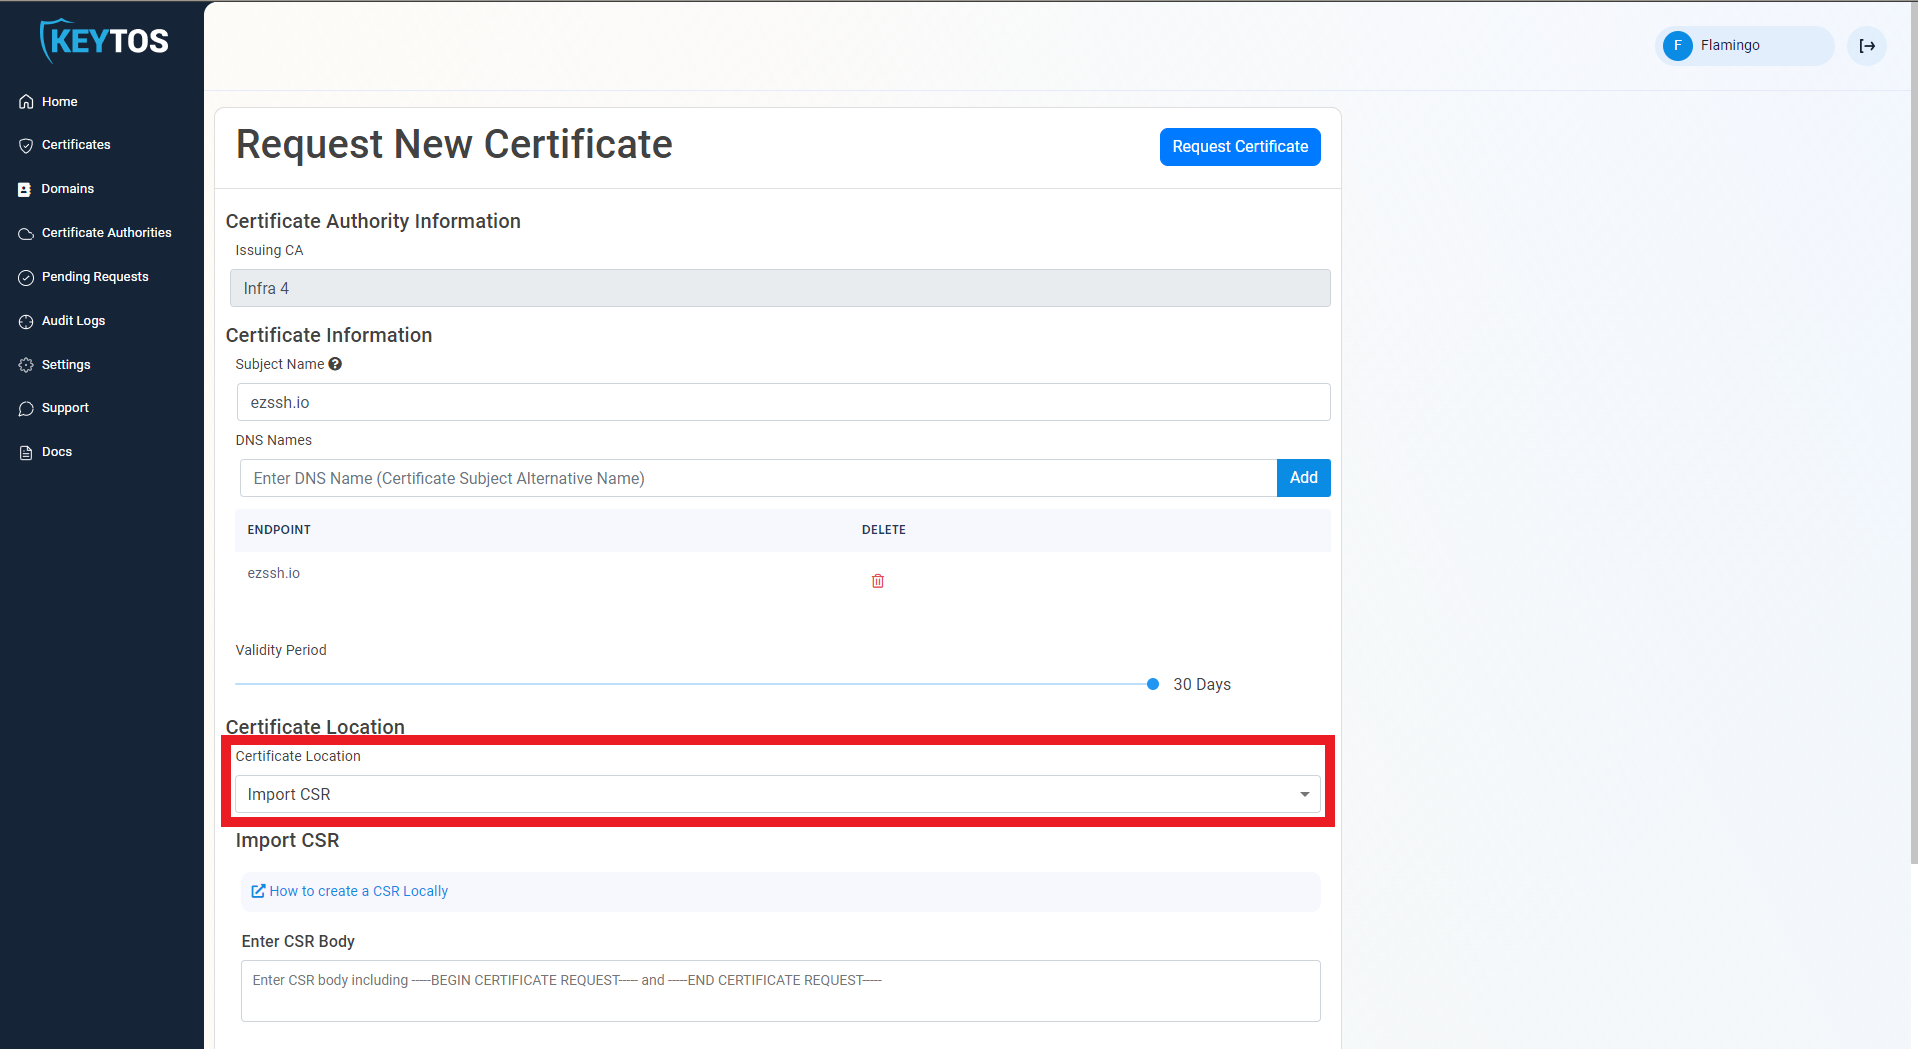
- Navigate to Domains.
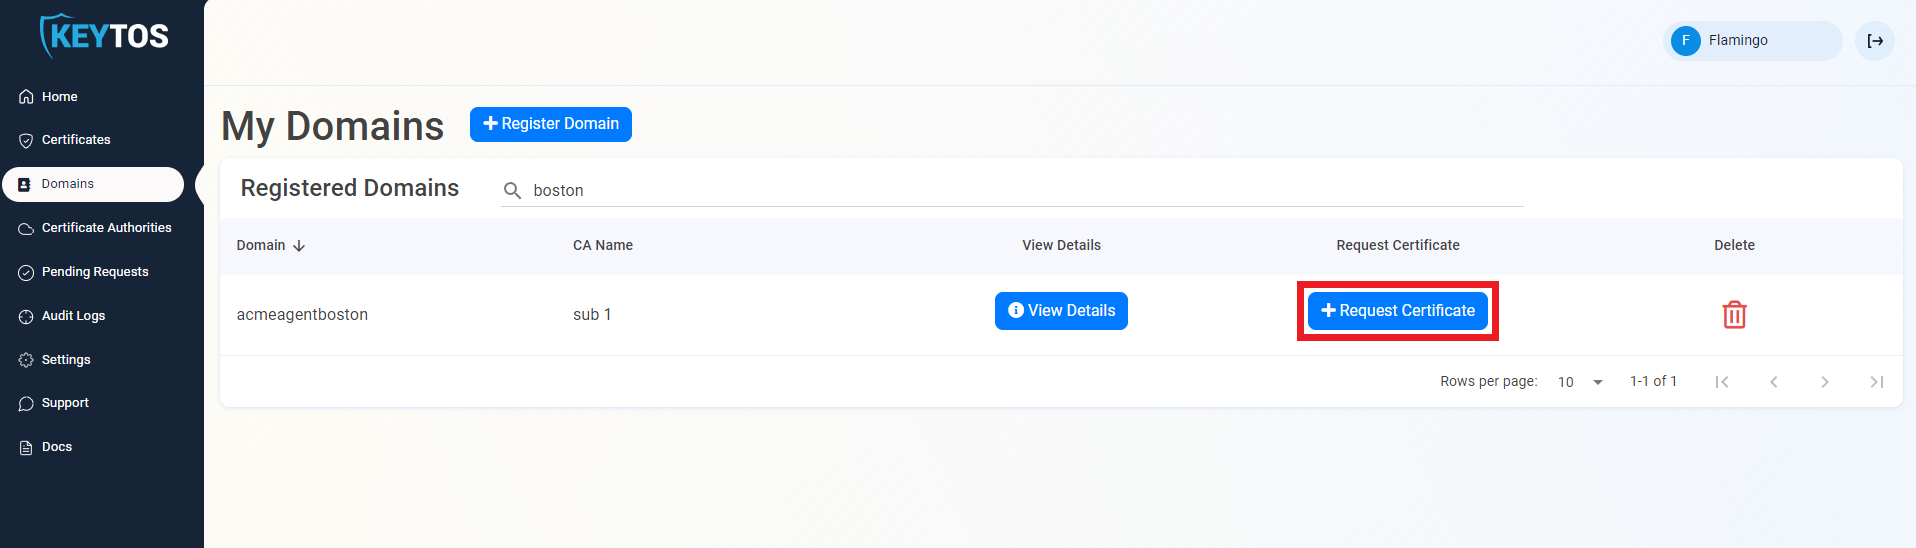
- Click the “Request Certificate” button on the domain you set in your agent registration.
- This will pre-populate the Subject Name and Subject Alternate Names with the selected domain.
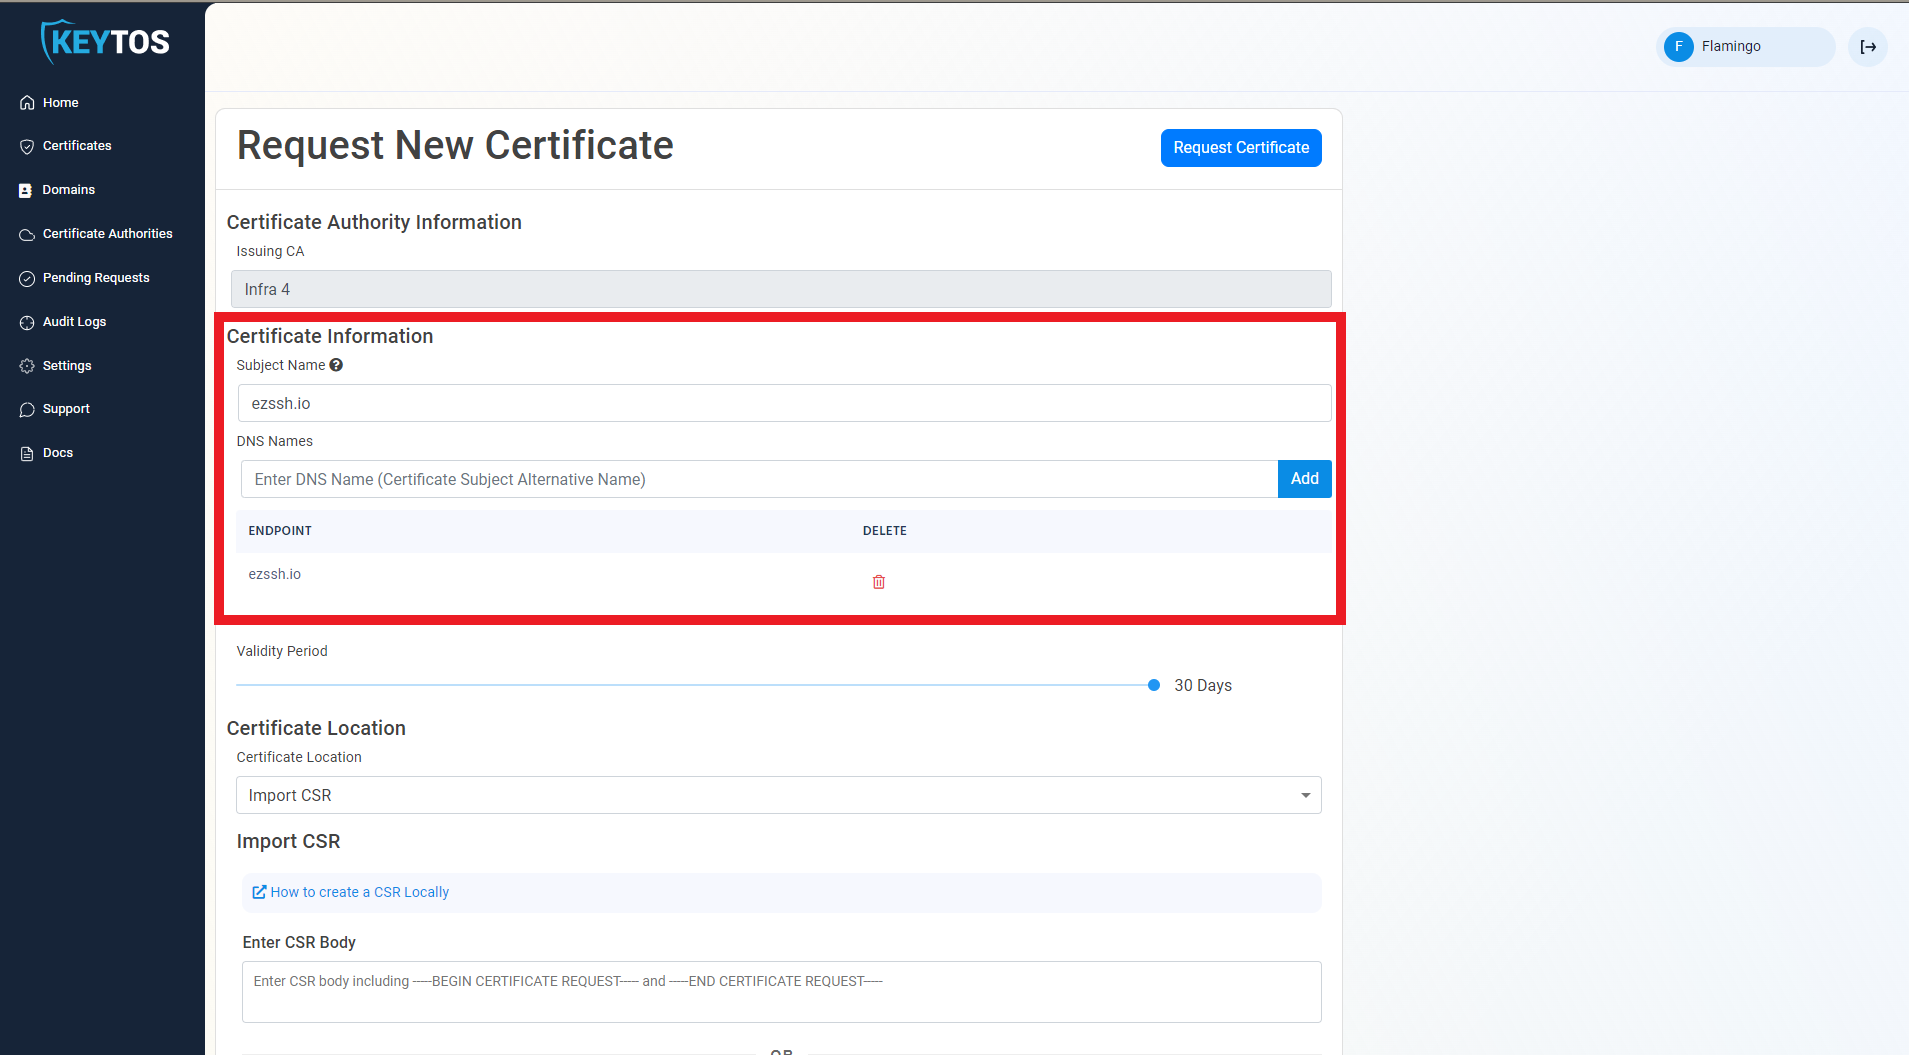
- If this certificate requires more subject alternate names (Usually for other domains that might use this certificate), add them in the DNS Names section.
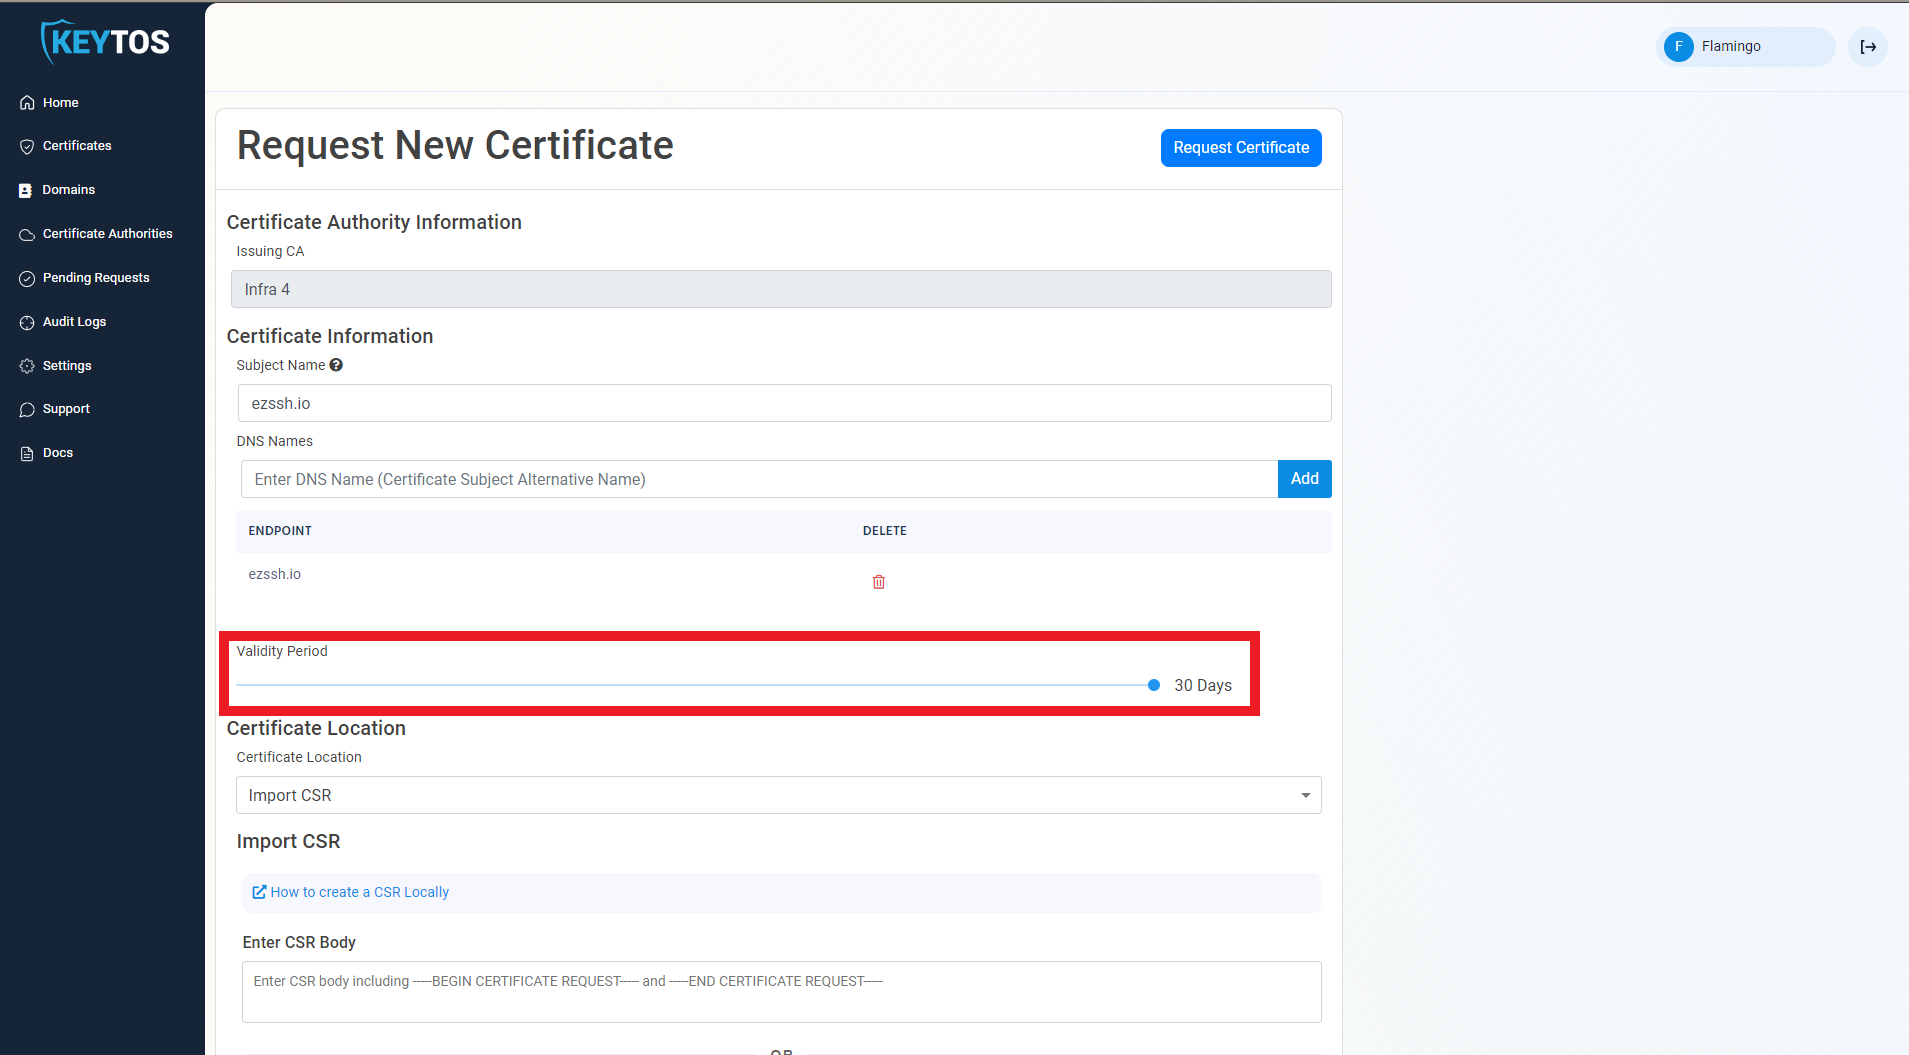
- By Default, EZCA will request the certificate to be the maximum validity allowed by your administrators. If you want to decrease the lifetime of the certificate, adjust the validity slider.
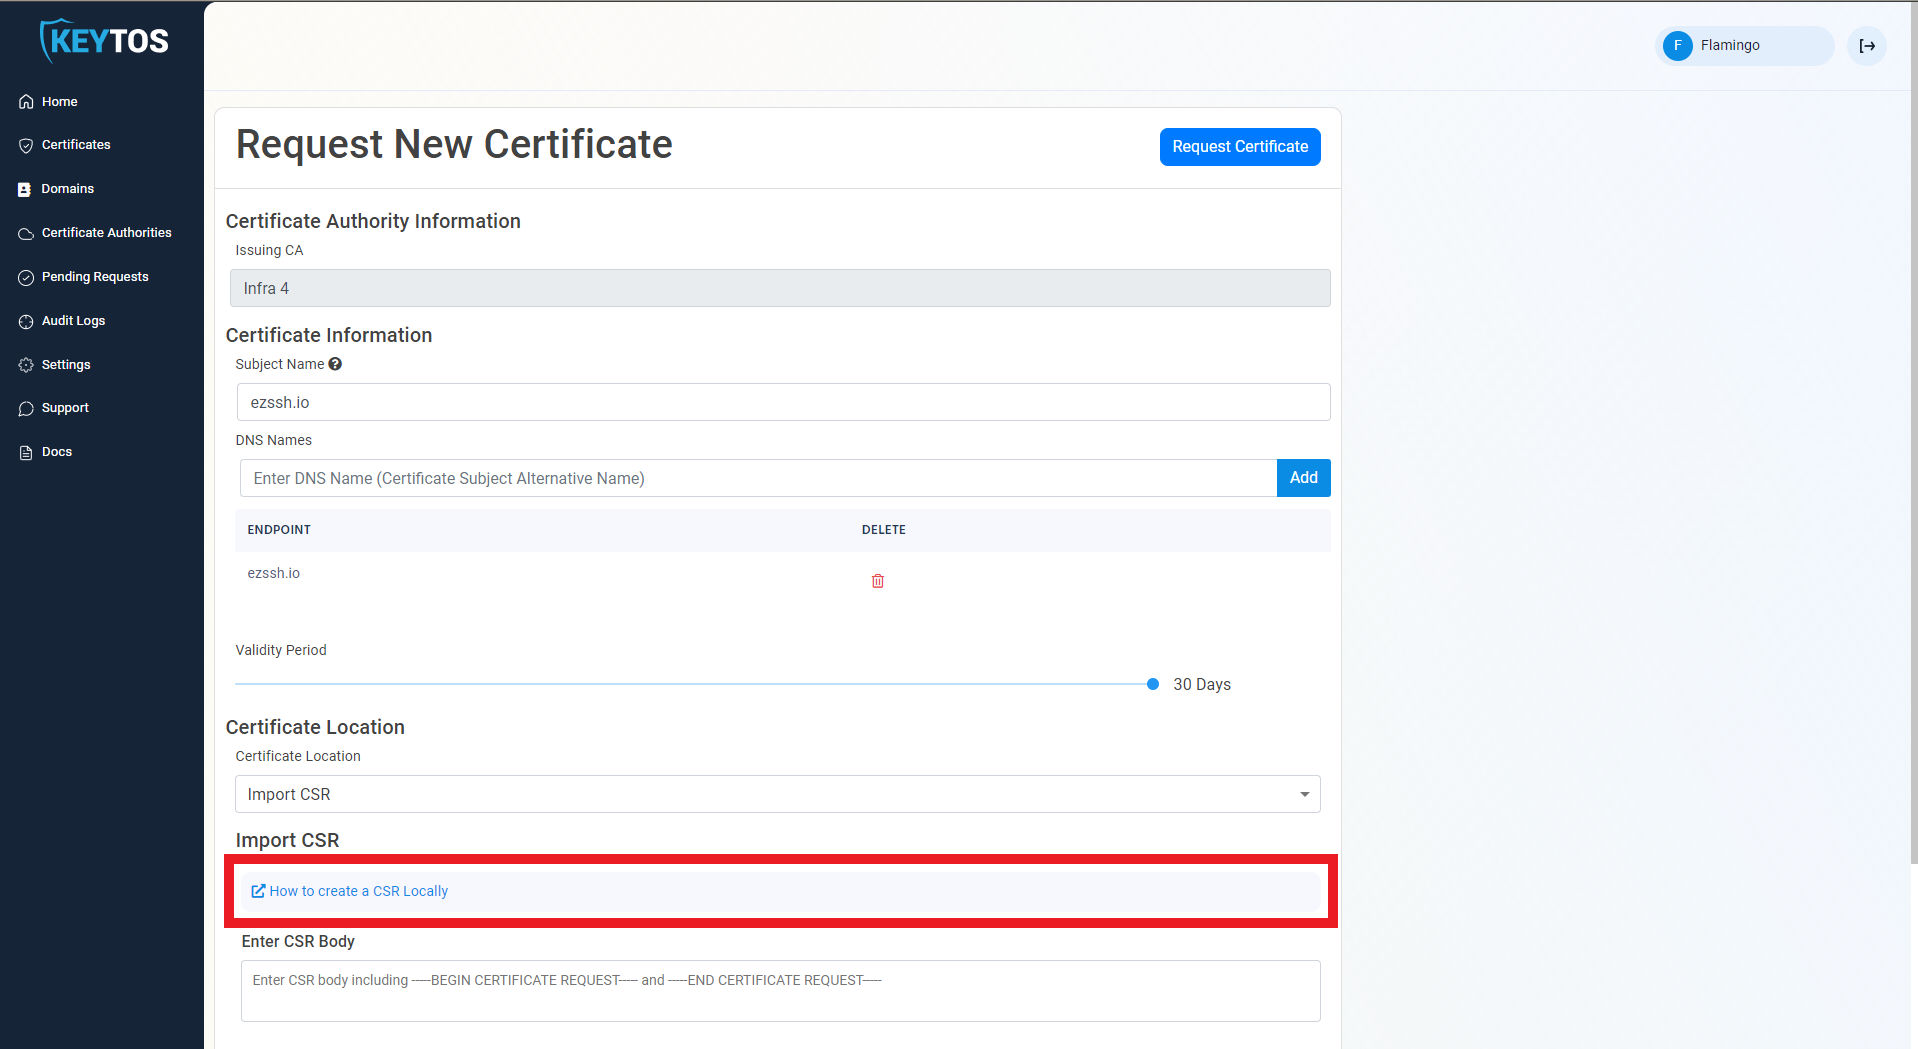
- Make sure the “Import CSR” Option is Selected.
- Click the “How to create a CSR Locally” Link.
- Select Windows
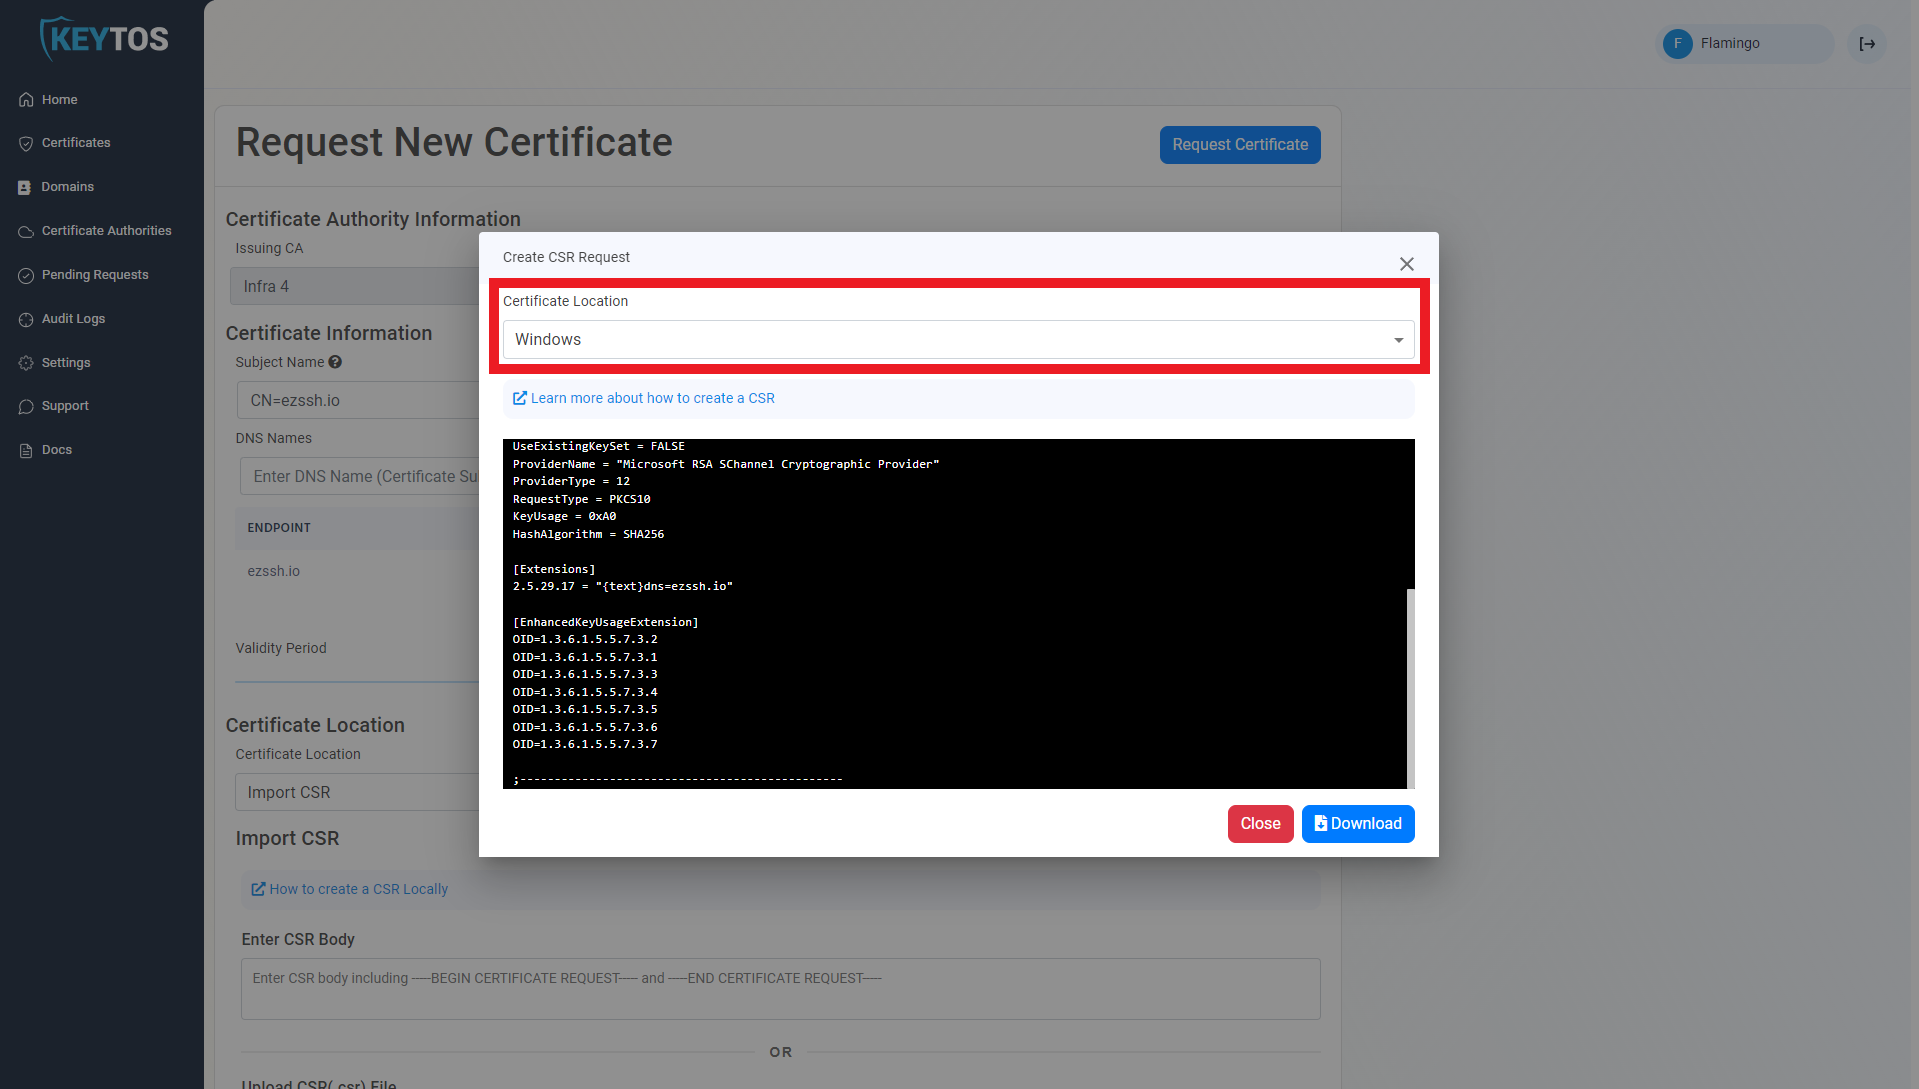
- Download the .inf file
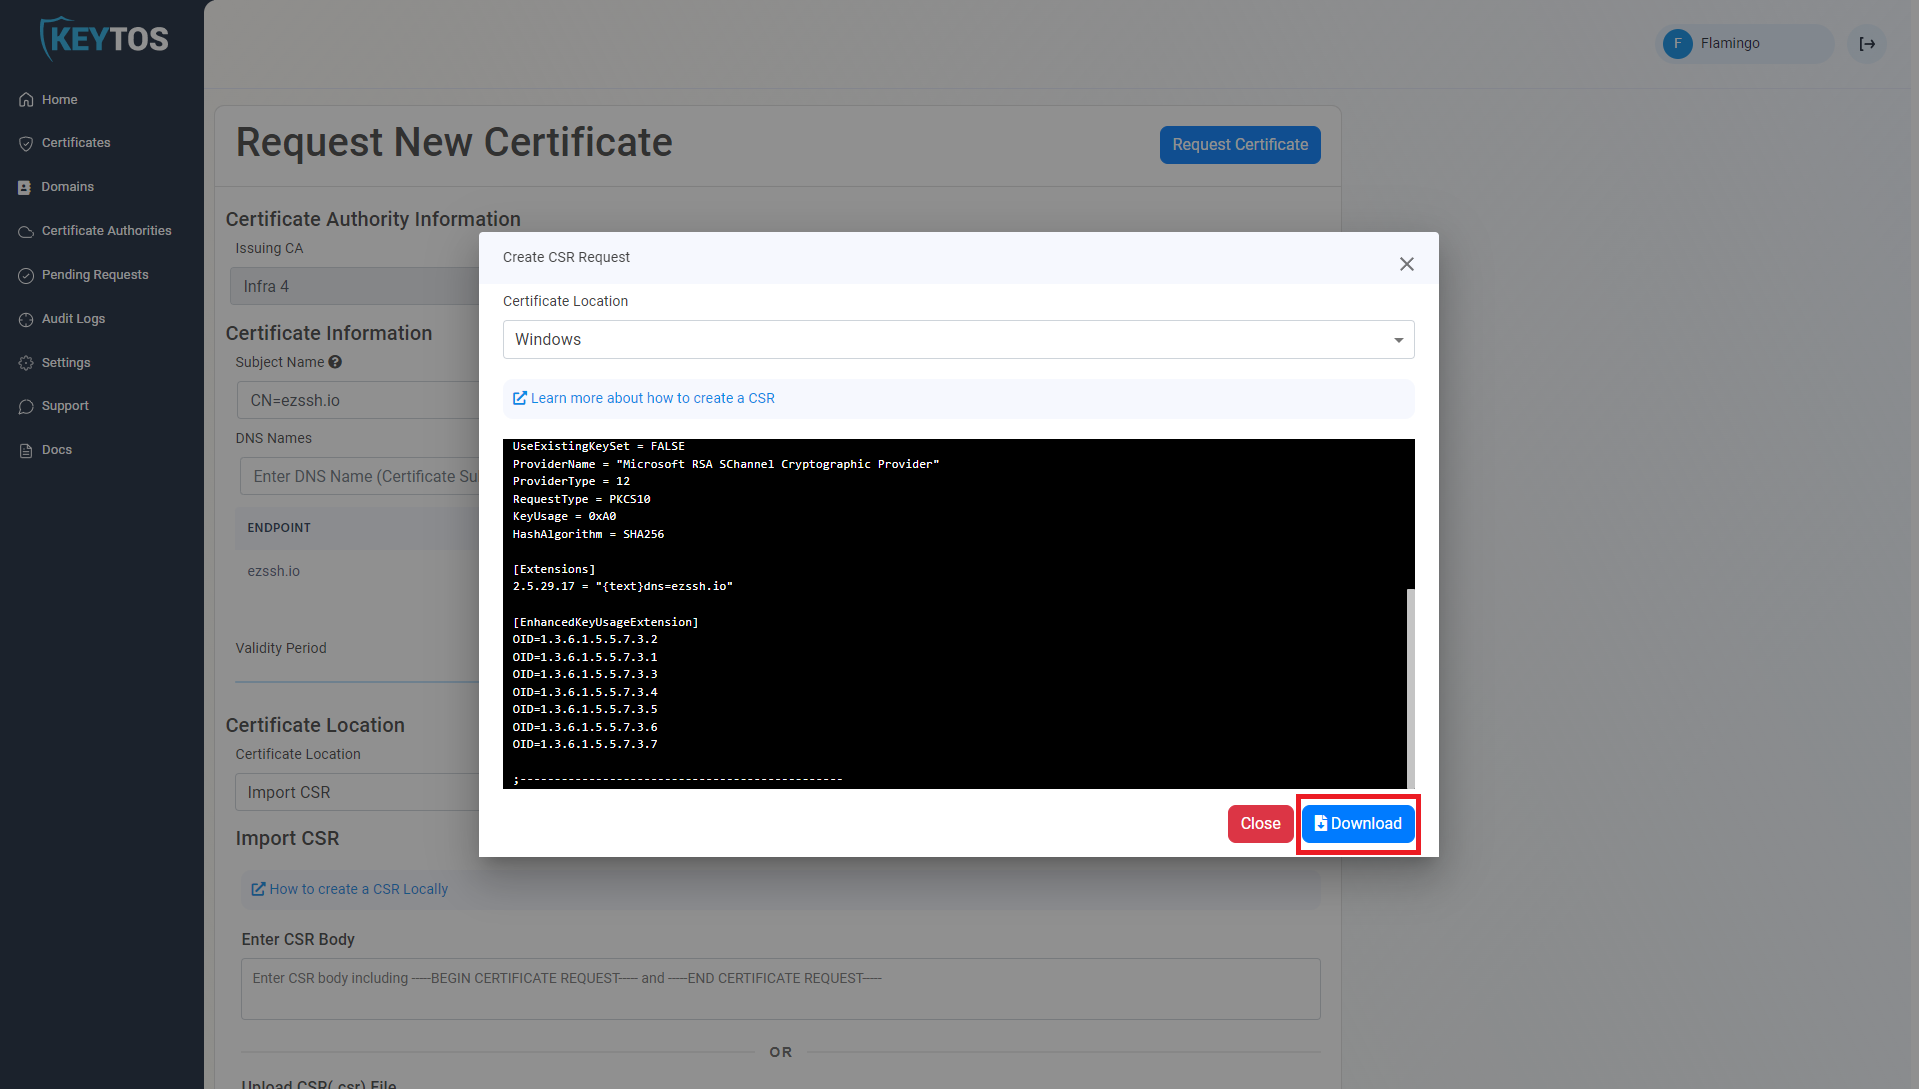
- Edit the the following values in the .inf file:
Exportable = FALSE MachineKeySet = TRUE - open cmd.exe as an Administrator
- Navigate to your downloads folder and run the following command where
INFFILENAMEis the file name you just downloaded andCSRFILENAMEis the file where you want the certificate signing request to be saved:certreq.exe -new <INFFILENAME>.inf <CSRFILENAME>.csr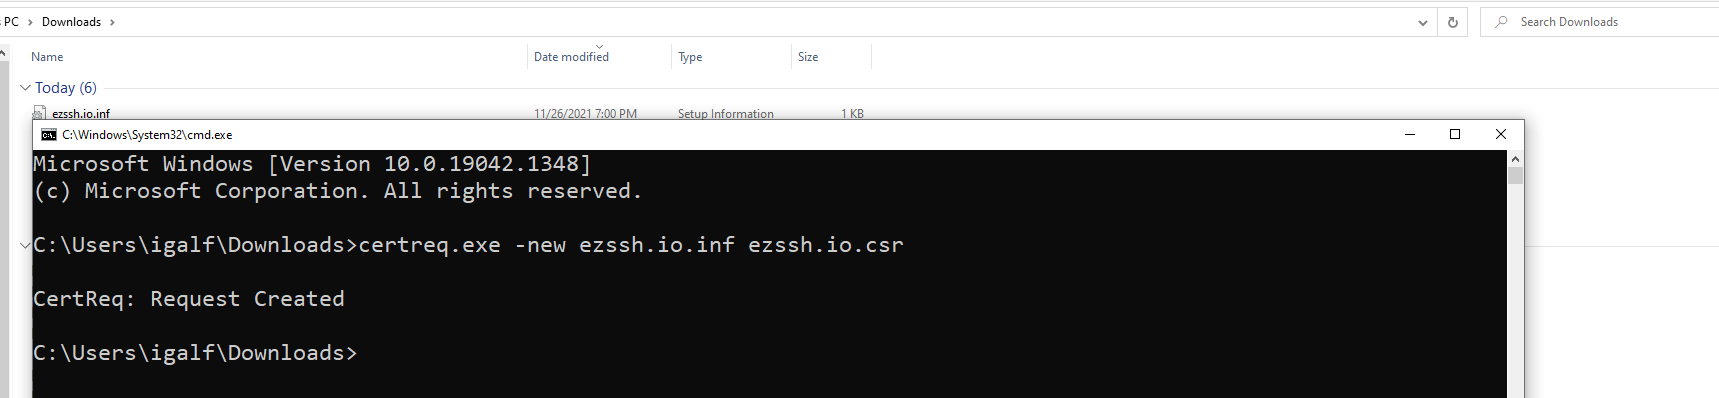
- Go Back to the EZCA portal.
- Close out the instructions dialog.
- Click on the “Upload CSR” button.
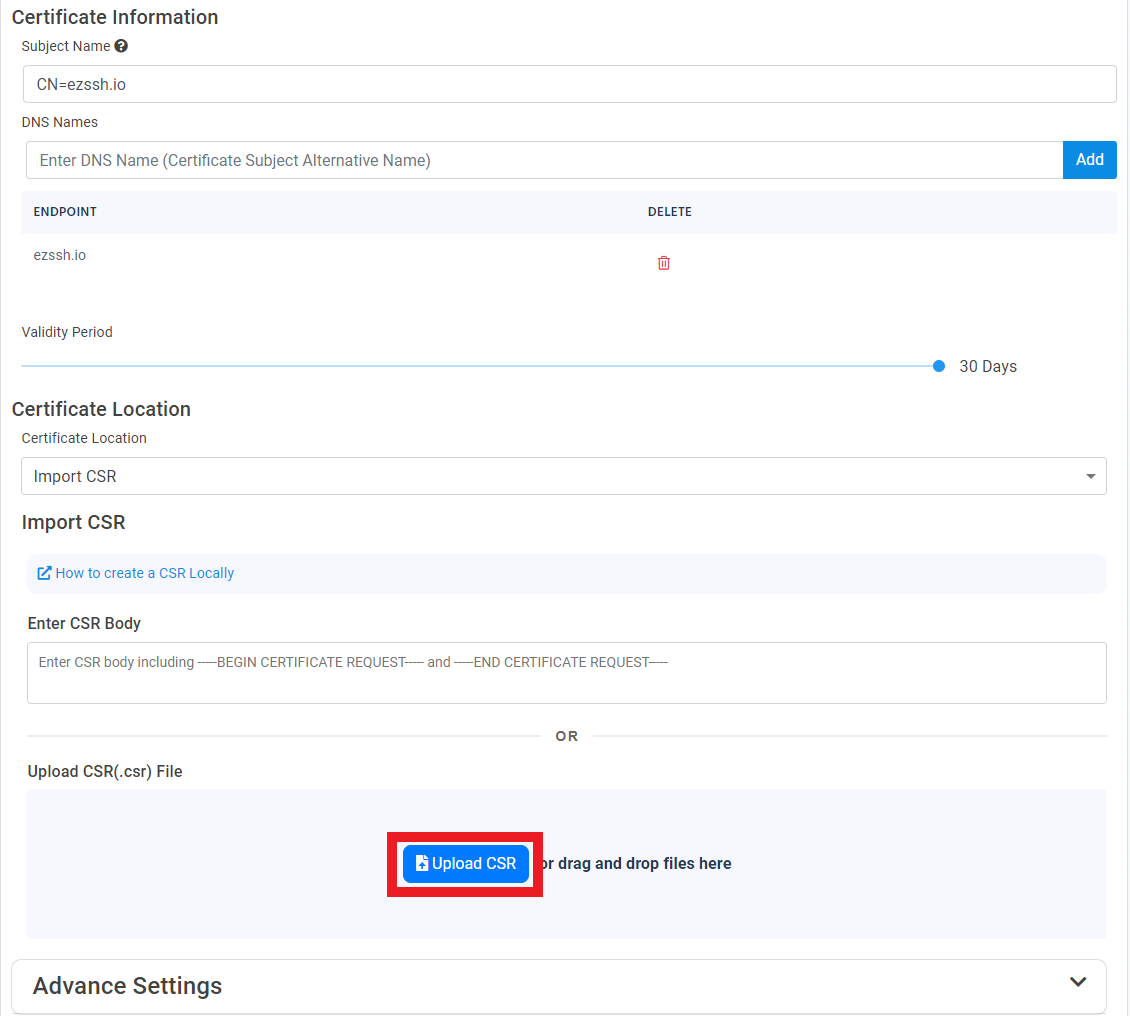
- Select the newly created CSR file

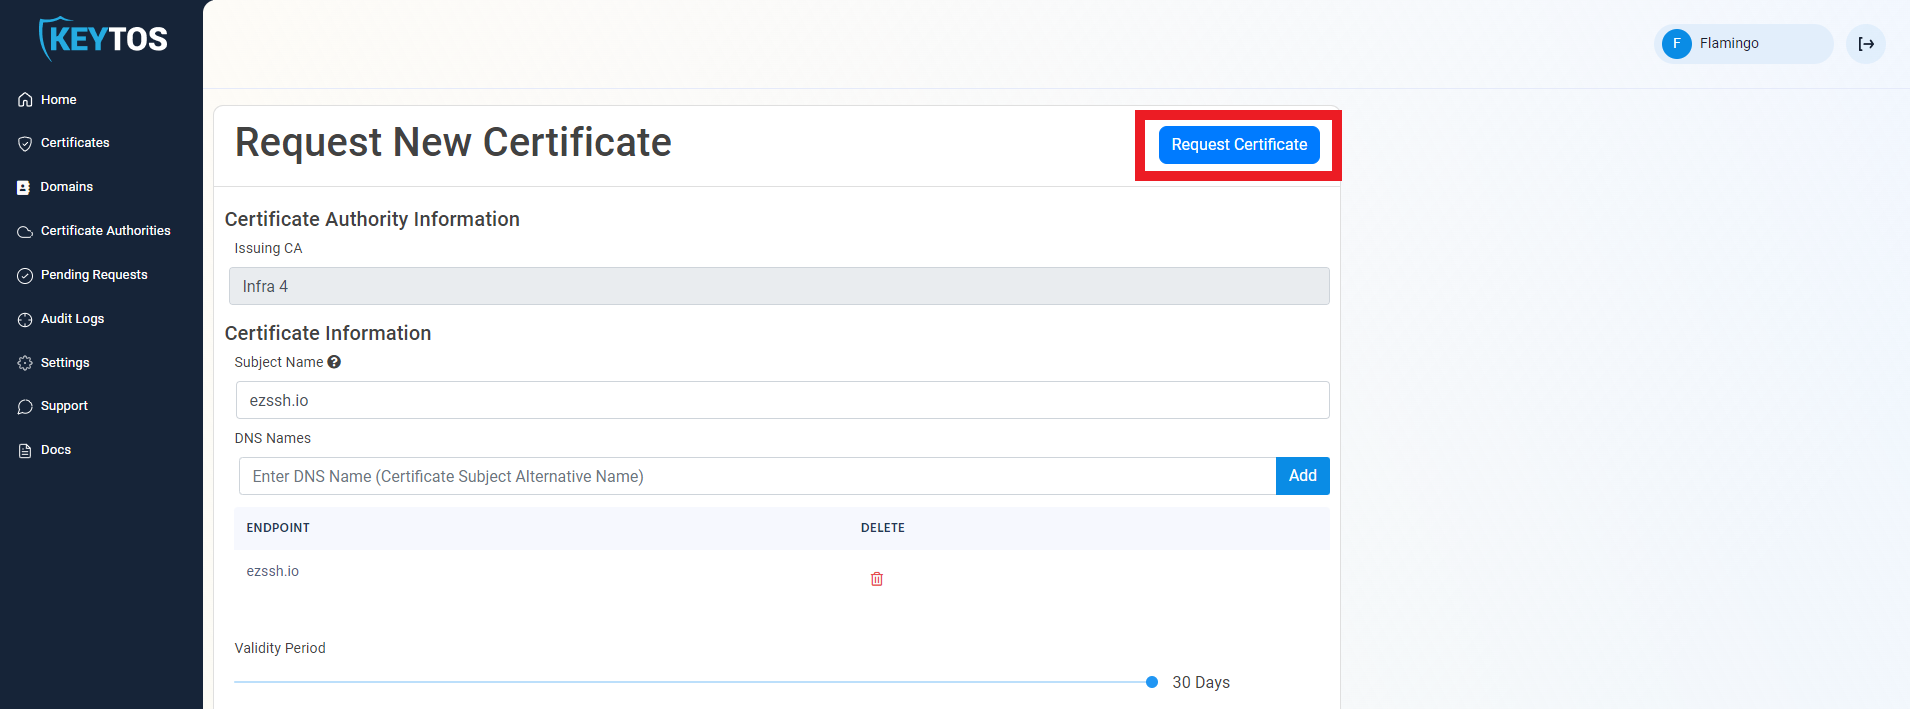
- Click the “Request Certificate” button at the top right of the form.
- Your Certificate has been created successfully.
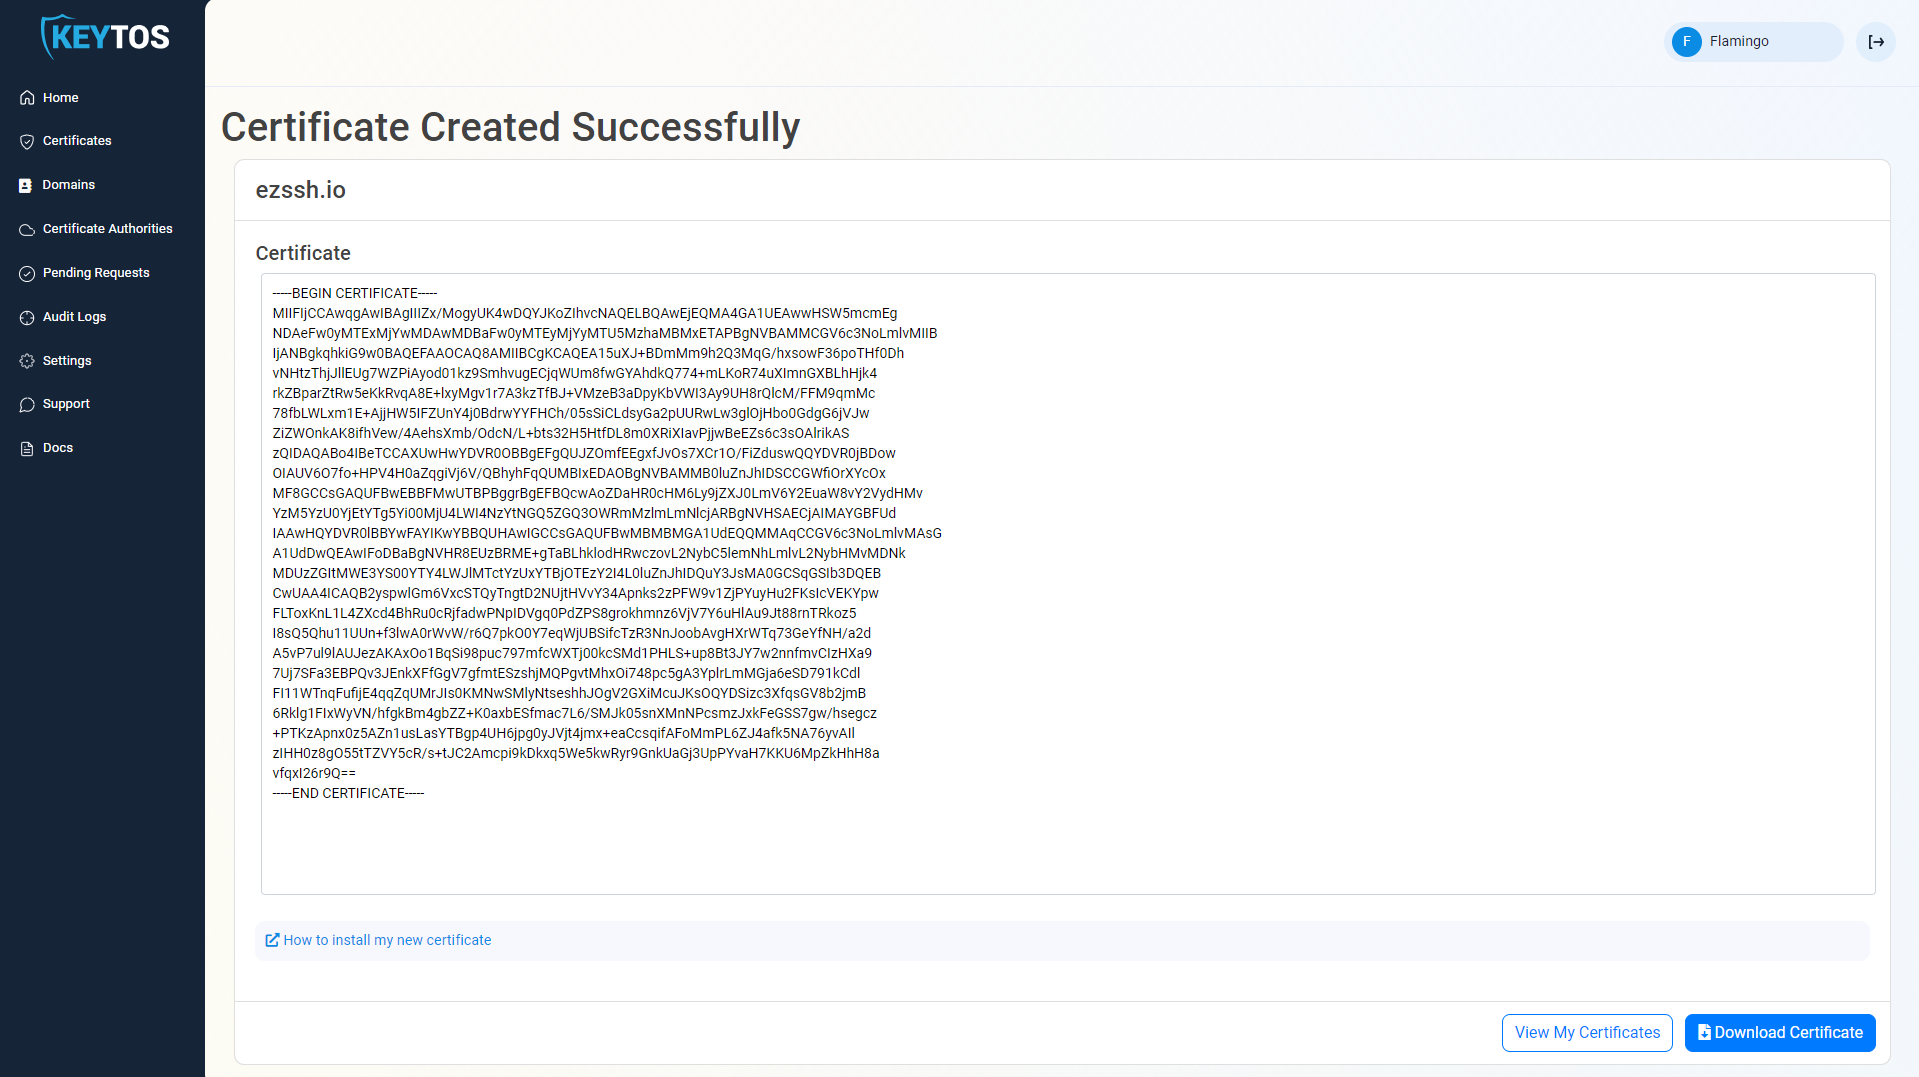
- Download the certificate.
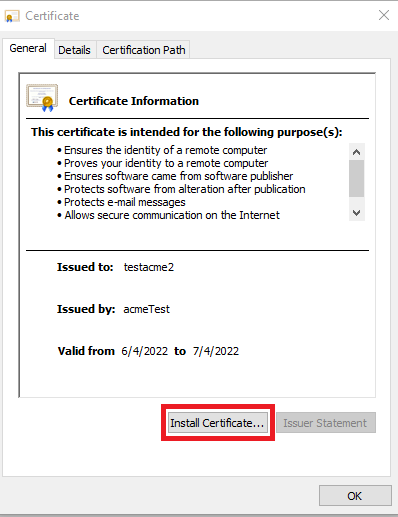
- Open the downloaded certificate.
- Click “Install Certificate”
- Select Local Machine.
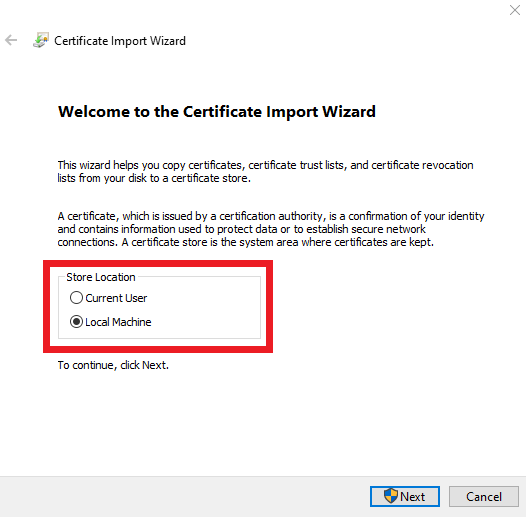
- Follow the wizard to install this certificate in the local computer store.
Creating the Site
Next we have to create the site in IIS, to do this run the following script replacing the variables:
- certificateSubject The subject Name of the SSL Certificate for your Site.
- acmeCertificateSubject The subject Name of the SSL Certificate we created in the previews step to authenticate with EZCA.
- appInsights The connection string for the application insights where you want this agent to report the telemetry.
- agentURL The URL where computers on your network can find this agent.
You can download the signed version of this script from here
#usage .\InstallIISSite.ps1  -iisAppPoolName "YOURPOOLNAME" -iisAppName = "SITENAME" -directoryPath "PATHTOSITEFILES" -certificateSubject 'YOUR SSL CERTIFICATE SUBJECT' -acmeCertificateSubject 'SSL Certificate Subject name for Authentication with EZCA' -appInsights "YOUR APP Insights Key" -agentURL "https://acmeagent.same.domain/"
param ($iisAppPoolName = "ezcaACMEPool", $iisAppName = "ezcaACME", $directoryPath = "C:\ezcaACME",
 $certificateSubject, $acmeCertificateSubject, $appInsights,  $agentURL)
Import-Module WebAdministration


if($null -eq $certificateSubject -or  $certificateSubject  -eq '')
{
    Write-Host "Error: No certificate subject provided. Please provide a valid certificate subject name" -ForegroundColor Red
    exit 1
}

if($null -eq $acmeCertificateSubject -or  $acmeCertificateSubject  -eq '')
{
    Write-Host "Error: No EZCA certificate subject provided. Please provide a valid certificate subject name" -ForegroundColor Red
    exit 1
}
if($null -eq $agentURL -or  $agentURL  -eq '')
{
    Write-Host "Error: No Agent URL provided, please provide the DNS name for this agent" -ForegroundColor Red
    exit 1
}
$directoryPath = $directoryPath.TrimEnd('\')
$originalPath = Get-Location
#navigate to the app pools root
cd IIS:\AppPools\

#check if the app pool exists
if (!(Test-Path $iisAppPoolName -pathType container))
{
    #create the app pool
    $appPool = New-Item $iisAppPoolName
    $appPool | Set-ItemProperty -Name "managedRuntimeVersion" -Value ""
}

#navigate to the root of the site
cd IIS:\Sites\

#check if the site exists
if (Test-Path $iisAppName -pathType container)
{
    return
}
$cert = (Get-ChildItem cert:\LocalMachine\My   | where-object { $_.Subject -like "*$certificateSubject*" }  | Select-Object -First 1).Thumbprint
if($null -eq $cert -or $cert -eq '')
{
    Write-Host "Error: No certificate found for the provided certificate subject. Please provide a valid certificate subject name, and make sure your certificate is in the the following cert store: Cert:\LocalMachine\My" -ForegroundColor Red
    exit 1
}
#create the site
if ((Test-Path $directoryPath -pathType container) -eq $false)
{
    New-Item -Path $directoryPath -ItemType Directory
}
Start-IISCommitDelay
$TestSite =New-IISSite -Name $iisAppName -PhysicalPath  $directoryPath  -BindingInformation "*:443:" -CertificateThumbPrint $cert -CertStoreLocation "Cert:\LocalMachine\My" -Protocol https -Passthru
$TestSite.Applications["/"].ApplicationPoolName =$iisAppPoolName
Stop-IISCommitDelay

# Download Site
cd $originalPath
Invoke-WebRequest -Uri https://www.keytos.io/Downloads/EZCAACME/ACMEAgent.zip  -OutFile ezcaAgent.zip
Expand-Archive -LiteralPath ezcaAgent.zip -DestinationPath $directoryPath
$webAppSettings = Get-Content -Raw -Path "$($directoryPath)\appsettings.json"
$webAppSettings = $webAppSettings.Replace('$SUBJECTNAME$', $acmeCertificateSubject).Replace('$AGENTURL$',$agentURL).Replace('$APPINSIGHTS_CONNECTION_STRING$',$appInsights)
$webAppSettings | Out-File -FilePath "$($directoryPath)\appsettings.json" -Force
Remove-Item -Path ezcaAgent.zip
- Verify the site is up by going to https://YourSite/api/Health/Overall

- Once the agent is up and running you are ready to start requesting ACME certificates.