Setup ACME Clients
Introduction
ACME (Automatic Certificate Management Environment) is a communication protocol for automating certificate lifecycle between certificate authorities and servers. This automation dramatically reduces the cost of certificate lifecycle and prevents costly outages.
Some of our plans support ACME requests for your internal Certificate Authorities (CAs). Since ACME depends on the validation of domain ownership, an agent has to be deployed in your local network. In this section we will guide you on how to point the most common ACME agents to your EZCA Agent.
Win-ACME
Win ACME is the best way to automatically manage SSL Certificates for Windows IIS.
Installation and Setup
- Download the latest version from the win-acme website.
- Extract the files to your desired folder.

- Now we have to change the endpoint from let’s encrypt to your organizations ACME Agent. To do this, we first have to open the
settings_default.jsonfile. - In the ACME section, change the let’s encrypt URLs for your organizations agent URL.
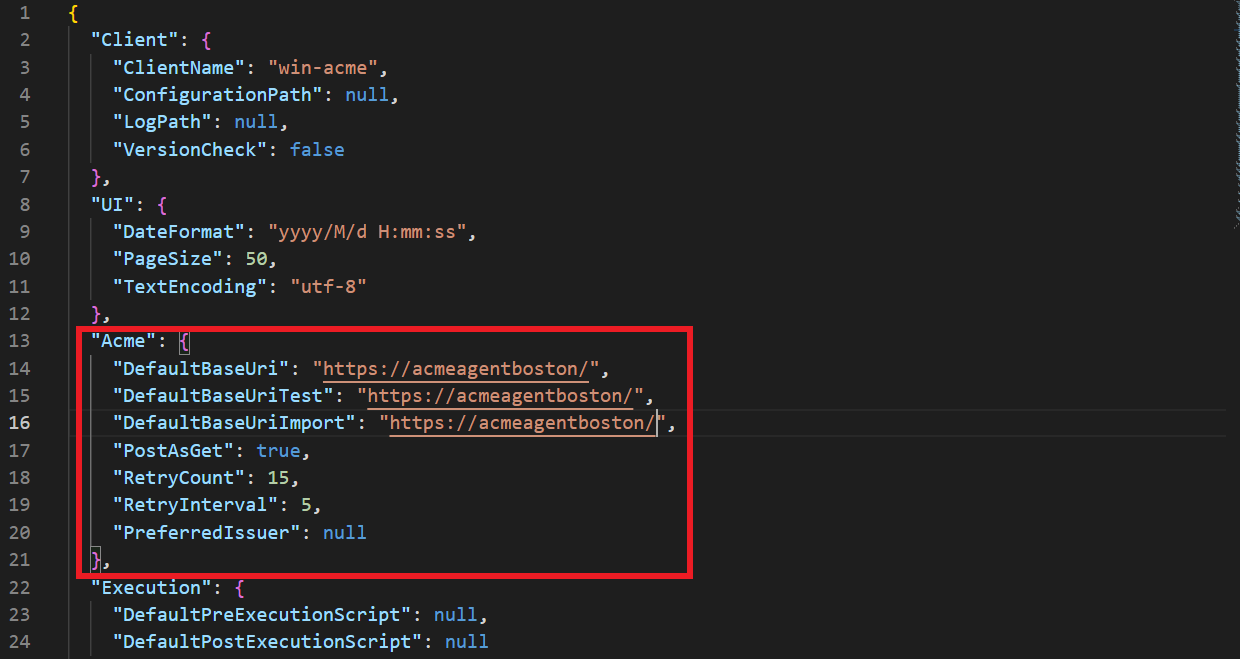
- Save the file changes.
- Now we are ready to start requesting certificates.
Requesting Certificates
- Navigate to the folder where win-acme was installed.
- Open the
wacs.exeprogram.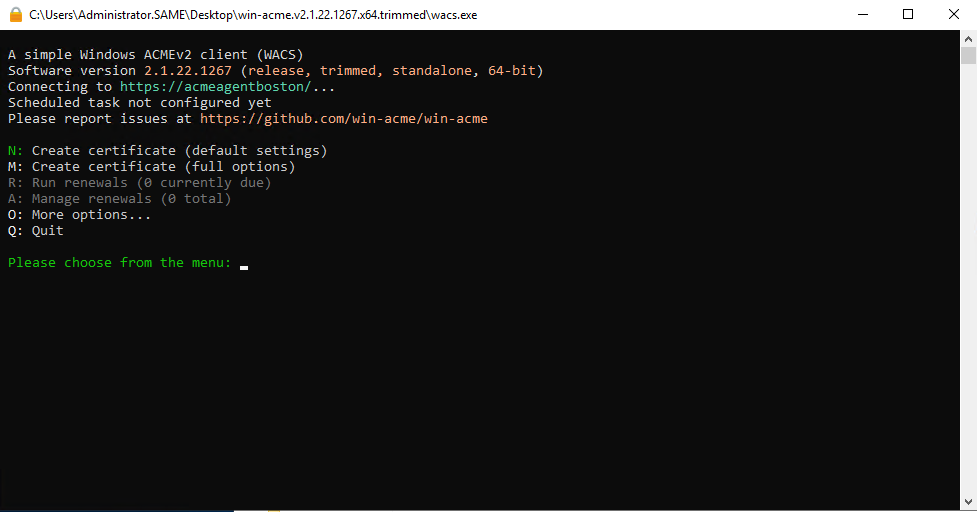
- Enter “M” for manual issuance.
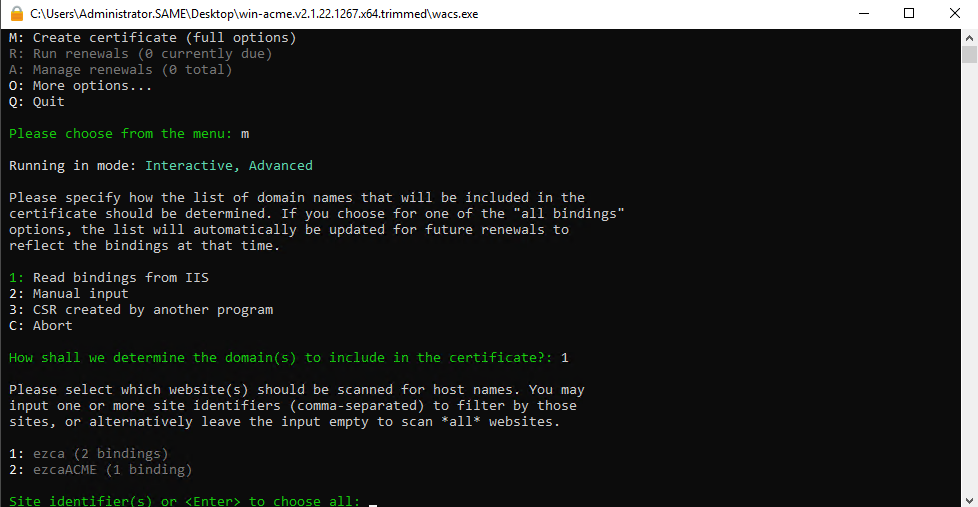
- Select 1 for reading the binding from IIS. (This will look at your IIS site bindings and will request a certificate containing the domains in your binding).
- Select the site you want to create the certificate for.
- Select which bindings you want to issue the certificate for.
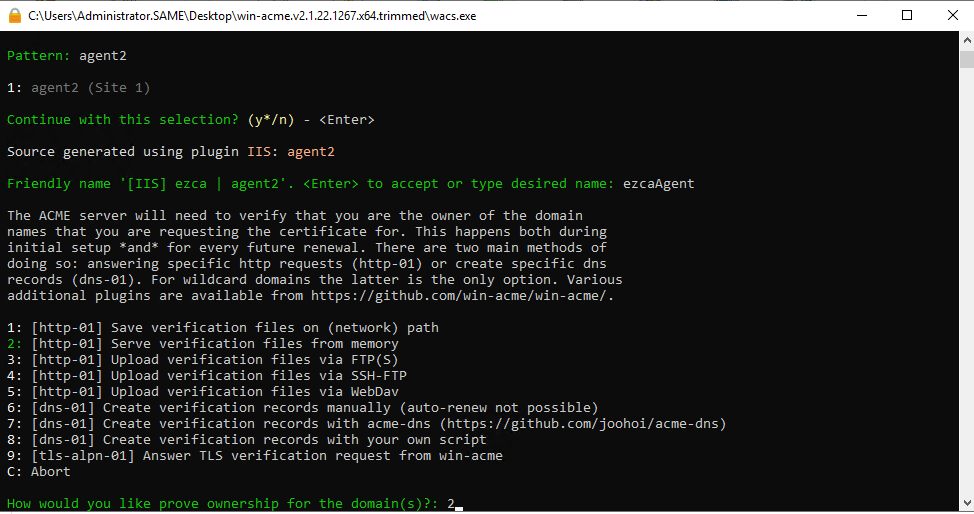
- Enter a friendly name for the certificate.
- Enter ‘2’ for win-acme to serve the correct challenge on the site.
- Select the key type you would like to use.
- Select where to store the certificate. (We recommend the Windows Certificate Store)
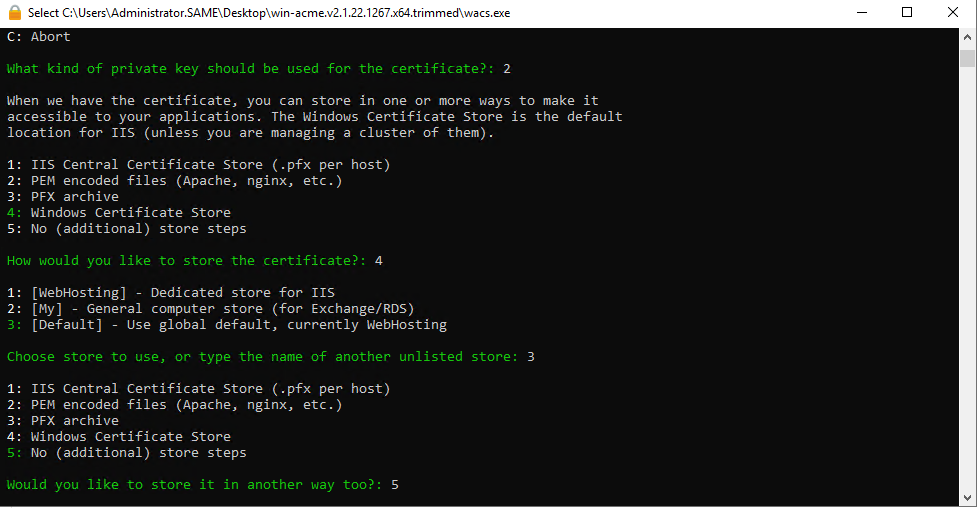
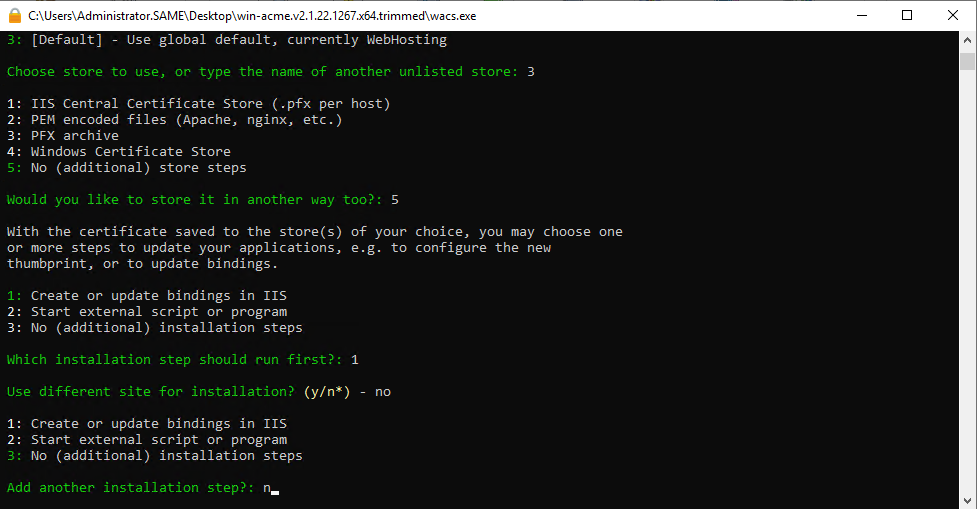
- Select Update bindings. (This will automatically change your binding to use the new certificate when the certificate is renewed.)
- Select the same site for installation.
- Select no additional steps
- Read the terms and conditions.
- If you agree with the terms and conditions select that you agree with the terms and conditions.
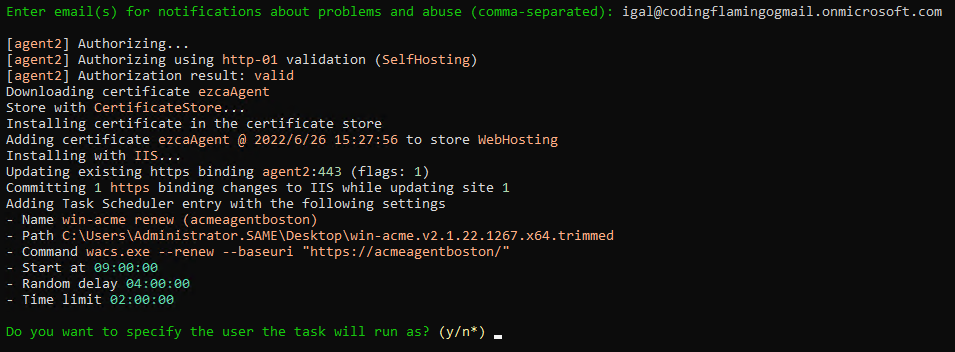
- Enter the emails of the owners of this certificate/Site.
This emails must be part of your active directory. If they cannot be verified with Active Directory the request will fail.
- After this, the request process will automatically start and a task to automatically update your certificate will be added to task scheduler.
- Your IIS certificate management is now automated!