Create a Certificate in Azure Key Vault
Prerequisites
Video Version
Overview
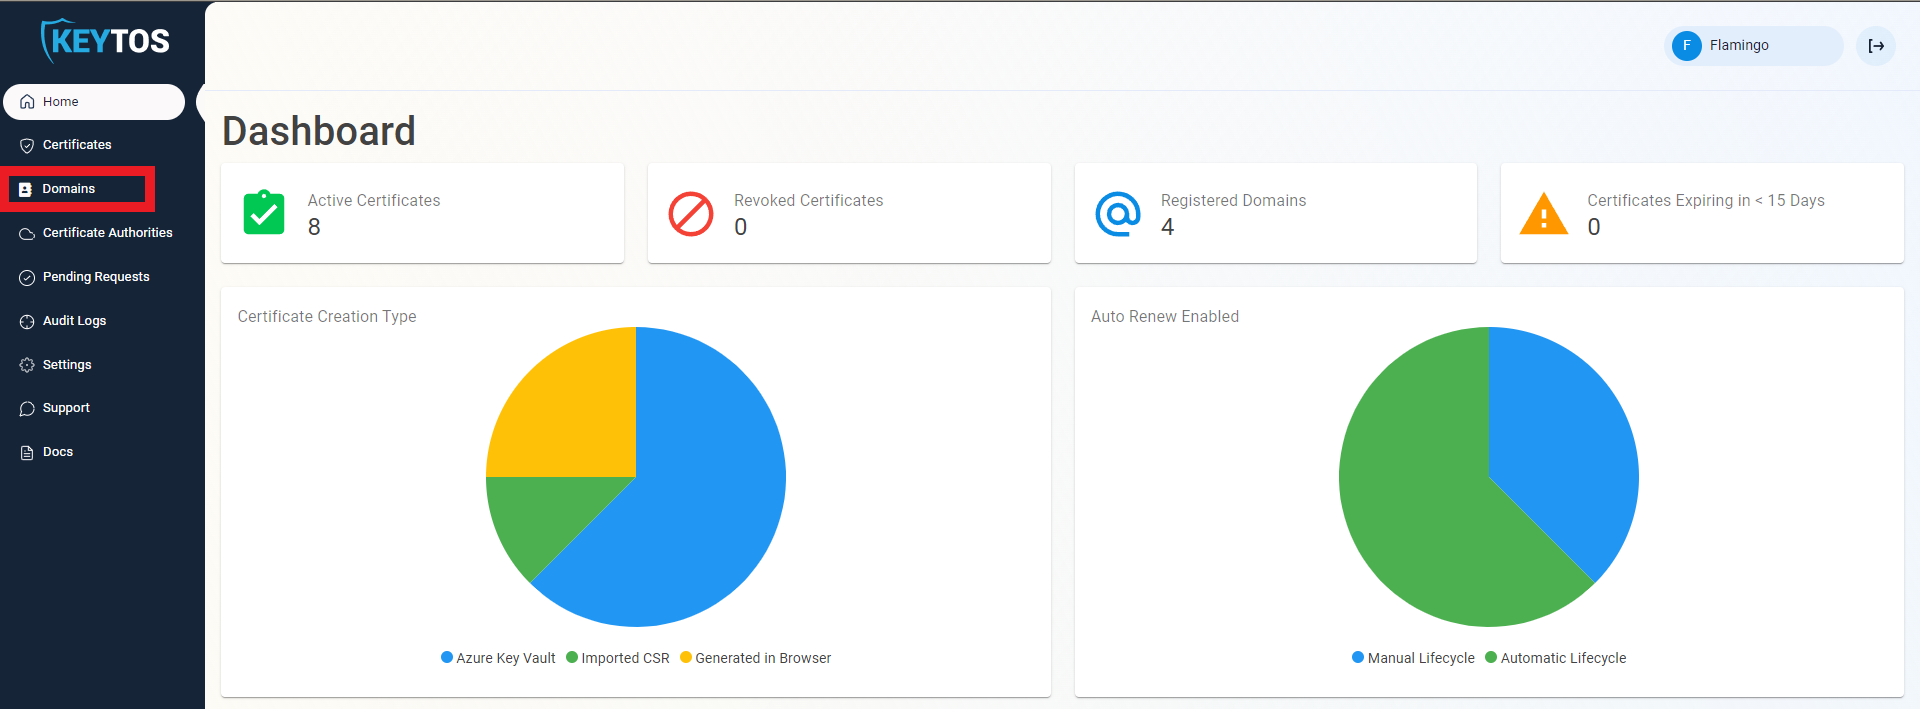
EZCA seamlessly integrates with Azure Key Vault to enable users to create, request, and manage certificates from a single place.
Requesting The Certificate
- Navigate to https://portal.ezca.io/
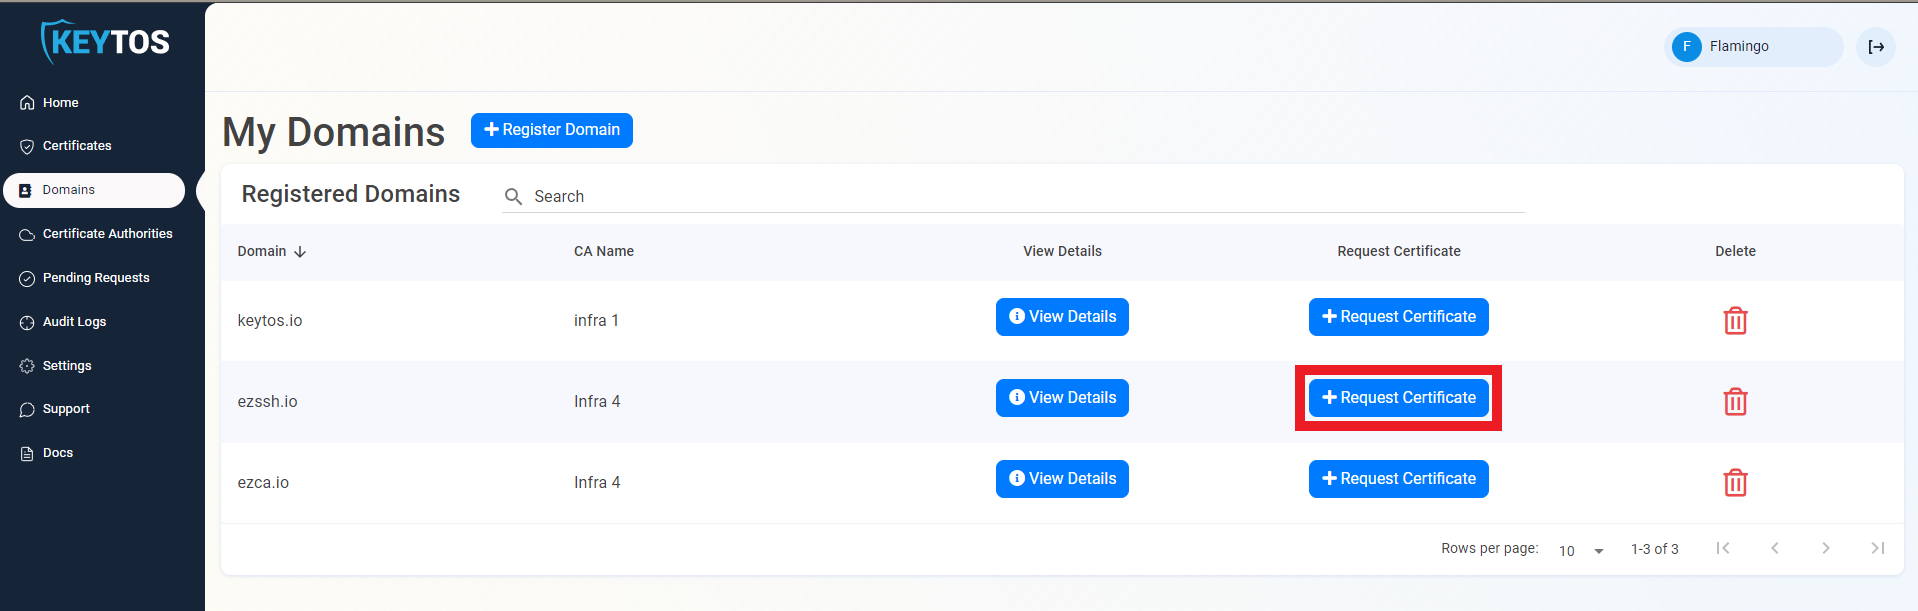
- Navigate to Domains.
- Click the “Request Certificate” button on the domain you want to request a certificate for.
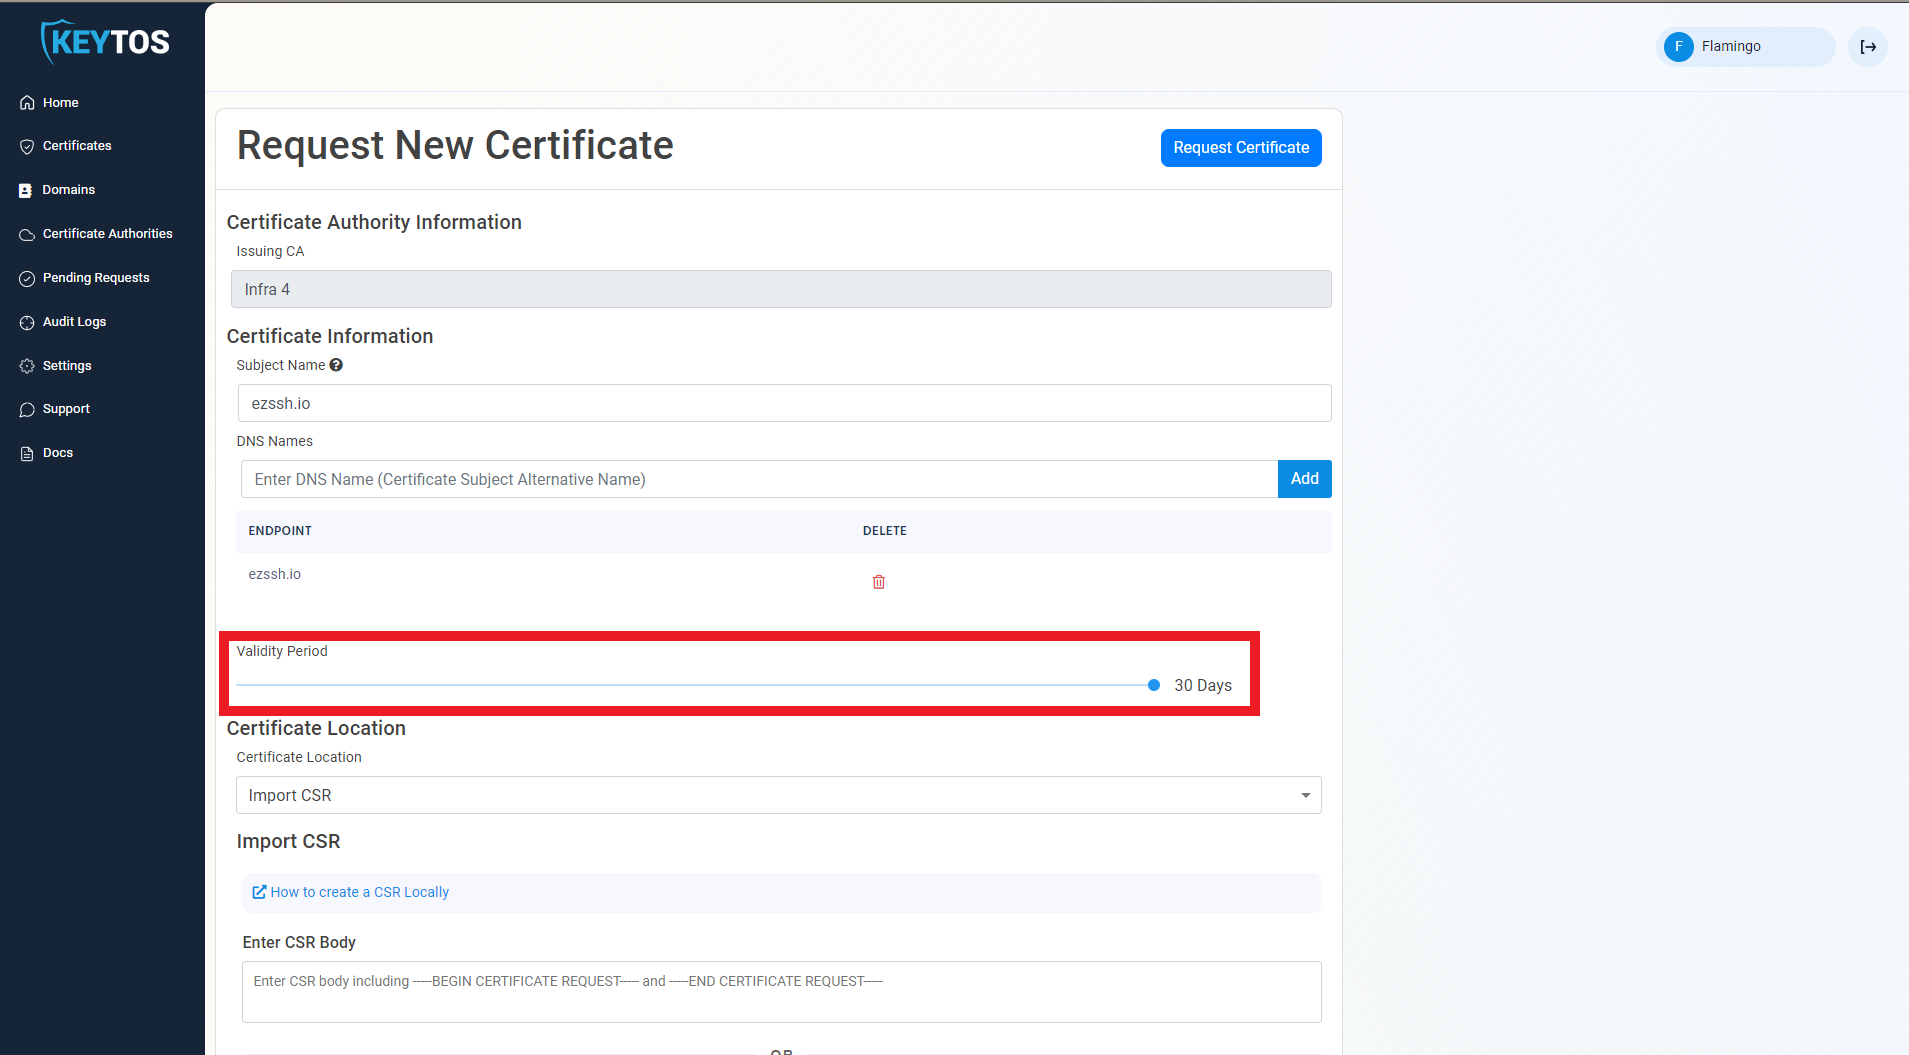
- This will pre-populate the Subject Name and Subject Alternate Names with the selected domain.
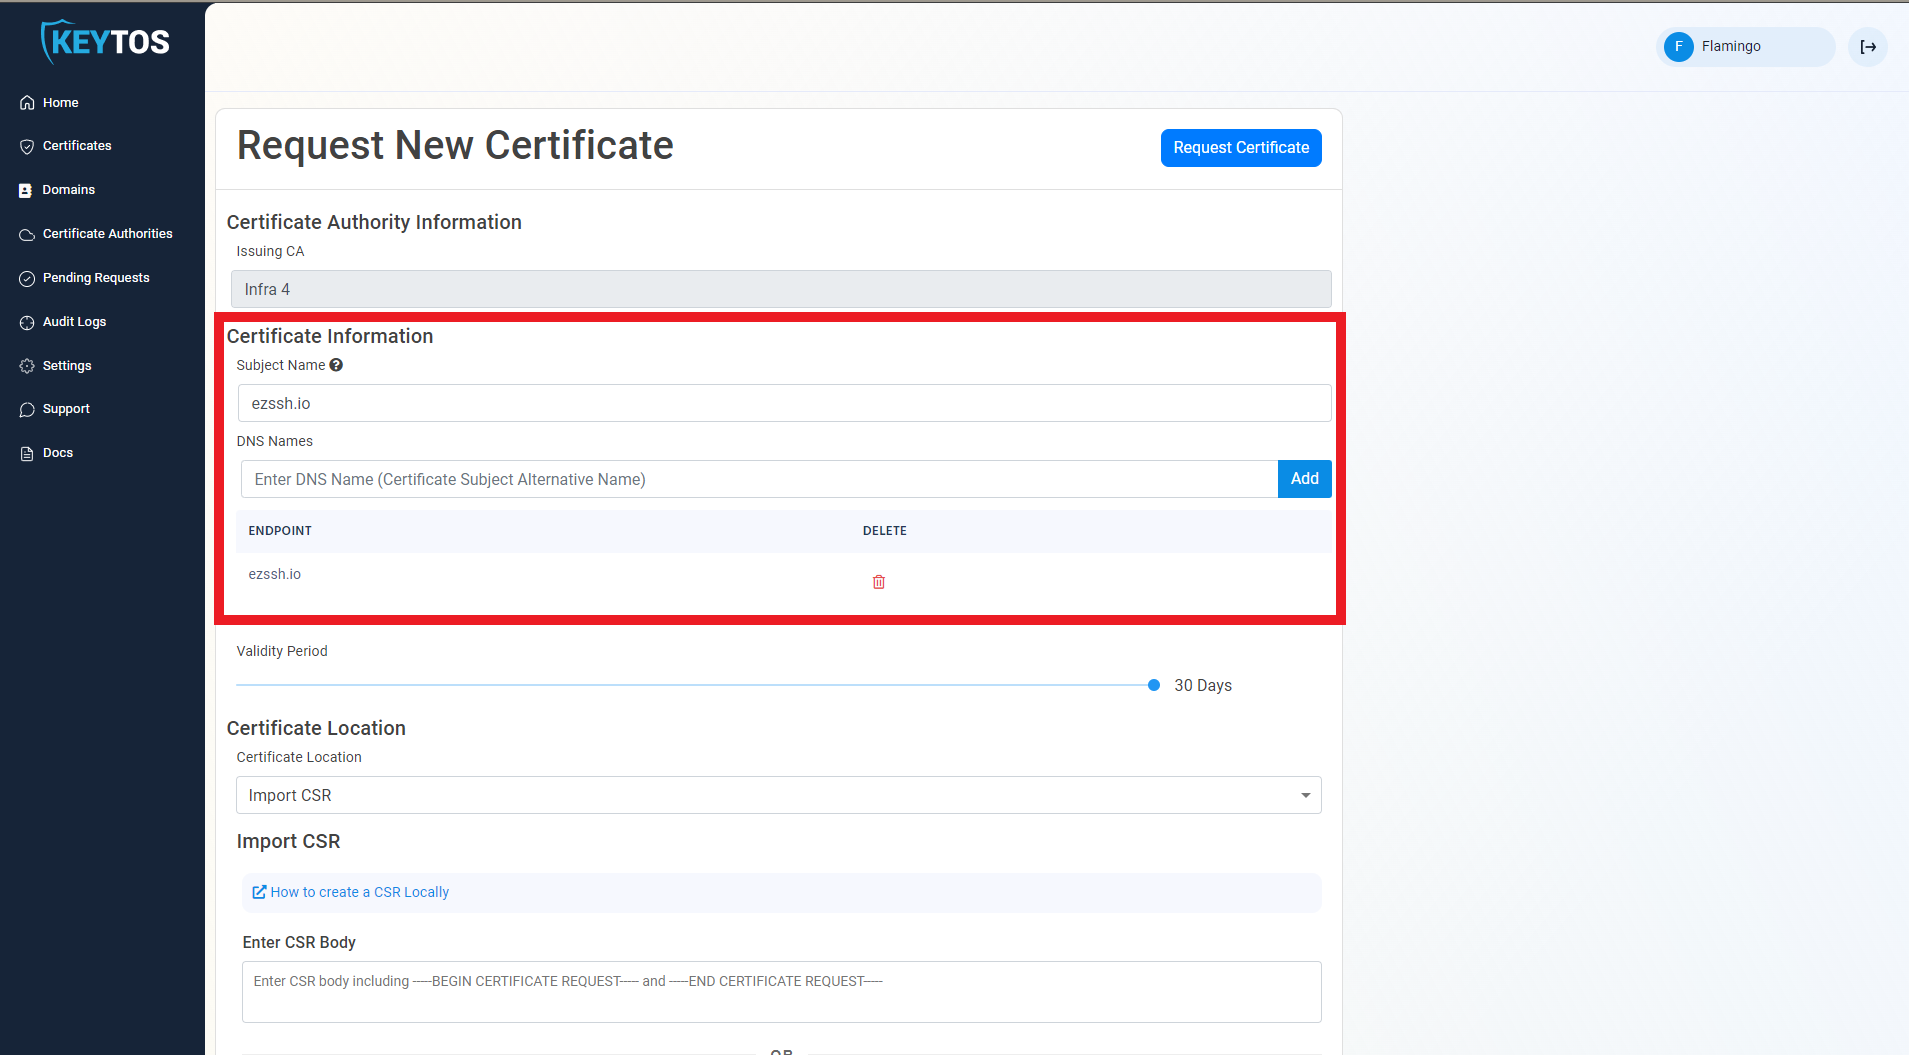
- If this certificate requires more subject alternate names (Usually for other domains that might use this certificate), add them in the DNS Names section.
- By Default, EZCA will request the certificate to be the maximum validity allowed by your administrators. If you want to decrease the lifetime of the certificate, adjust the validity slider.
- Change the Certificate Location to Azure Key Vault
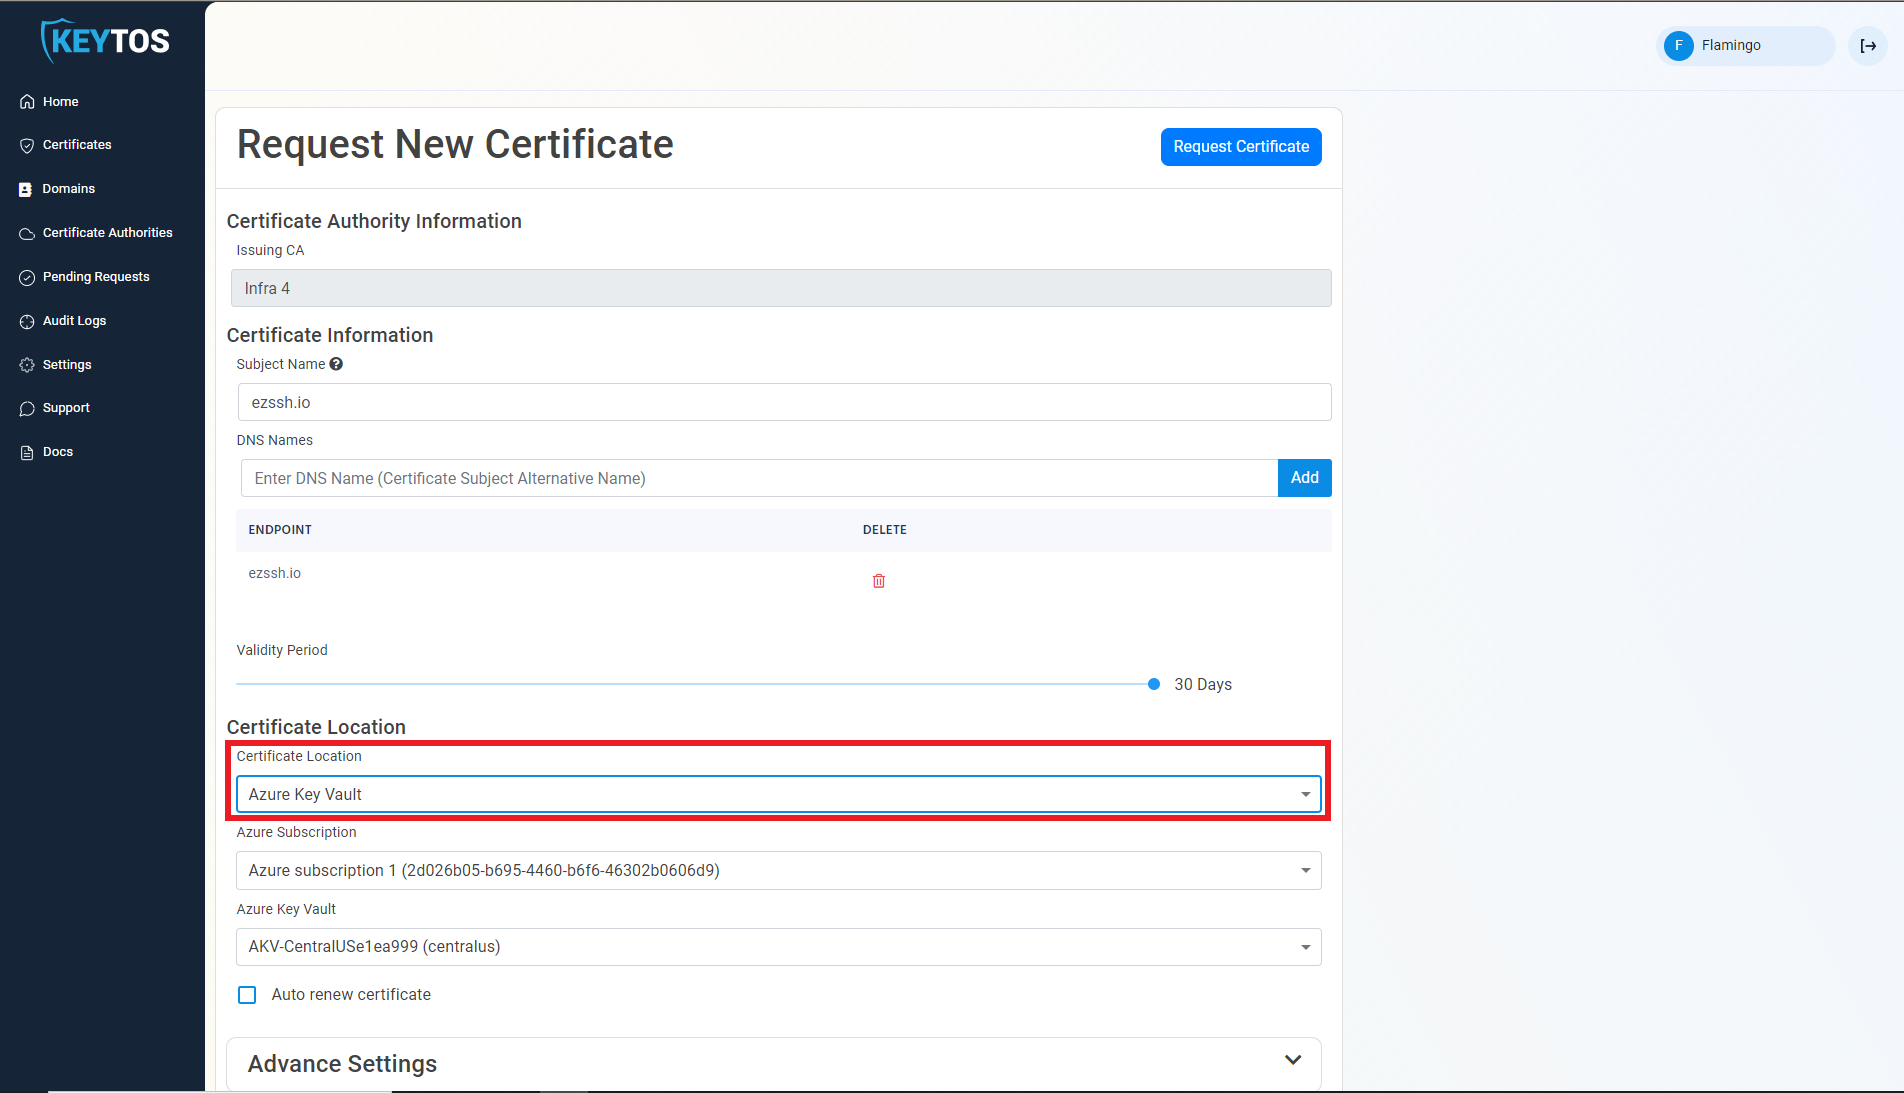
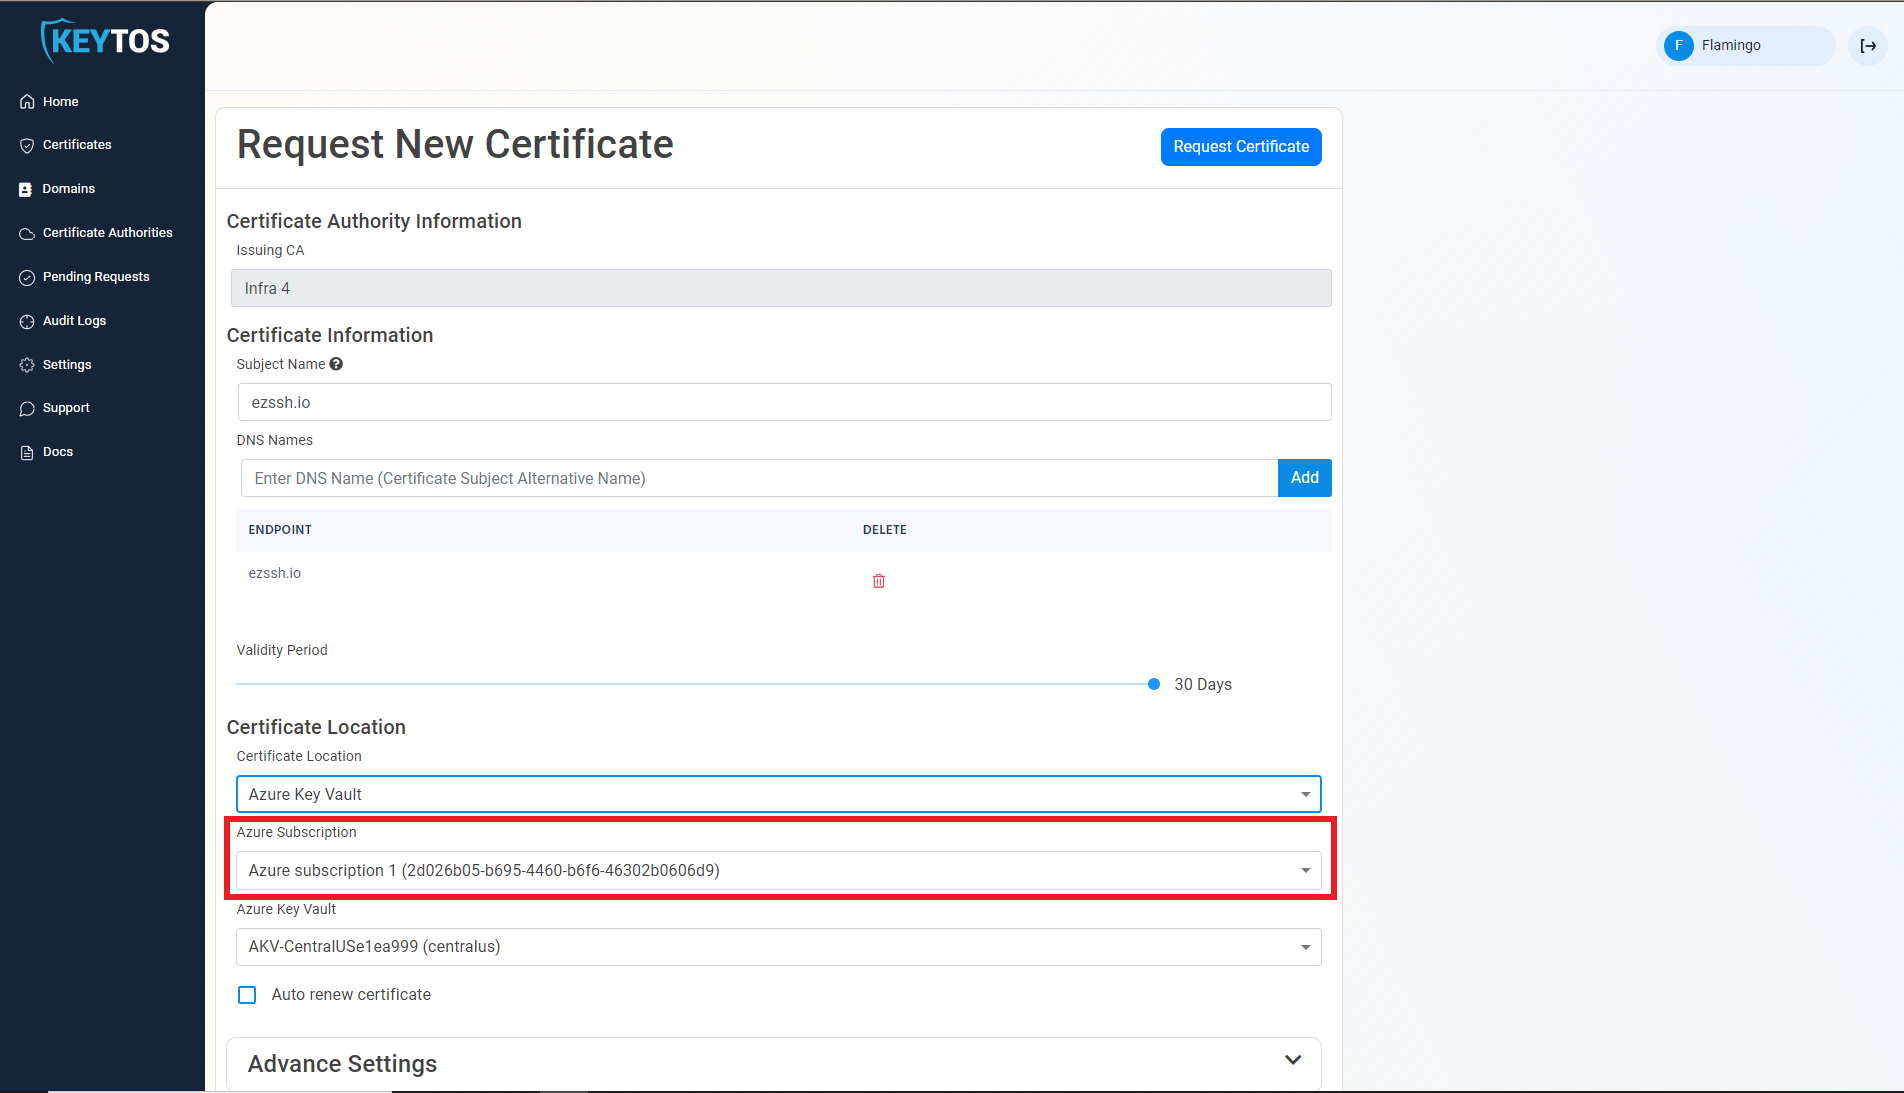
- Select the Azure subscription containing the Key Vault
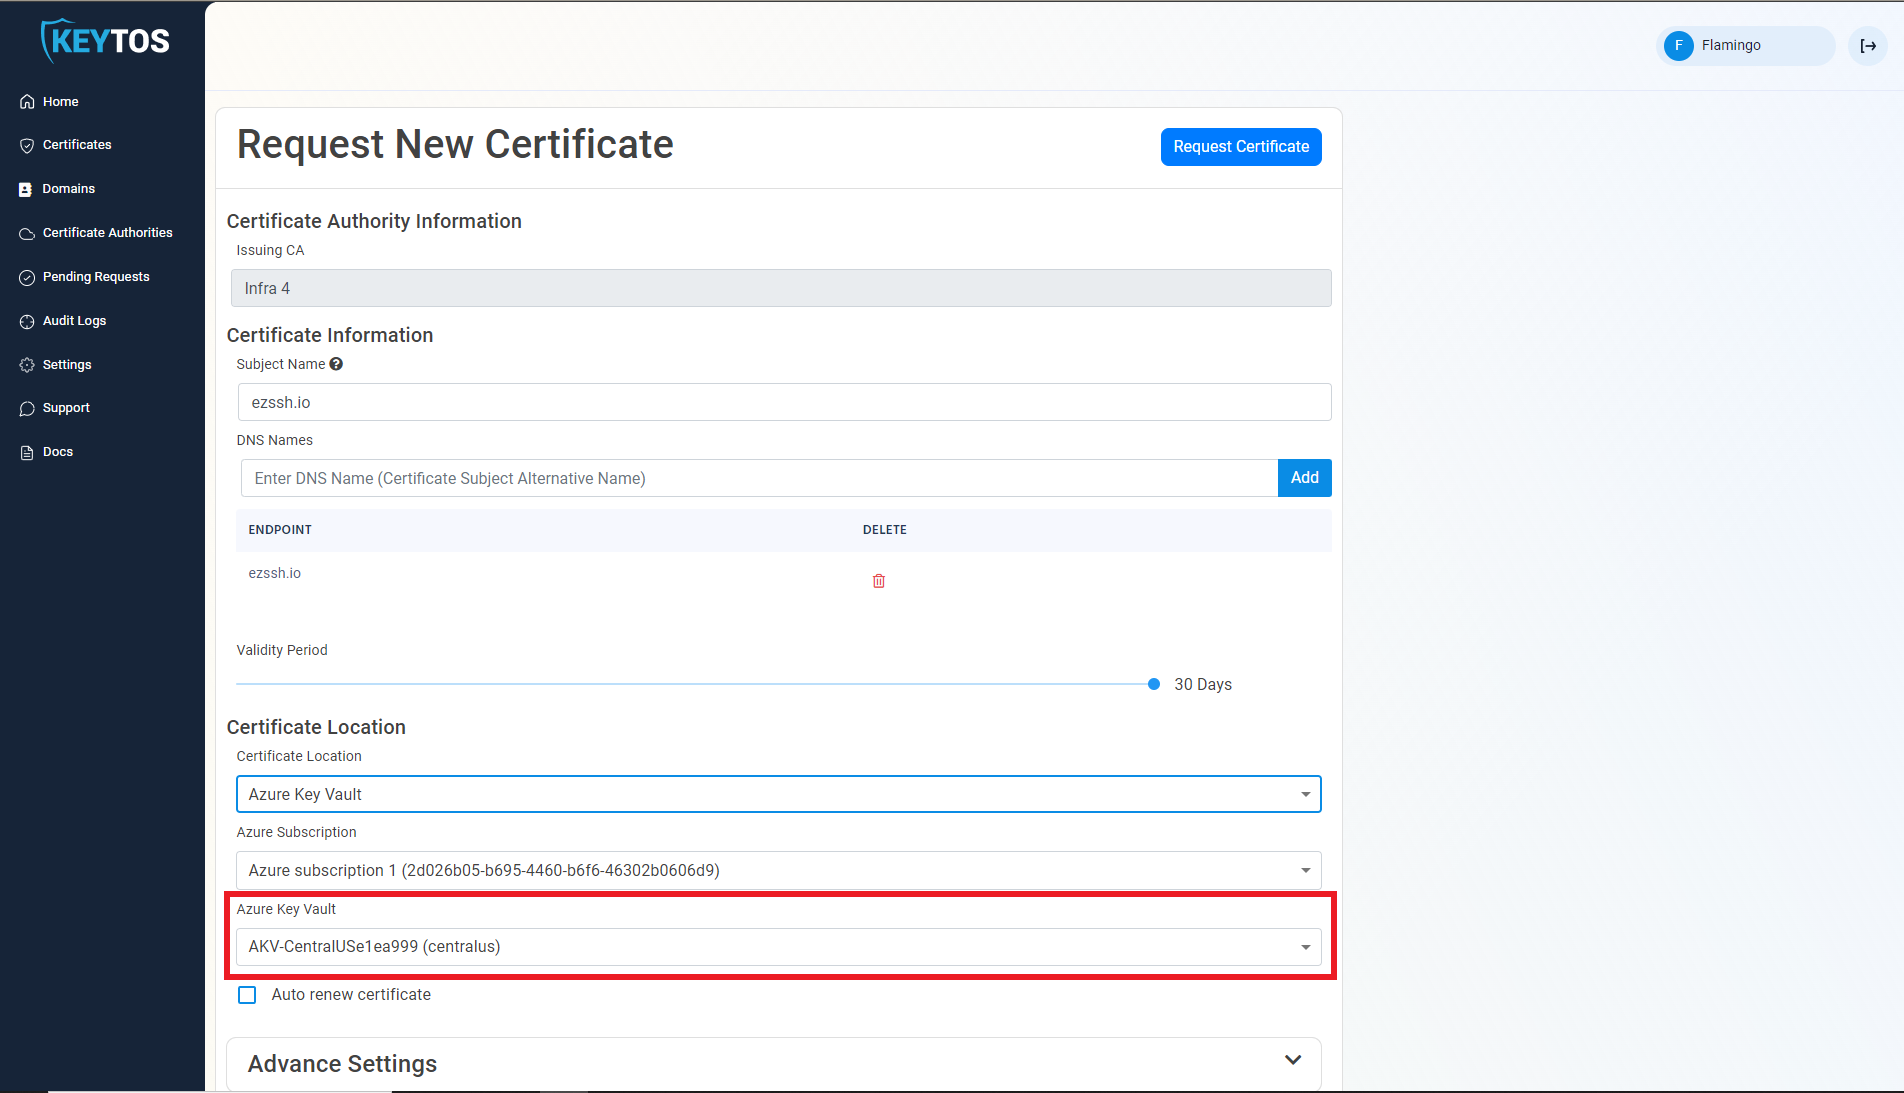
- Select the Azure Key Vault where you want to store the certificate.
- For an automated lifecycle, select the “Auto renew certificate” option. This will enable EZCA automatically renew your certificate when it is over the defined rotation lifetime.
Enabling automatic renewal of certificates, automates the lifecycle of your certificates reducing the chances of having an expired certificate related outage.
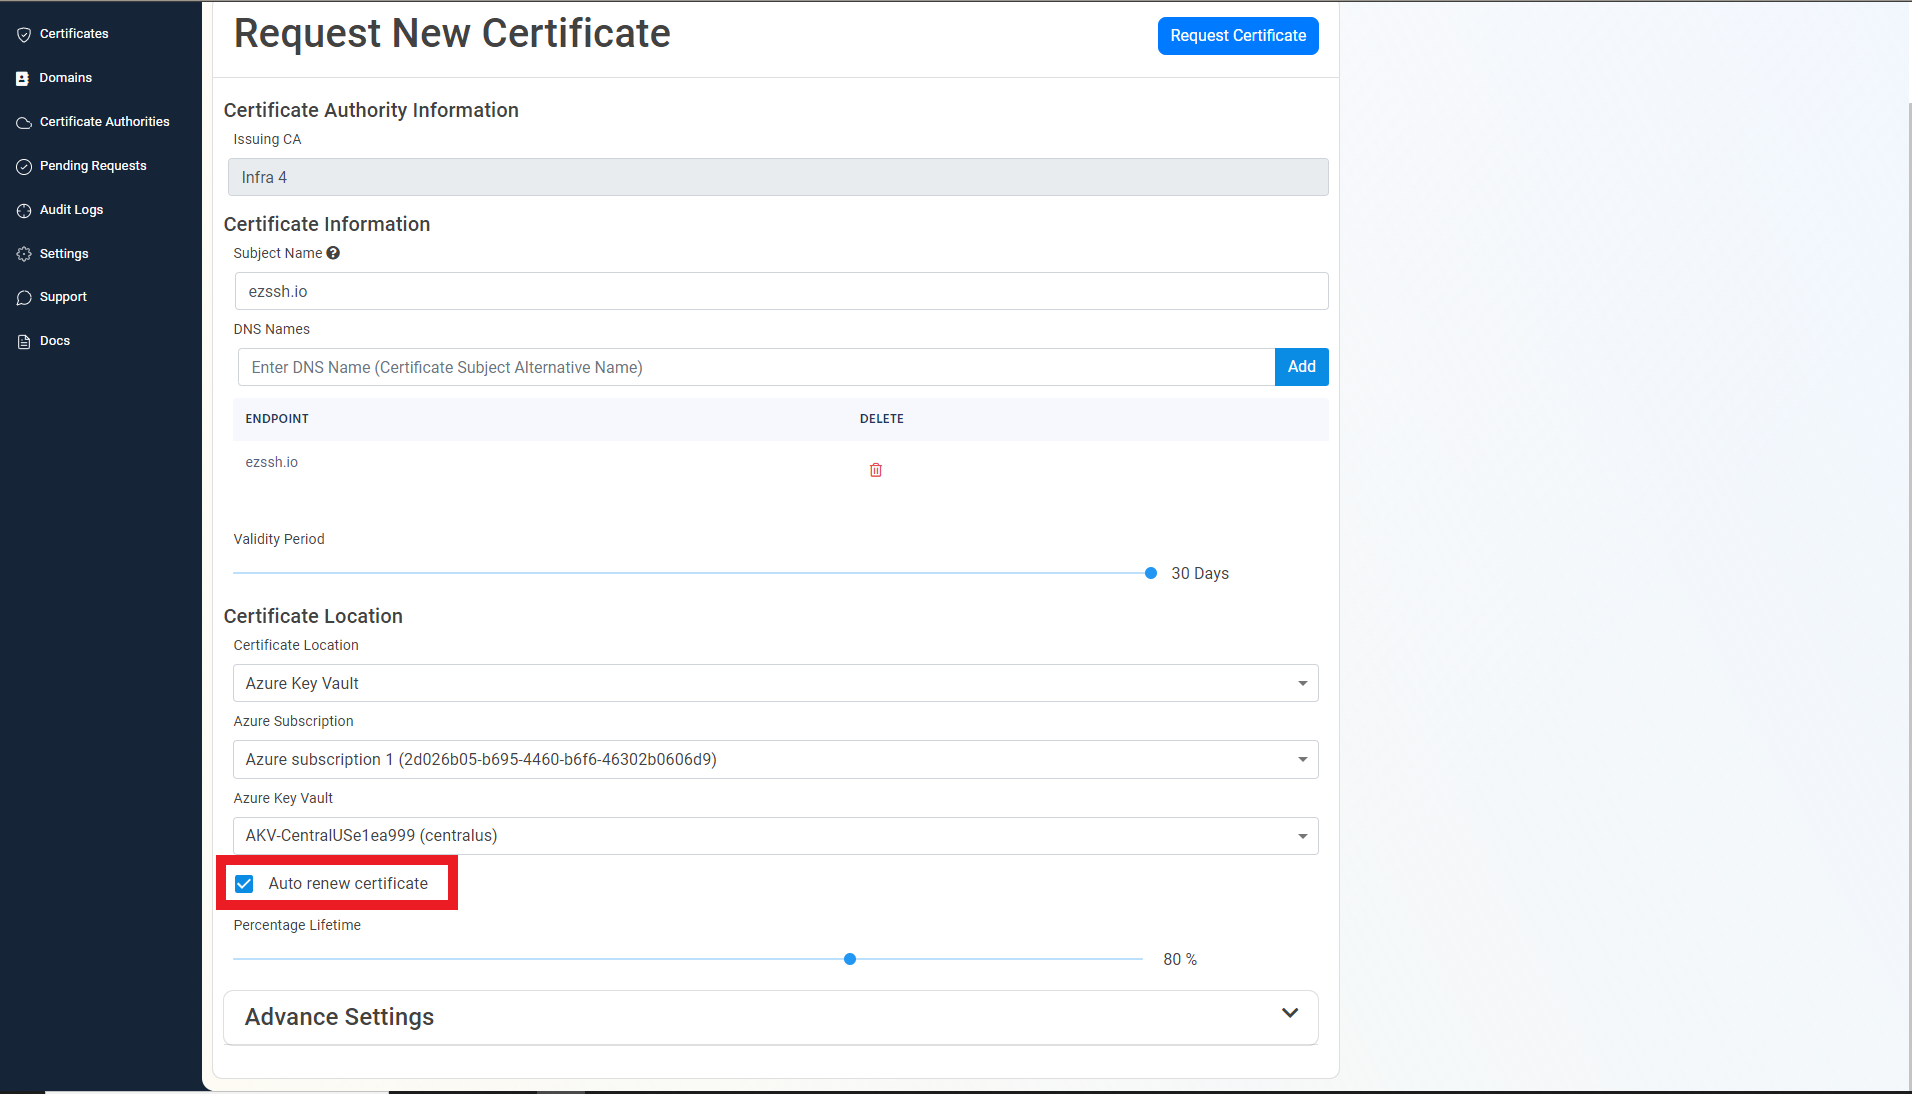
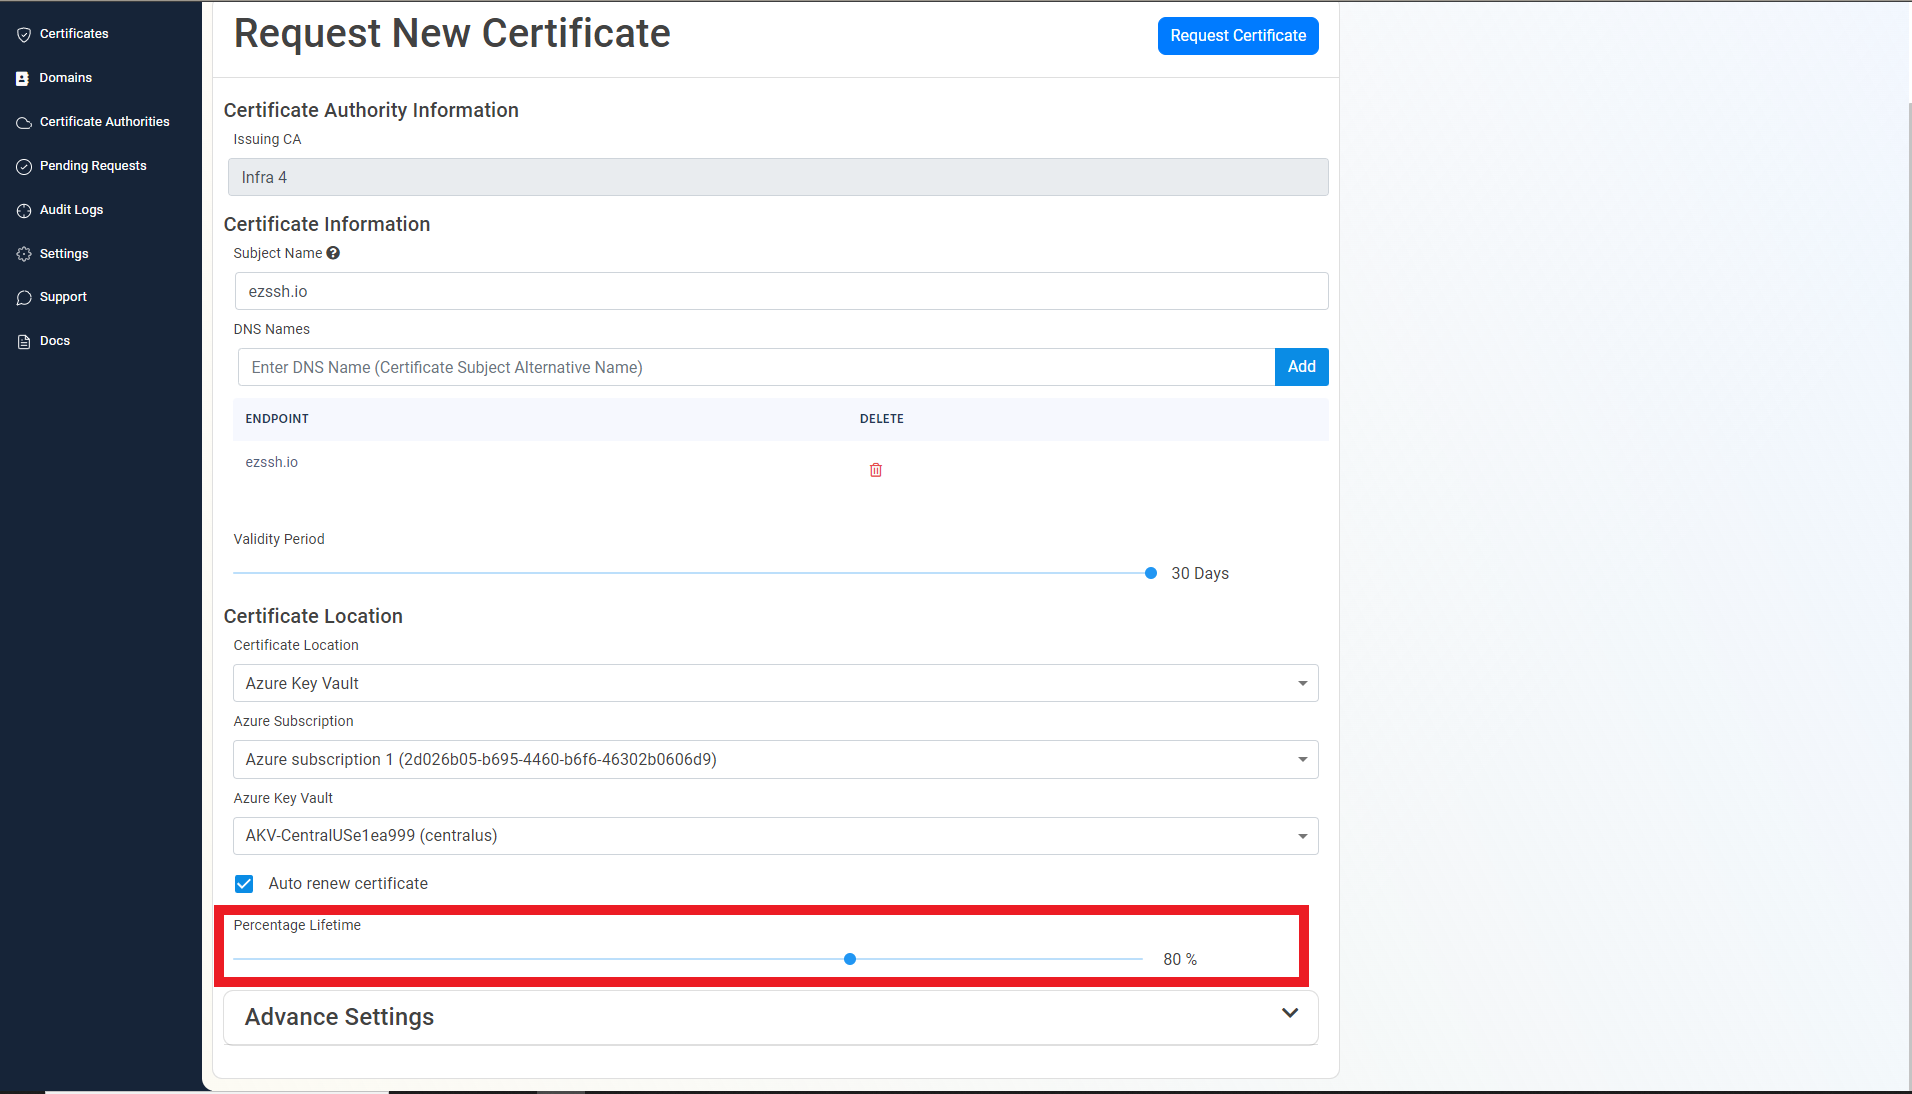
- Adjust the slider to select at what percentage of the certificate lifetime do you want EZCA to automatically renew the certificate.
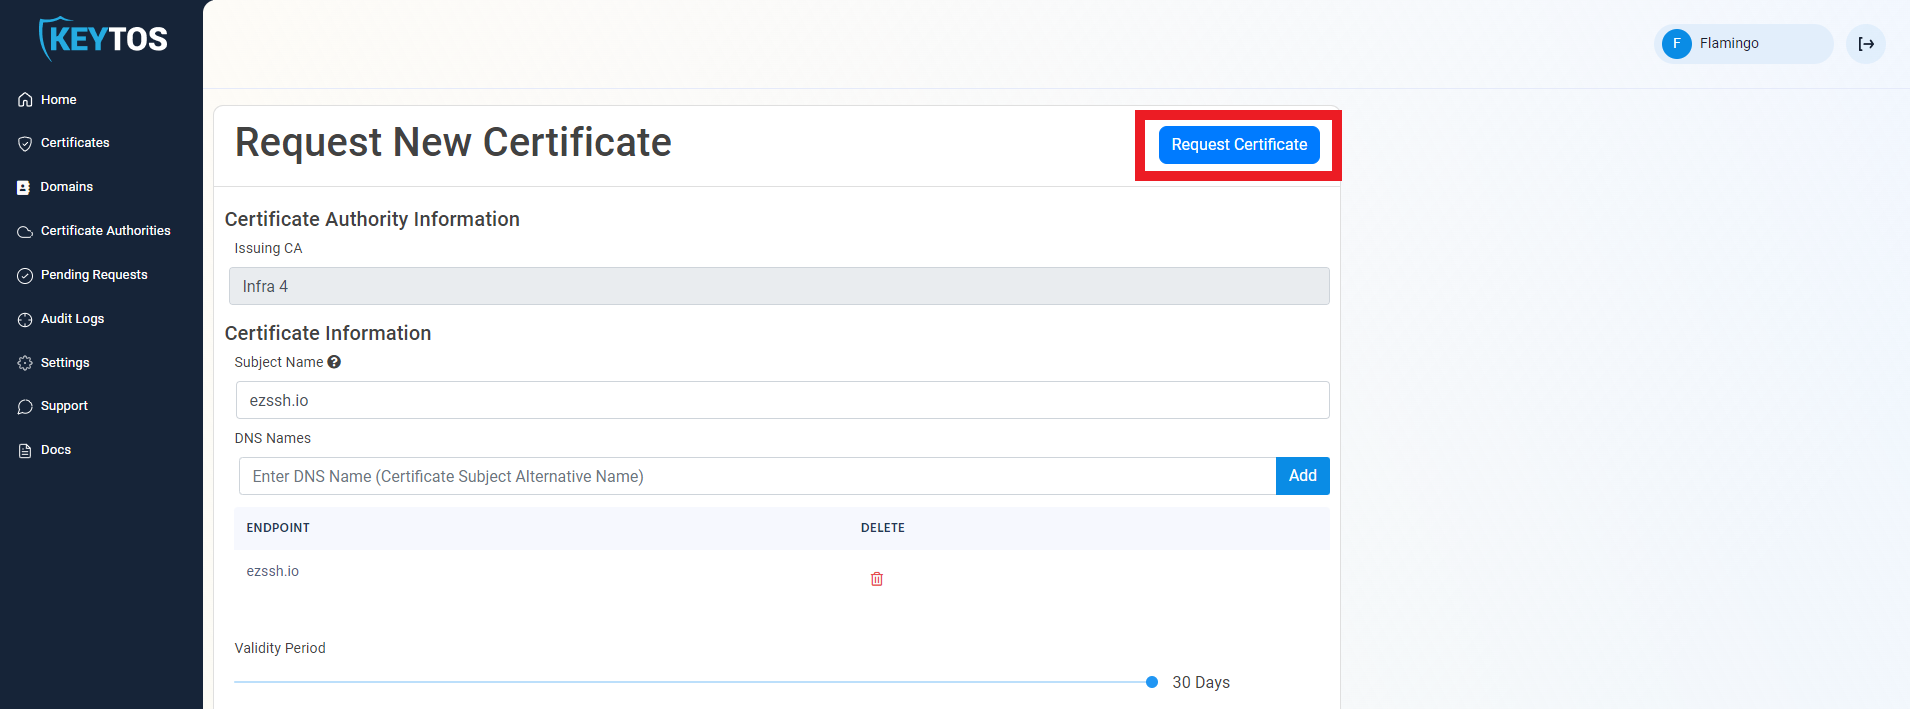
- Click the “Request Certificate” button at the top right of the form.
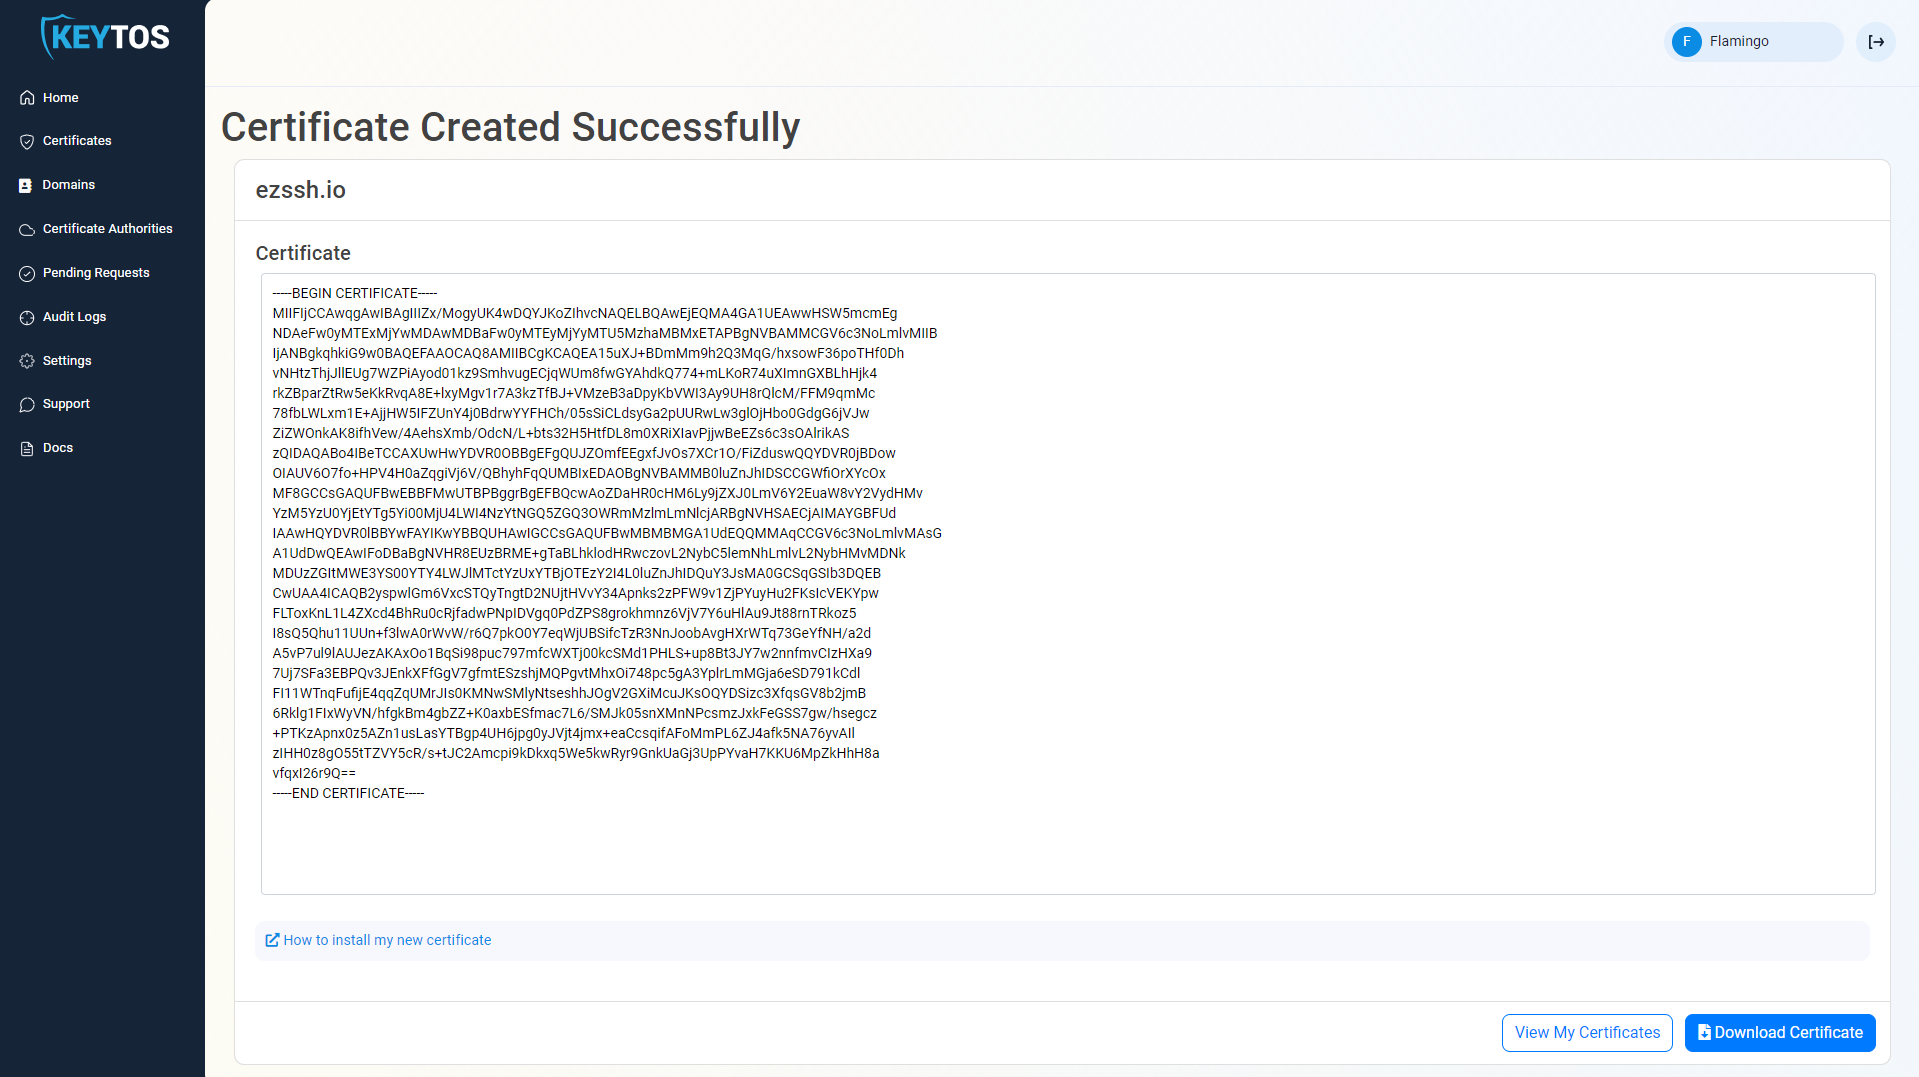
- Your Certificate has been created successfully
Using The Certificate
In this section we will cover where the certificate was created and present you with Microsoft resources on how that certificate can be used.
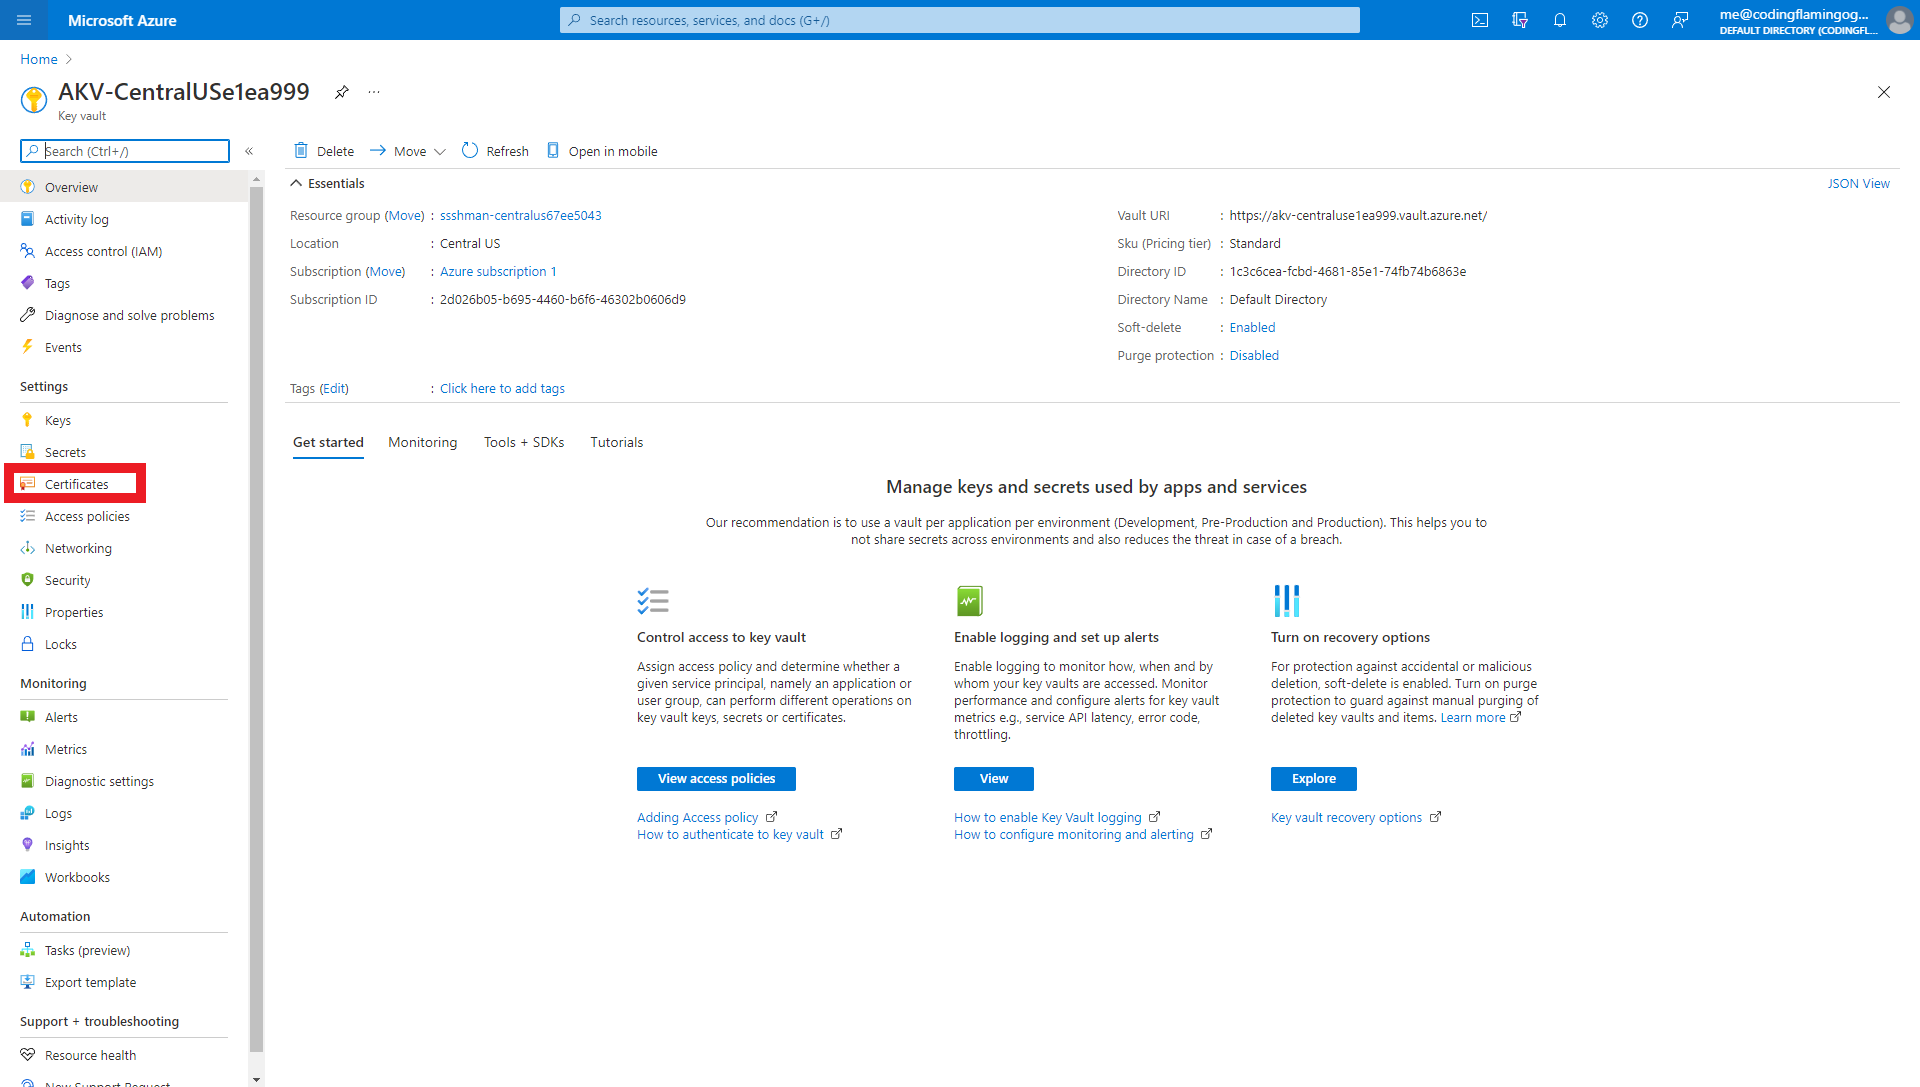
Getting The Certificate From The Azure Portal
- Navigate to https://portal.azure.com
- Navigate to the Azure Key Vault you selected to keep this certificate.
- Click on Certificates
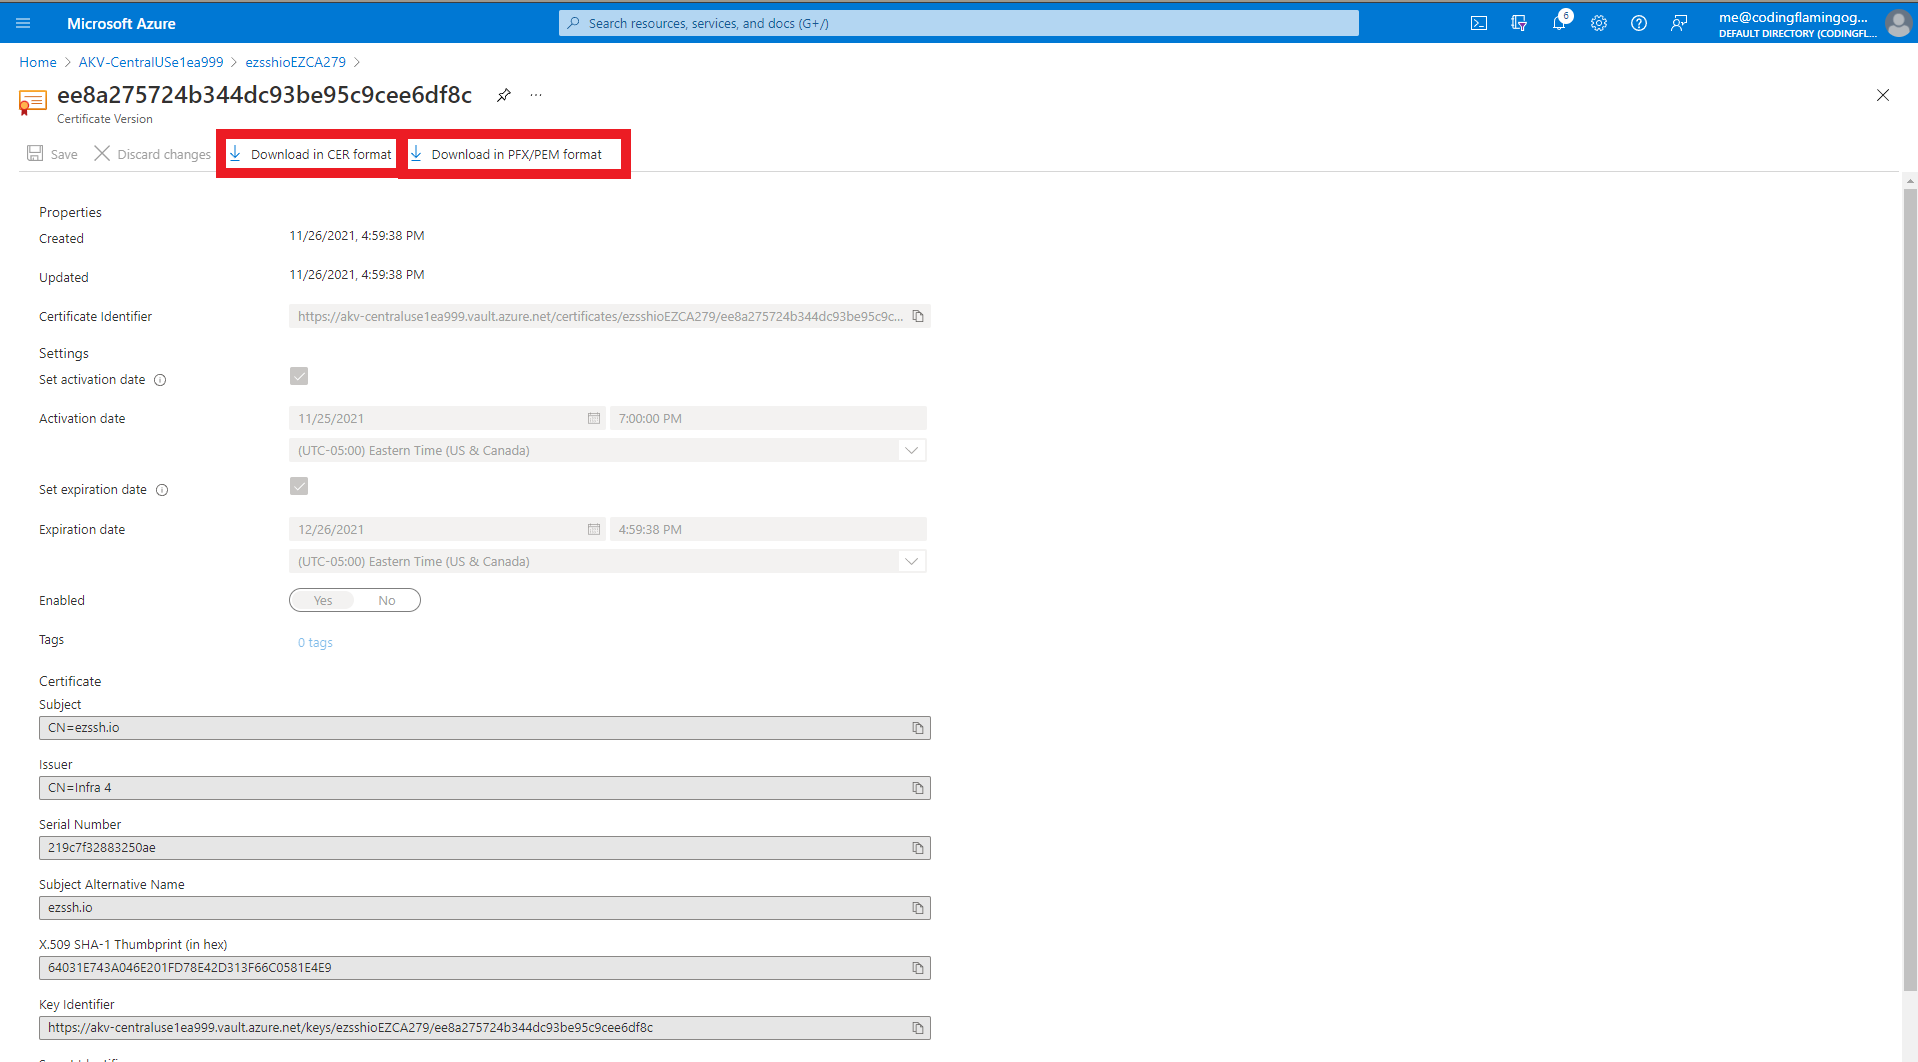
- You should see a certificate with the following name convention “CERTIFICATENAME"EZCA"RANDOMNUMBER” where CERTIFICATENAME is the subject name for your certificate and RANDOMNUMBER is a random number created by EZCA to avoid collisions in the Azure Key Vault.
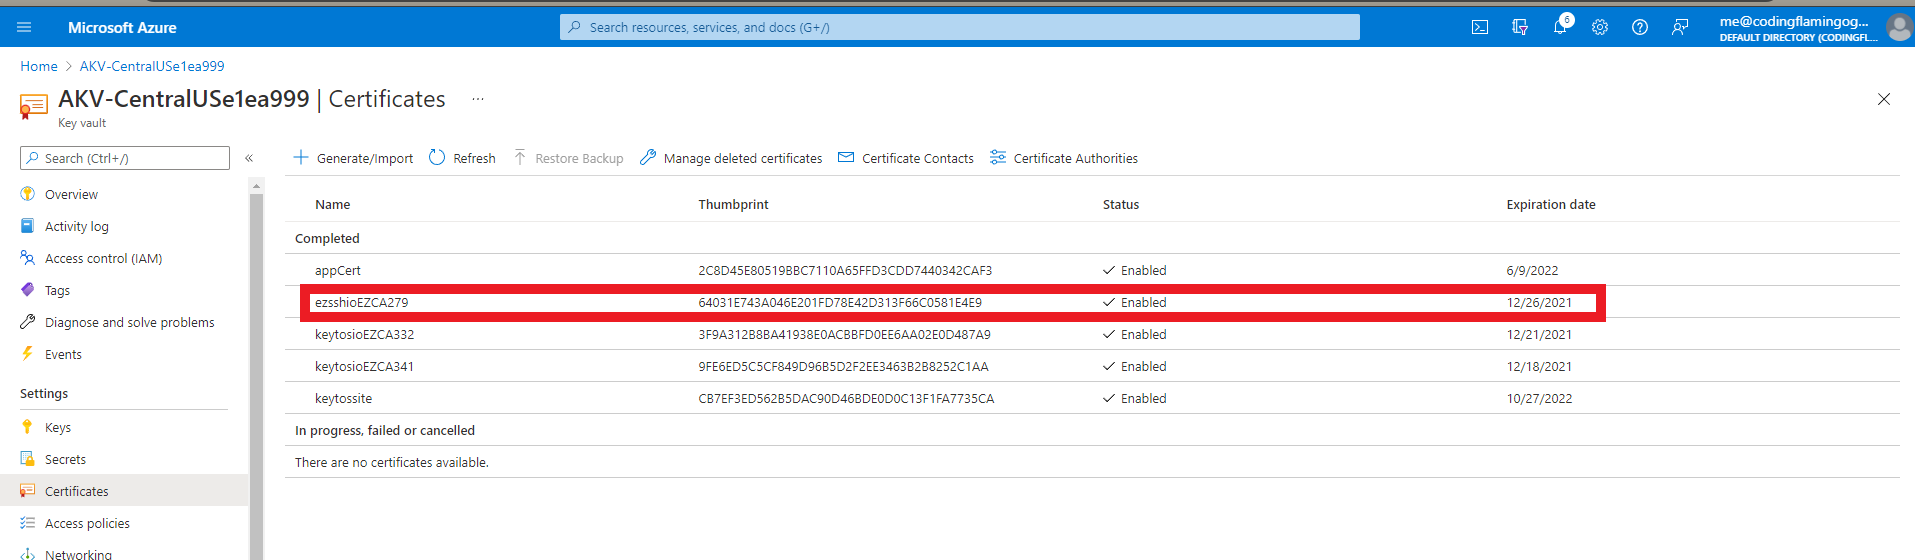
- Click on the certificate
- Click on the current version
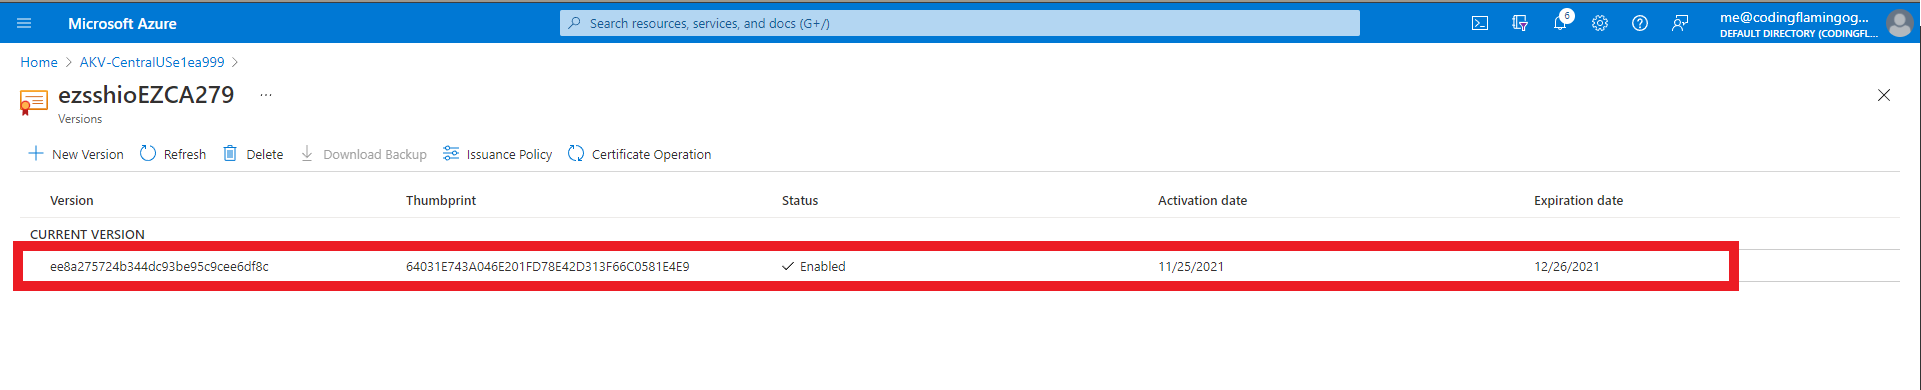
- This will open the certificate details page.
- From the certificate details page you can download the CER formatted certificate (No private key) or the PFX/PEM format that contains the private key.