b. Selecting a Plan in Azure
Prerequisites
Creating the Azure Resource
- Go to https://portal.azure.com/
- Click on “Create a resource”.
- Type “EZCA” in the search bar.
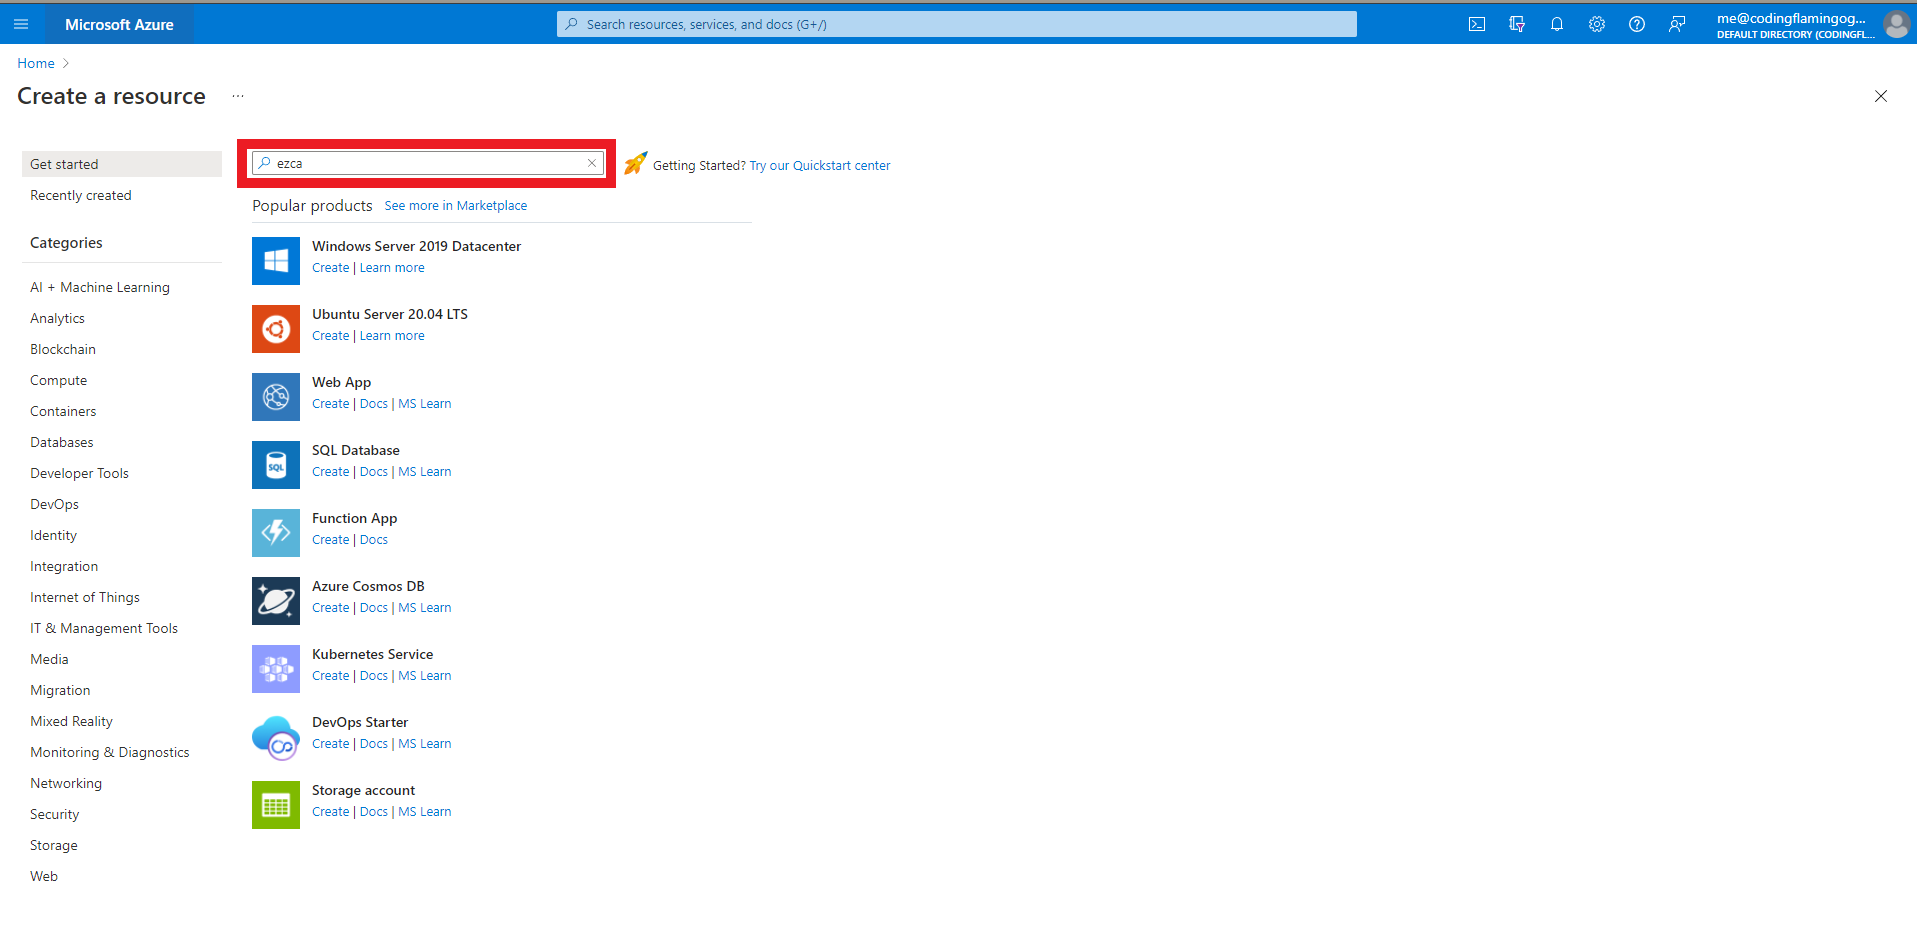
- Press enter.
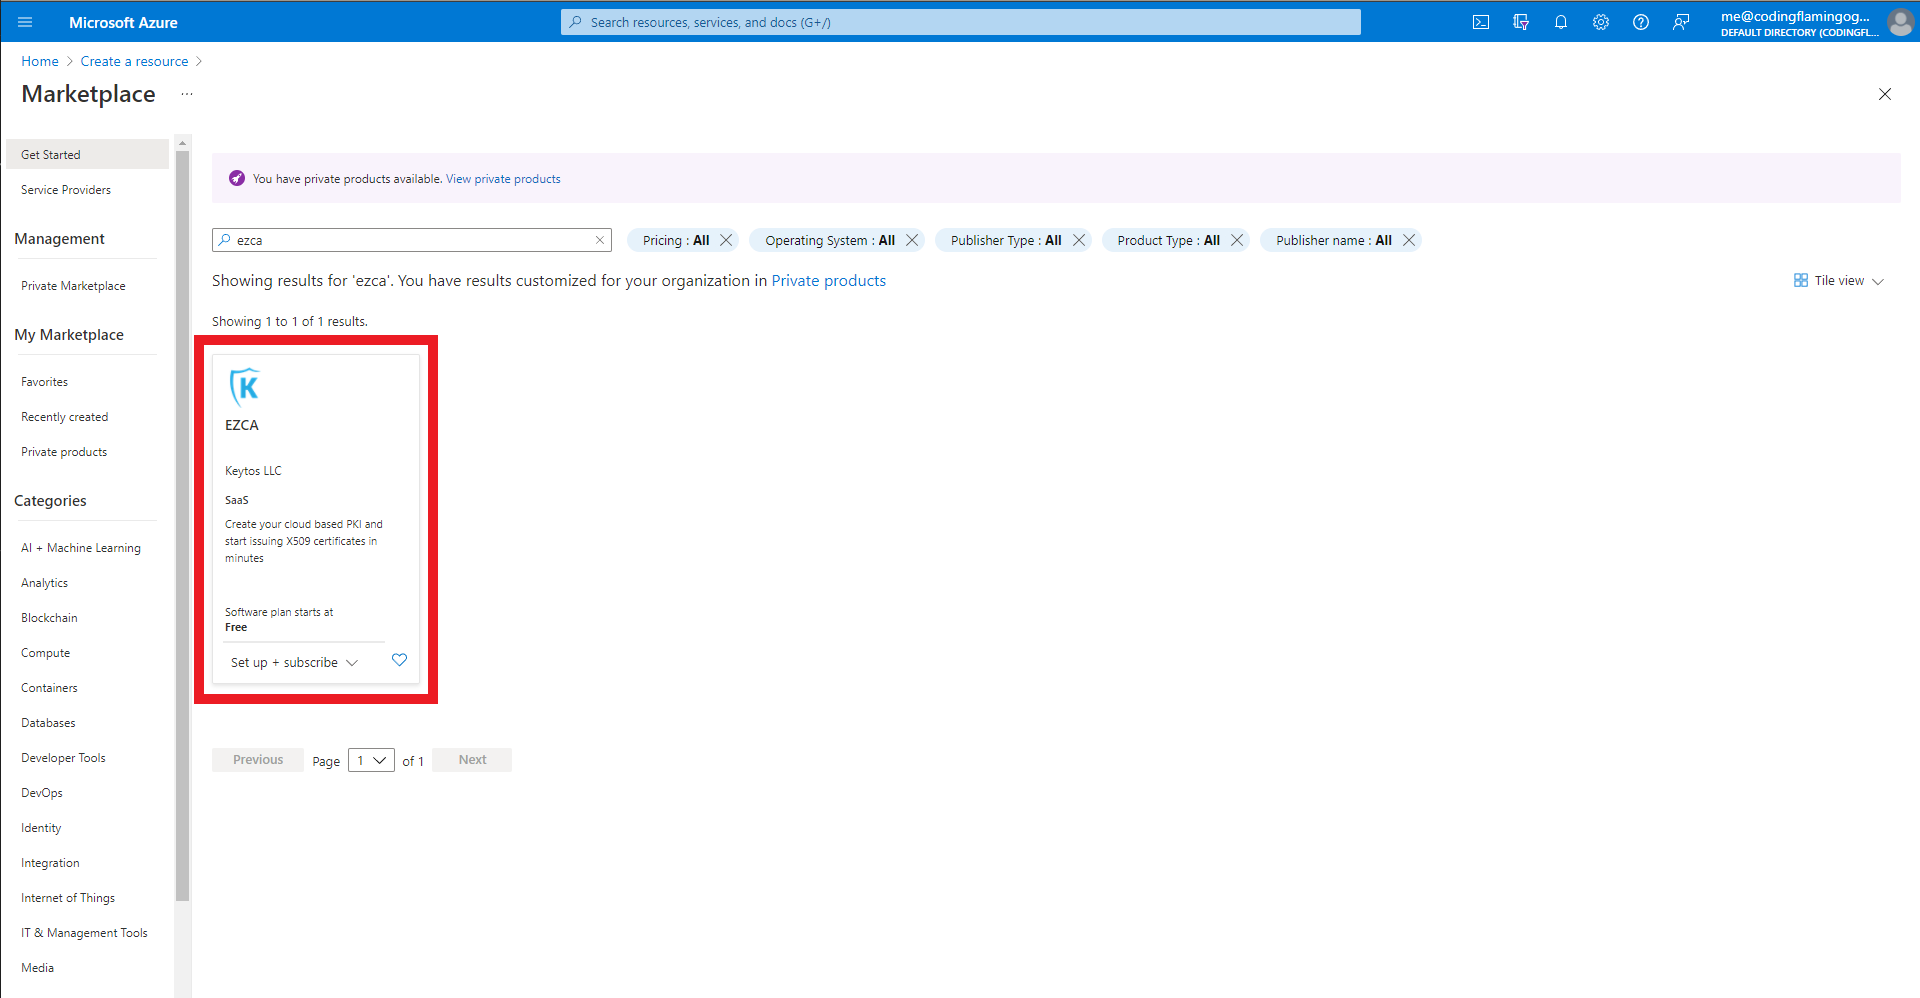
- Select the EZCA offering
- Select the plan.
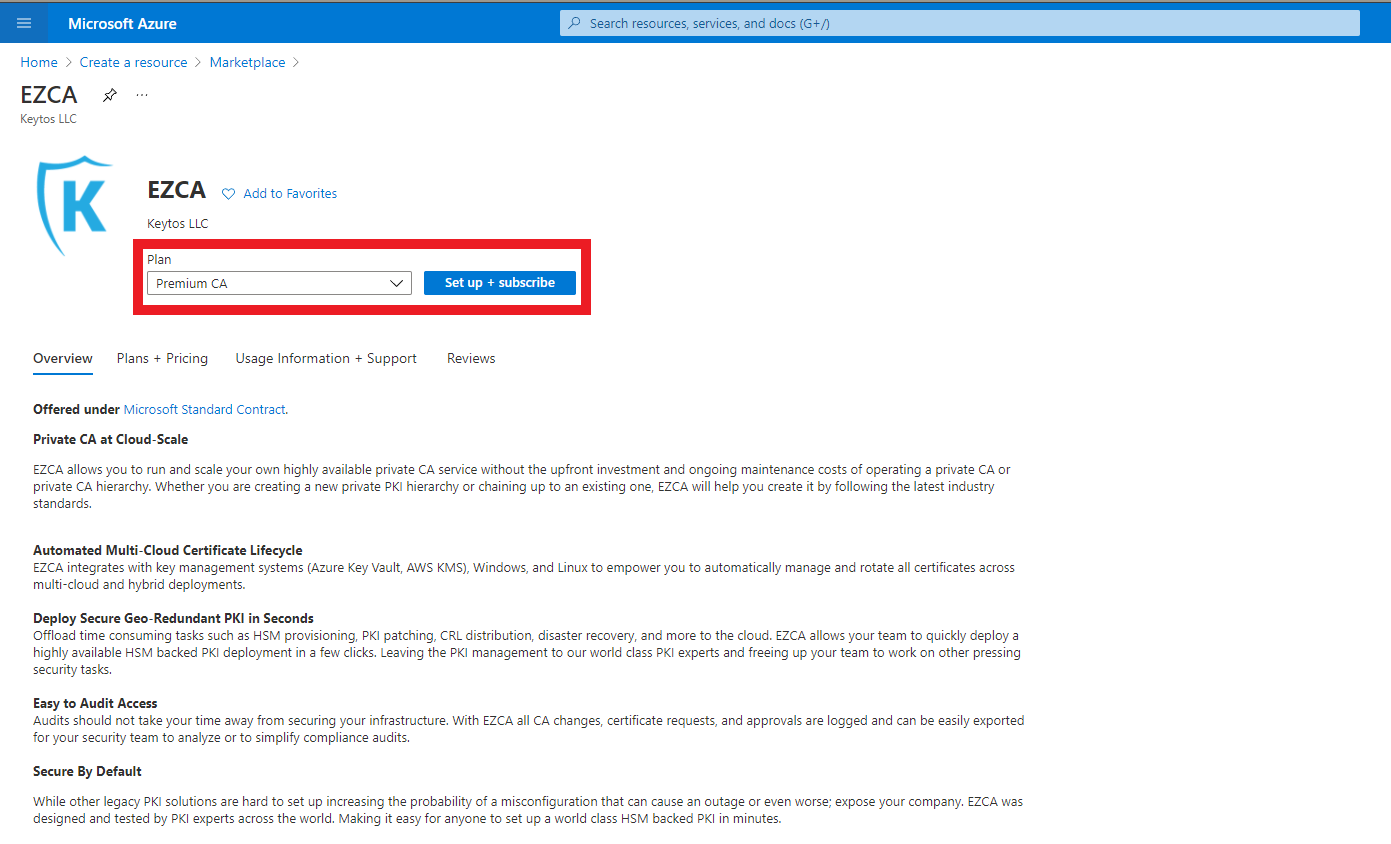
- Click the “Set up + Subscribe” button
- Enter your subscription and resource group information.
- Click the “Review + Subscribe” button
- Enter your email and phone number

- Click the “Subscribe” button
- Once the subscription is complete, click the “Configure account now” button.
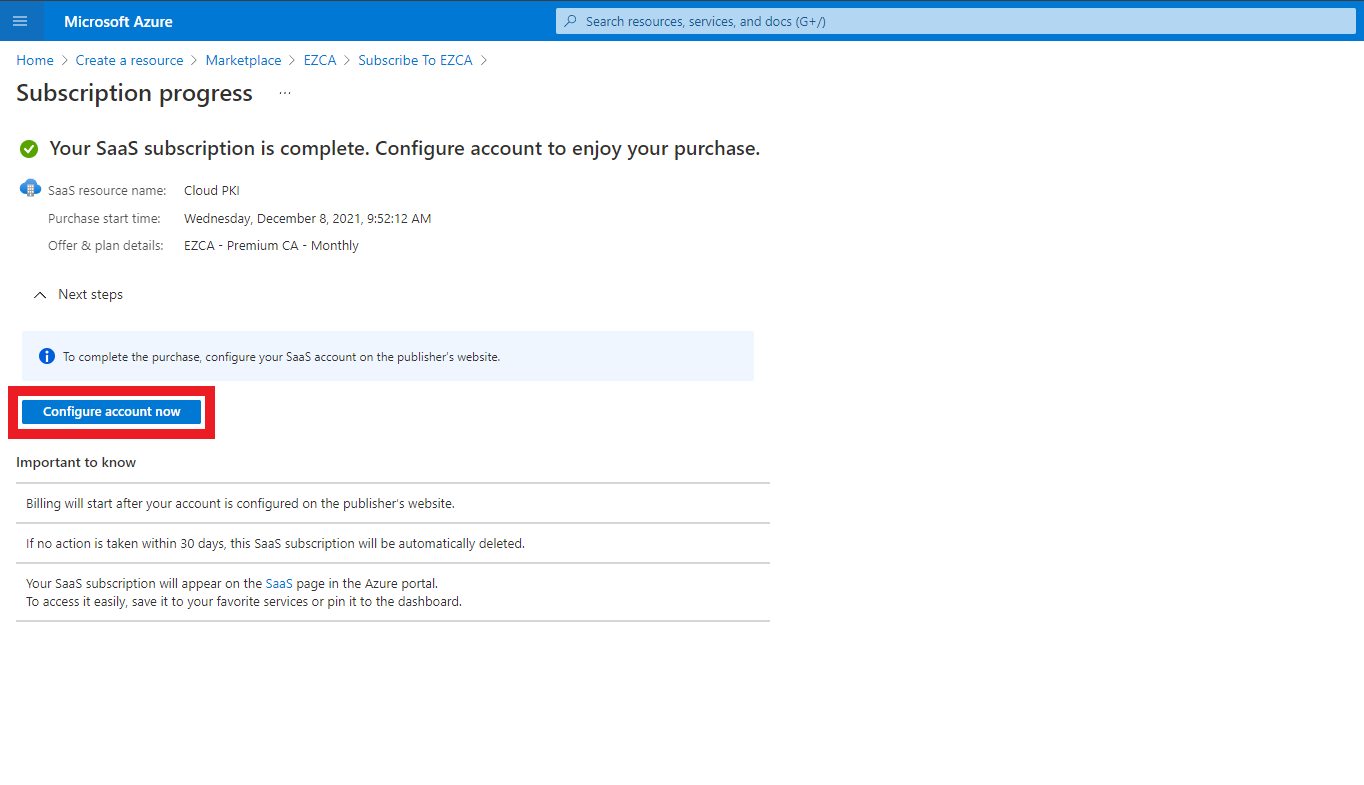
- This will redirect you to our portal (https://portal.ezca.io/). Sign in with your same Microsoft account.
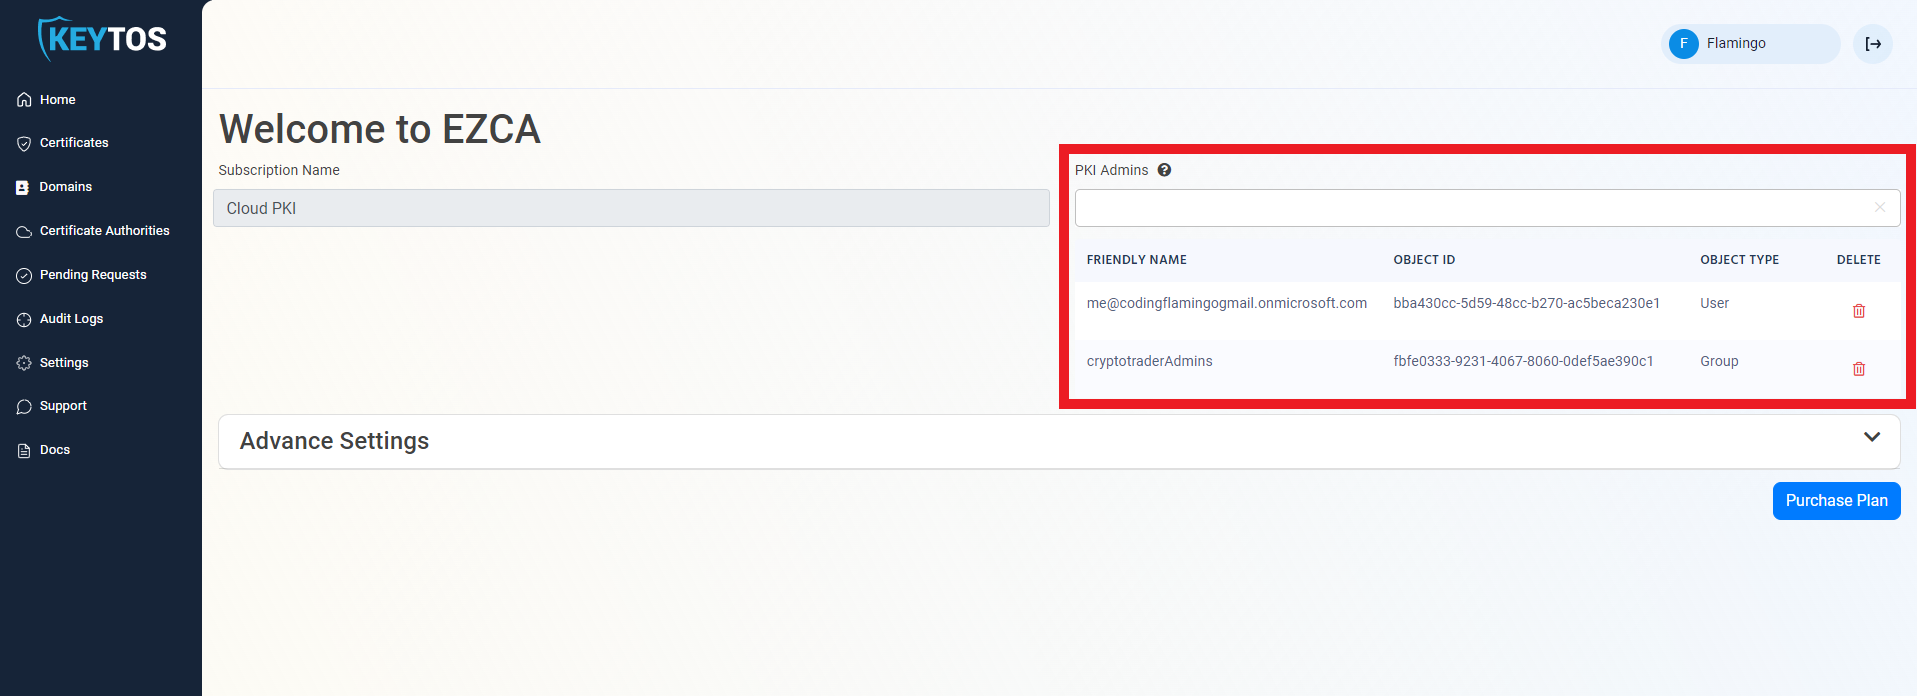
- Enter the AAD Users or Groups that represent your PKI Admins
PKI Administrators will be able to Create, Manage, and Delete Certificate Authorities. This should be a small group of security minded people.
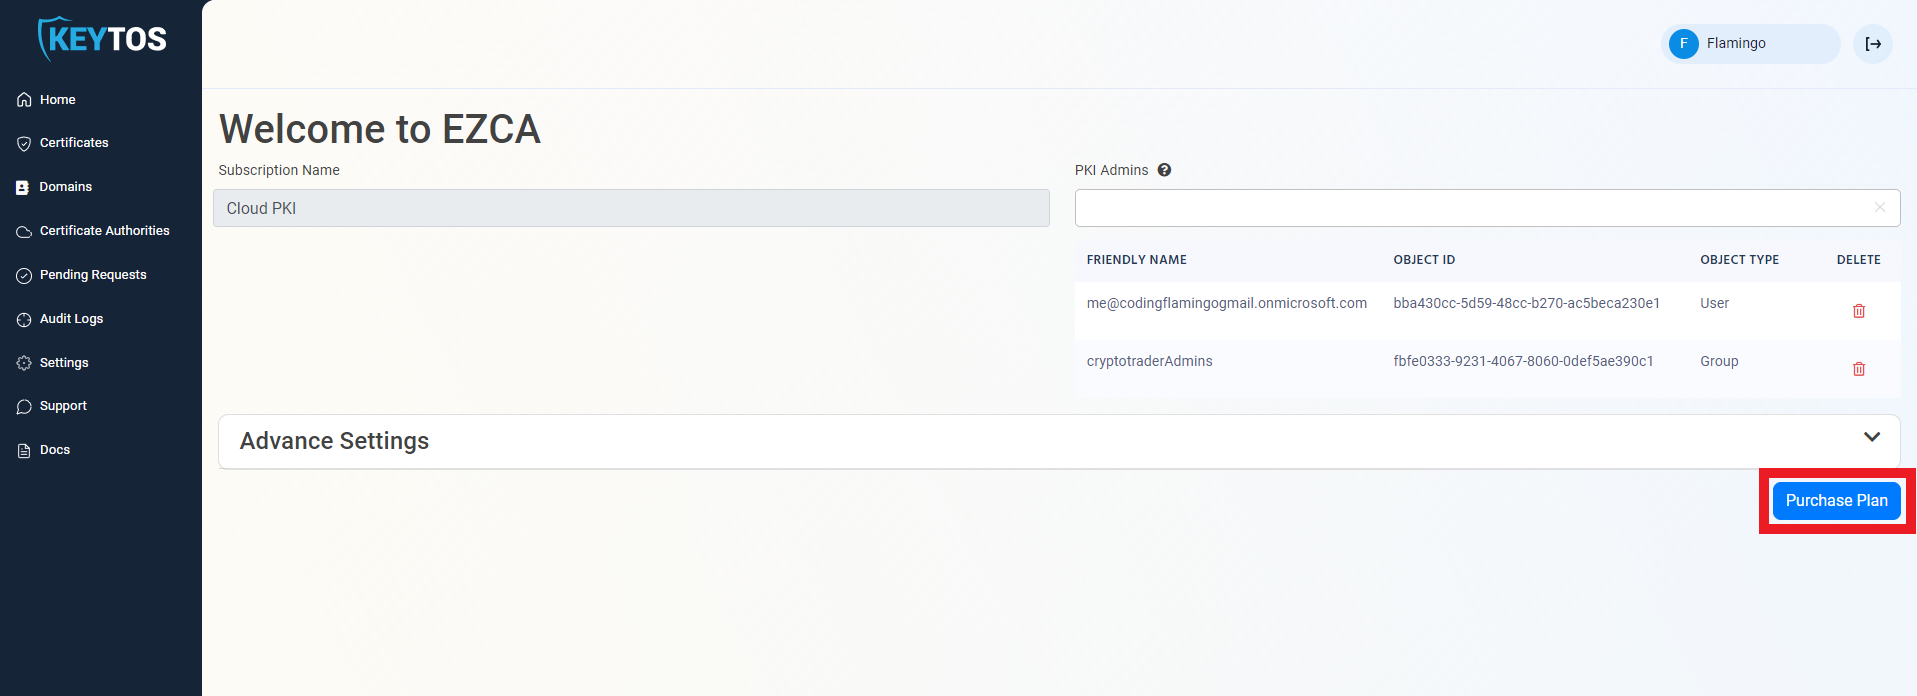
- Once the subscription details are correct, click the “Purchase Plan” button.
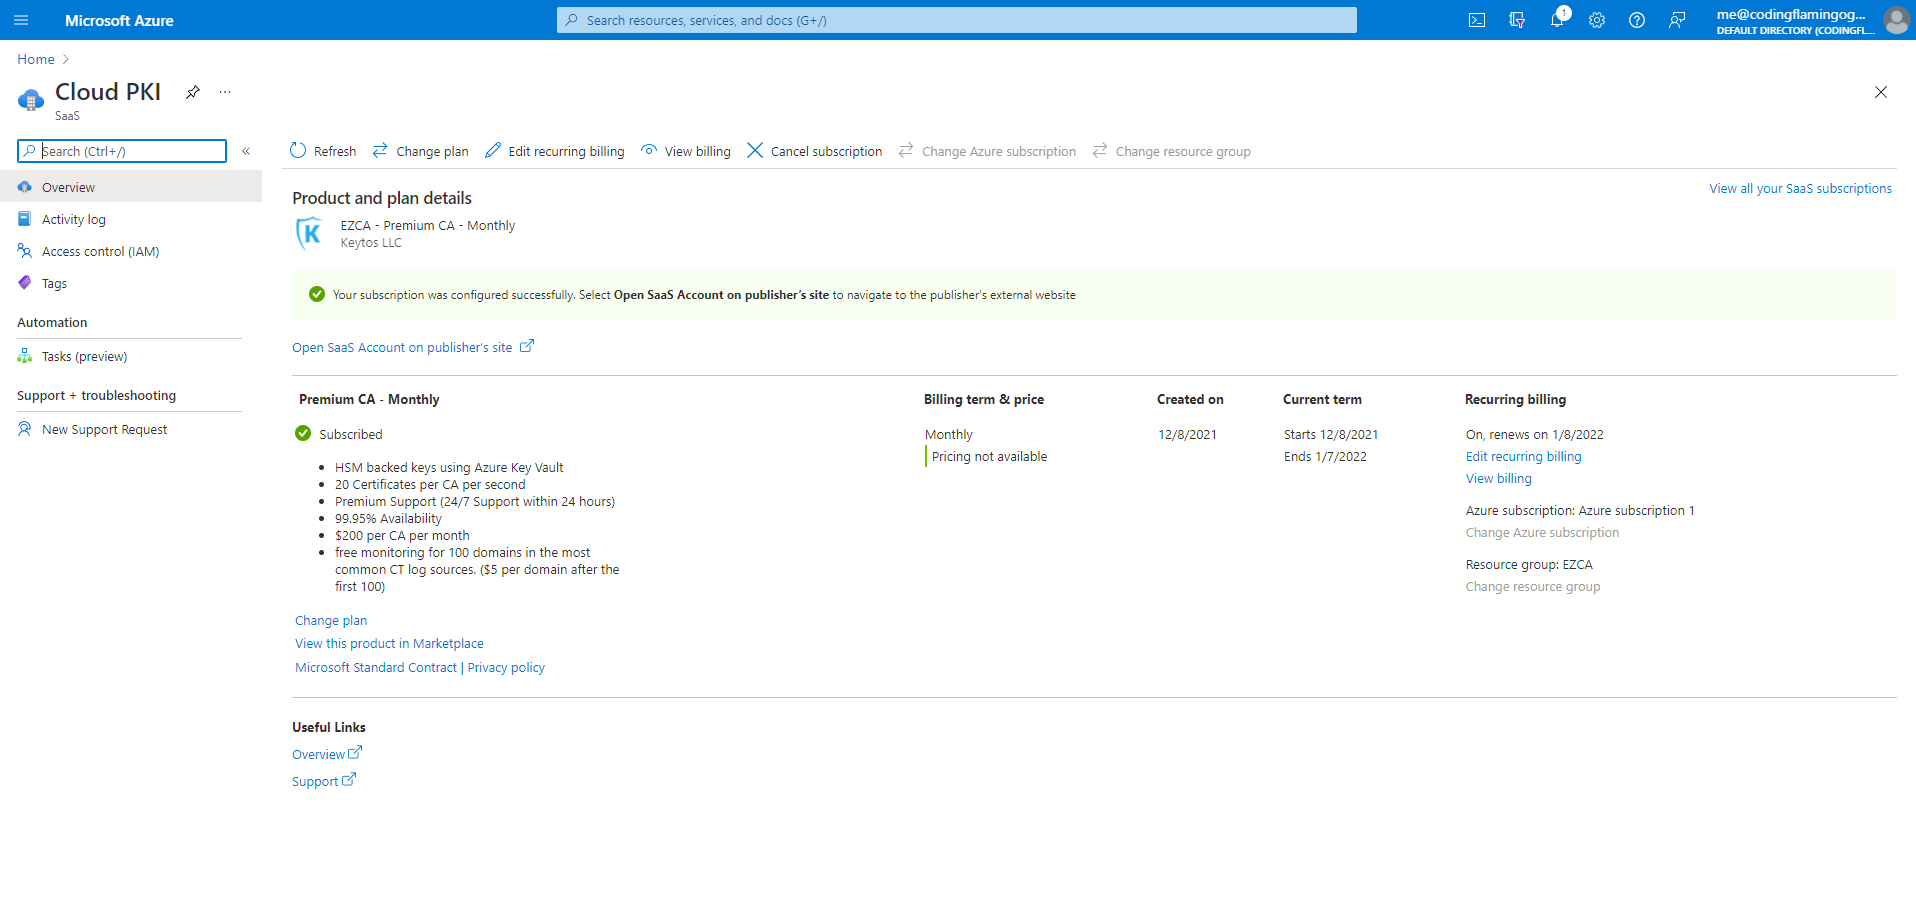
- Once you have registered in EZCA, the status in your Azure resource will change to subscribed.
- Once you are registered, you are ready to create your first CA.