How To Install SSL Certificate
Download Browser Generated Certificate to Windows
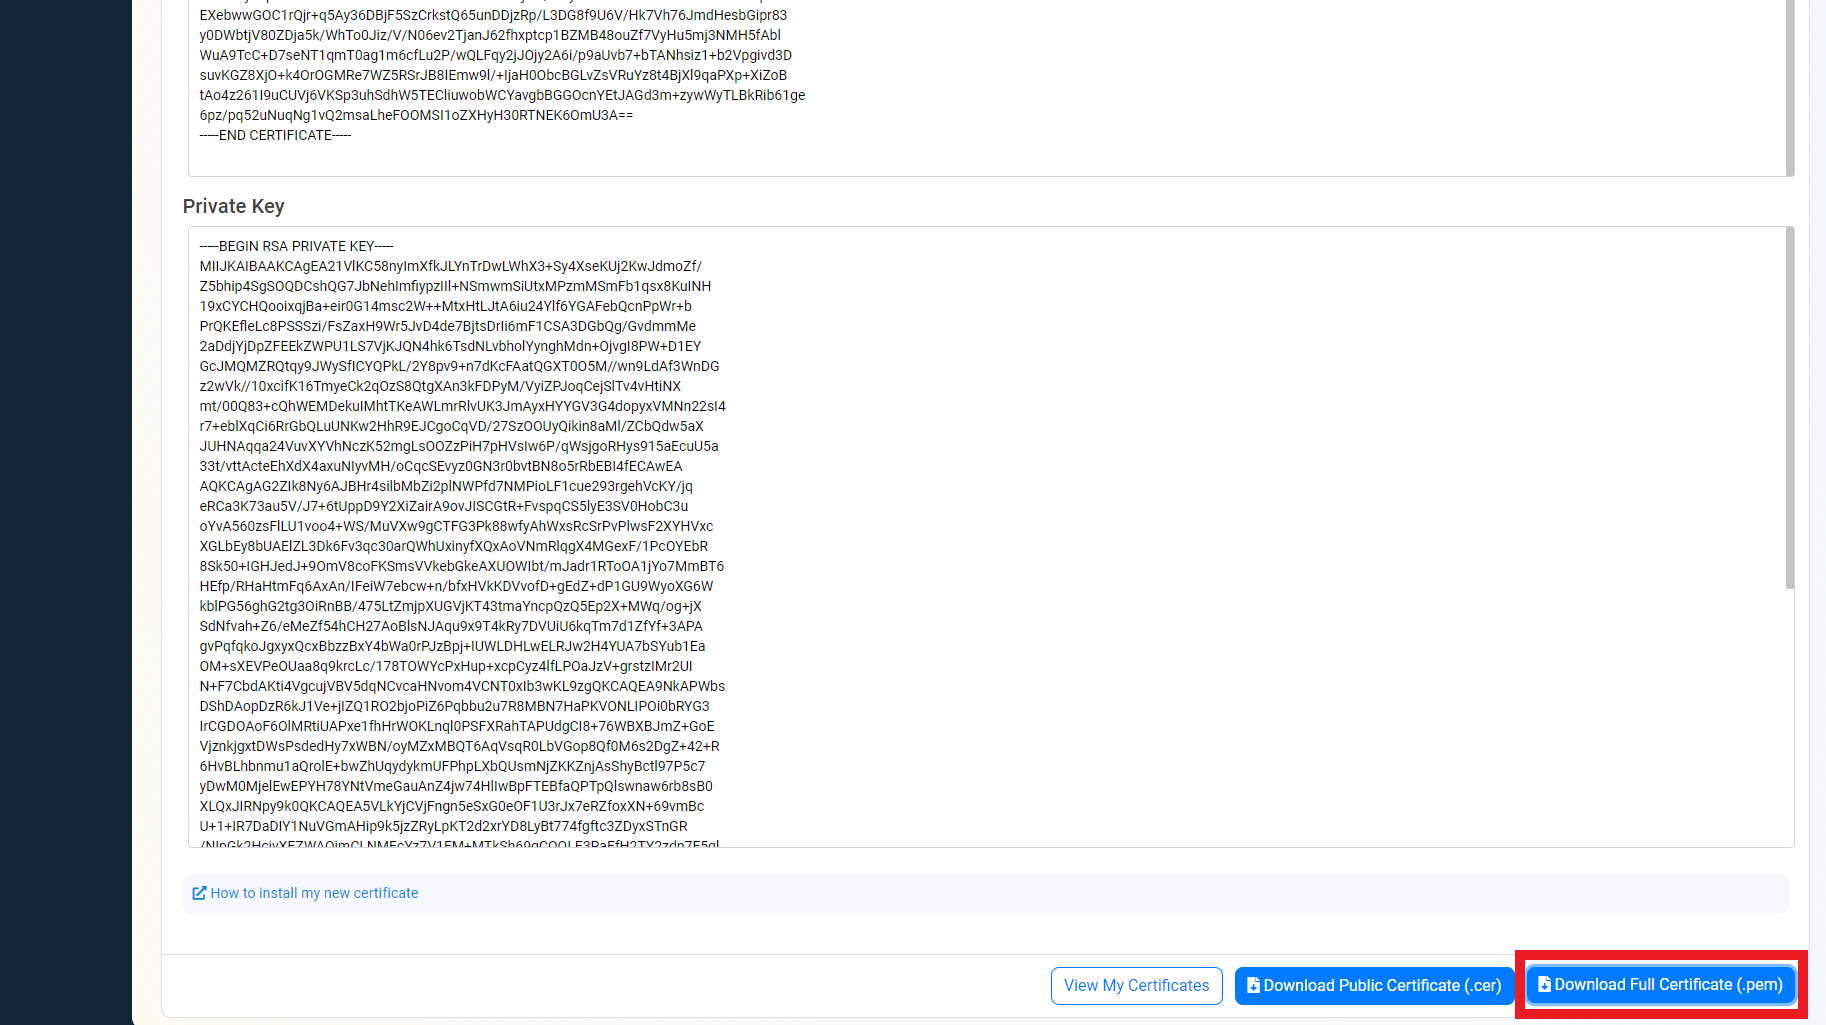
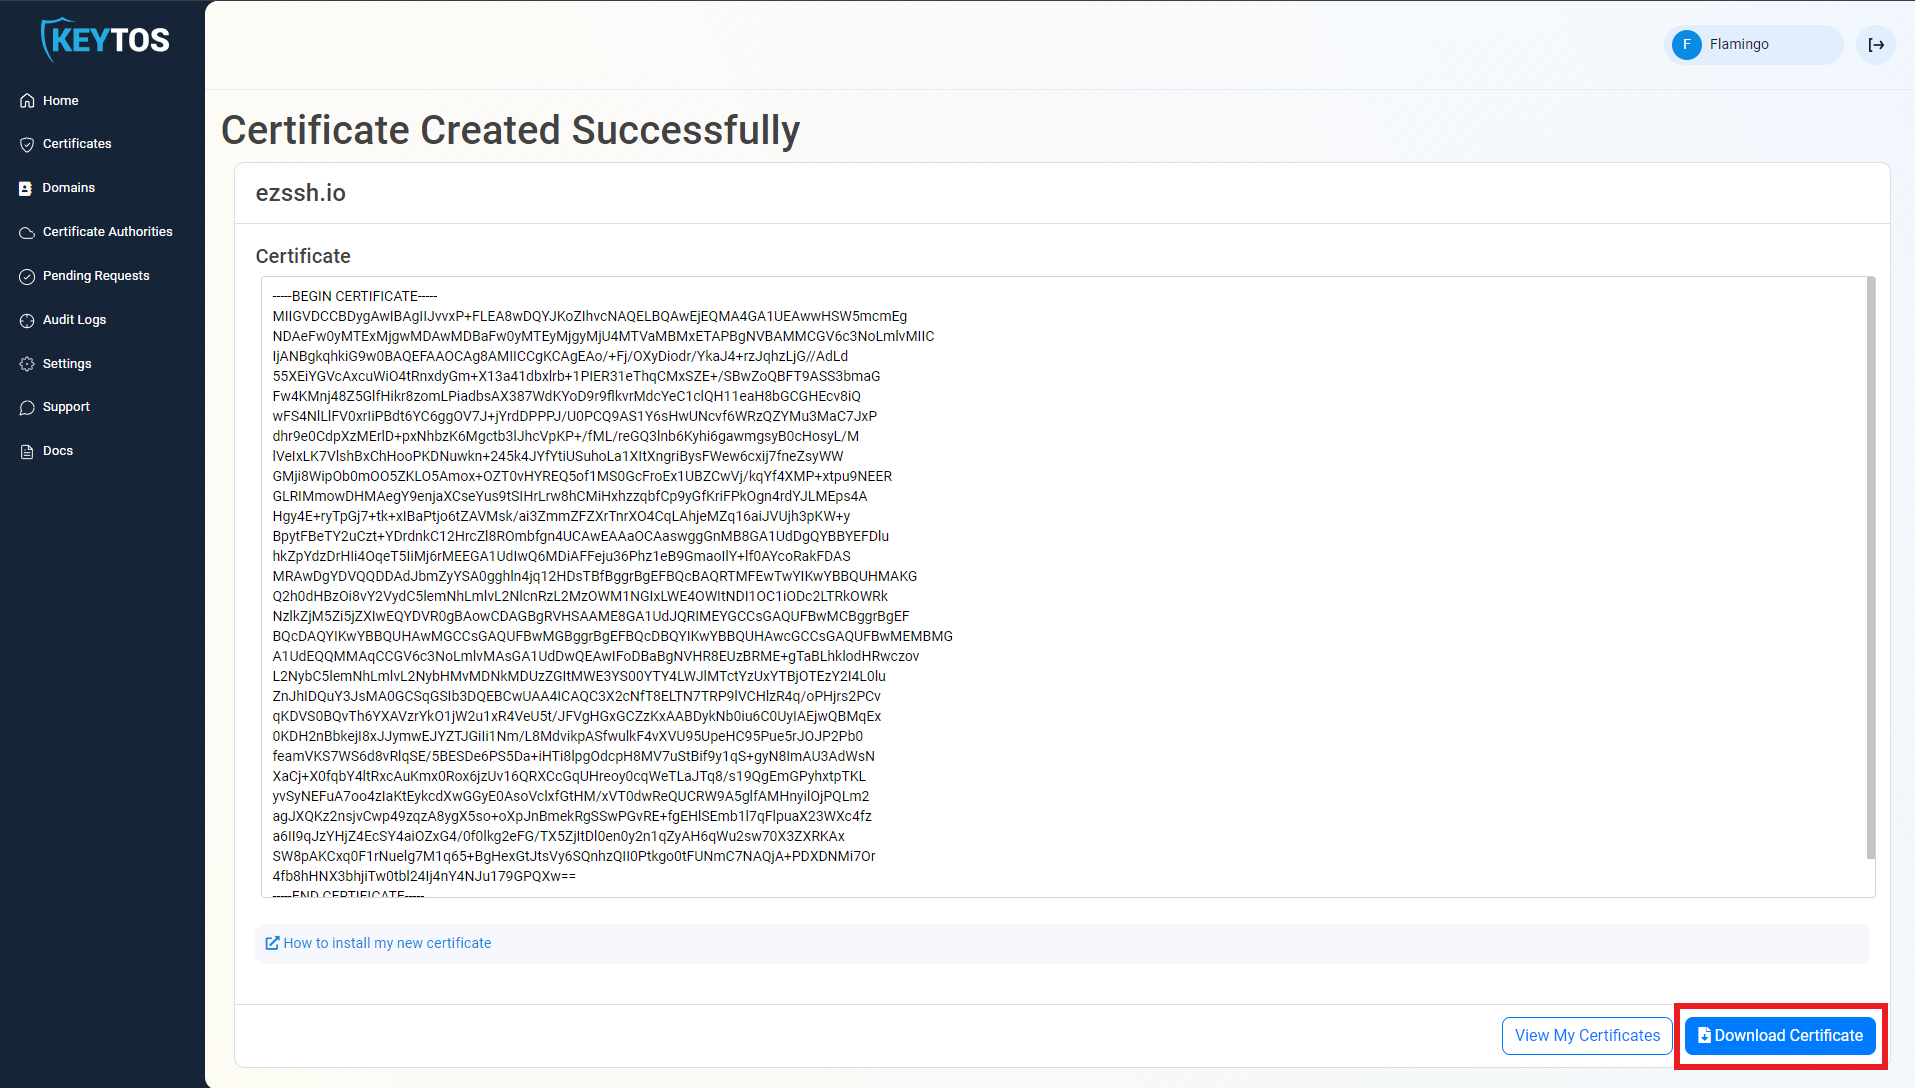
Download the PEM certificate
Open your favorite terminal.
Navigate to the folder where your certificate was saved.
Run the following command to convert the pem file to a format Windows understands (pfx) where YOURDOWNLOADEDCERTIFICATE is the pem certificate you downloaded from EZCA and YOURDESIREDOUTPUTFILE is the name of the file you want to create.
If you get an error of openssl not being installed, you can get the latest binaries from here
openssl pkcs12 -inkey YOURDOWNLOADEDCERTIFICATE.pem -in YOURDOWNLOADEDCERTIFICATE.pem -export -out YOURDESIREDOUTPUTFILE.pfxEnter a password to protect your private key.

This should create a new PFX certificate with the name you entered.

Now that the certificate is in a Windows compatible format, open your preferred certificate store.
For the current user only
- Search in the Windows search bar for “Manage user certificate”.
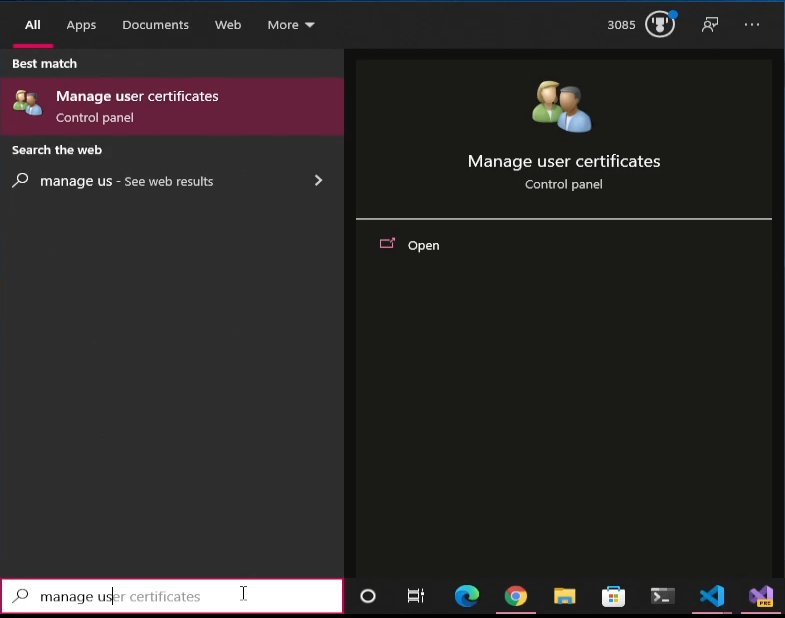
- Click on the application.
For all the users in this computer (Requires Administrator permissions)
- Search in the Windows search bar for “Manage computer certificate”.
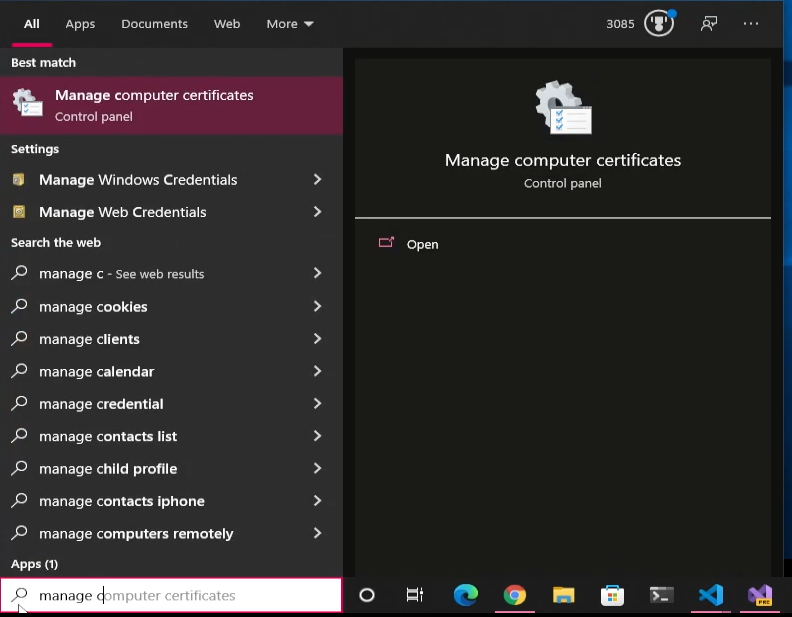
- Click on the application.
- Search in the Windows search bar for “Manage user certificate”.
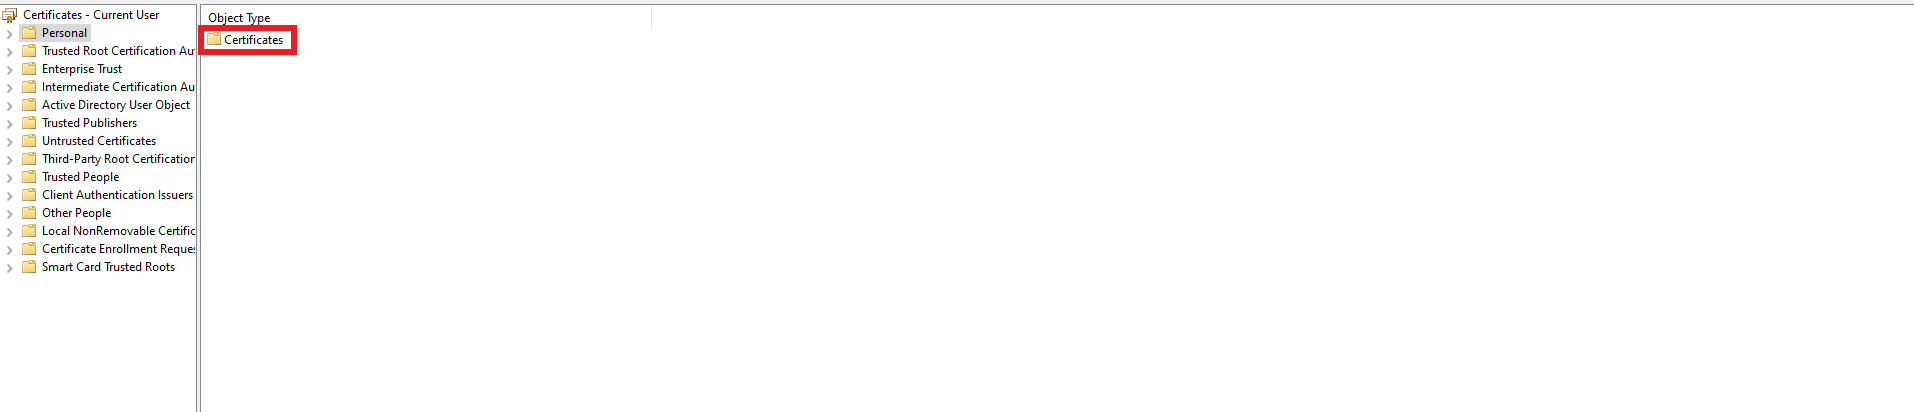
Click on Personal.

Click on Certificates.
Right Click on any whitespace.
Select All Tasks -> Import.

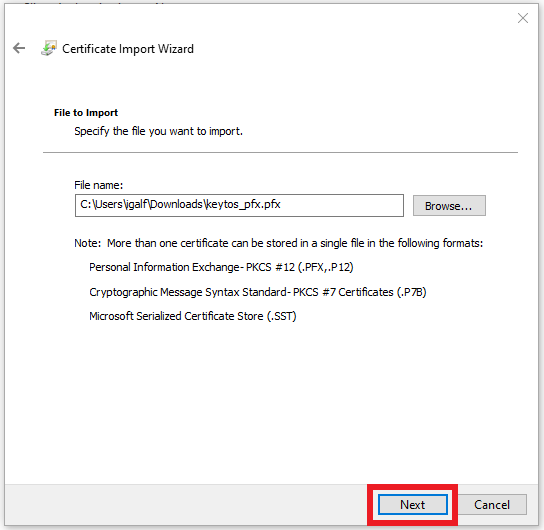
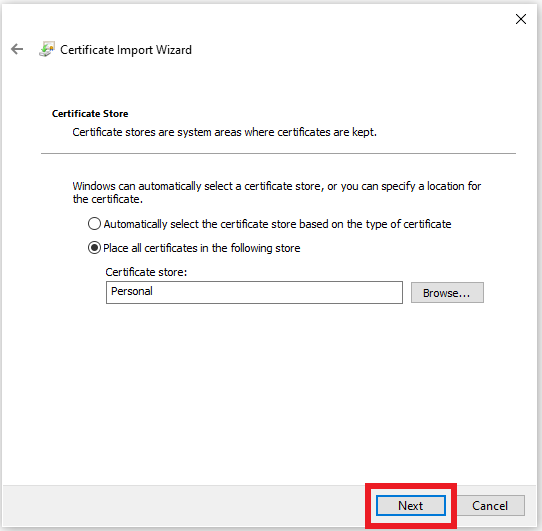
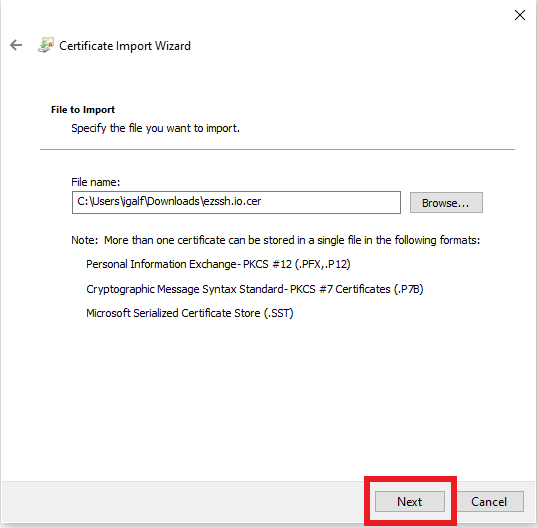
Click “Next” on the fist page of the wizard.
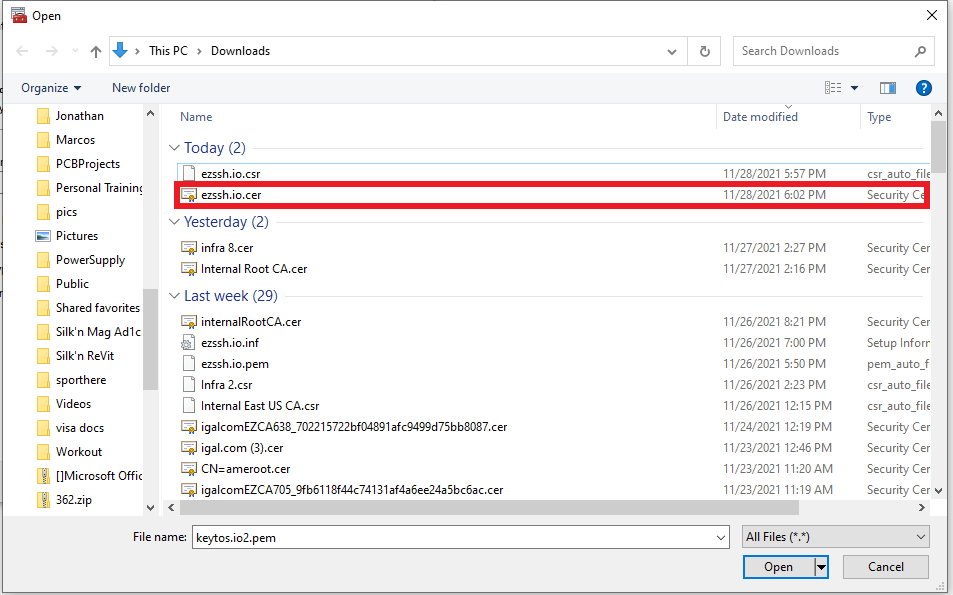
Click the “Browse…” button.

Select the pfx certificate you just created (You might have to change the file type on the bottom right to show all files).
Click “Next”.
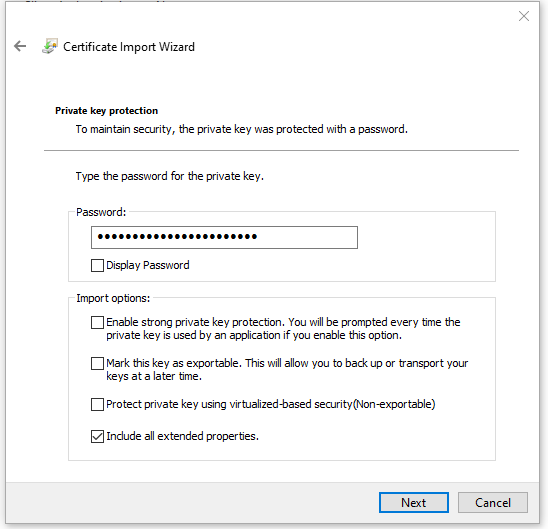
Enter the password you set when converting the certificate.
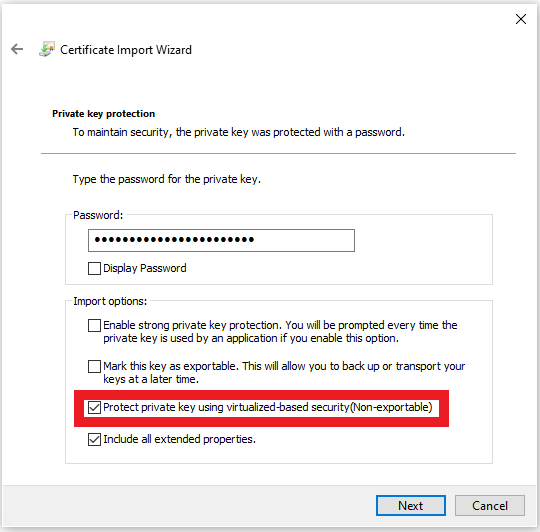
(Optional but recommended) Select the “Protect private key using virtualized-based security” to make your private key non exportable.
Click “Next”.
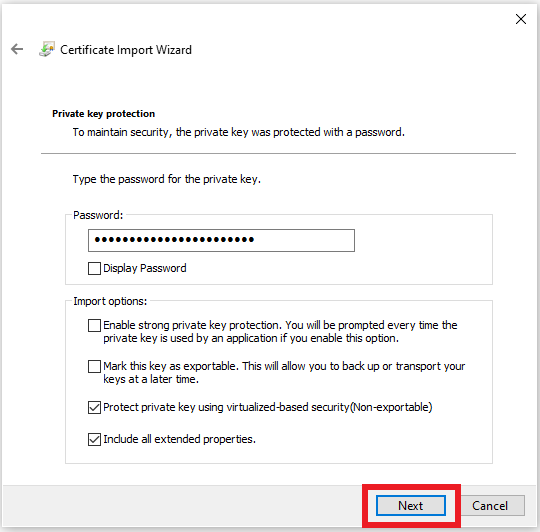
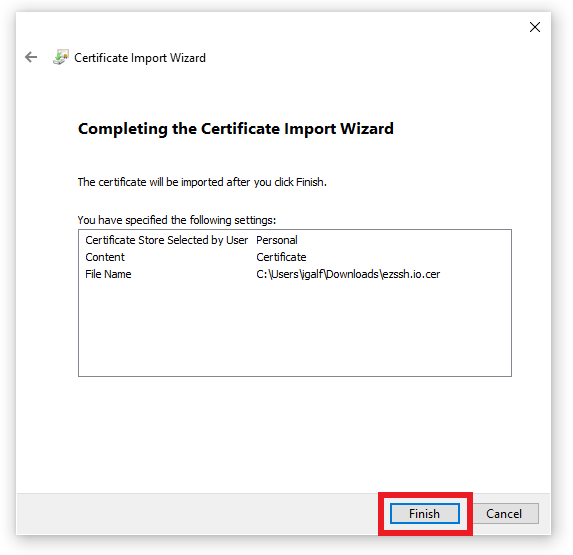
Click “Next”.
Click “Finish”.
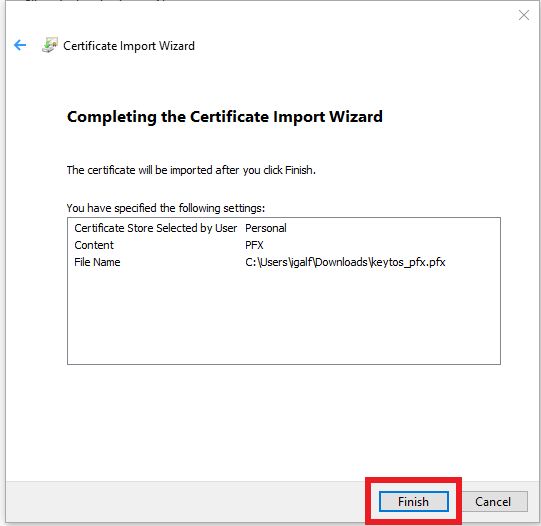
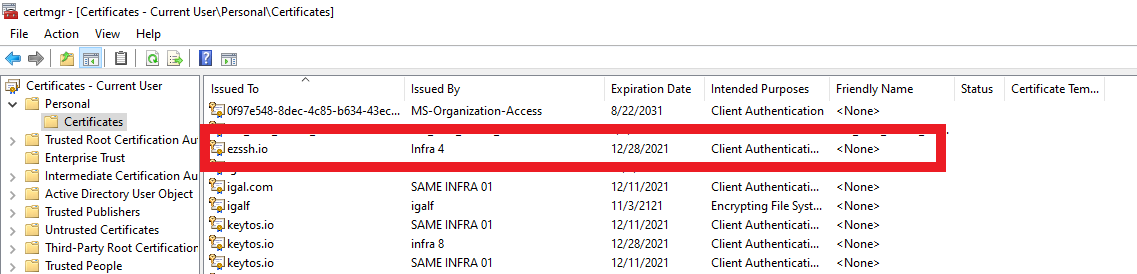
Your certificate should now be imported in your certificate store.

Merge Certificate with Certificate Request in Windows
If you [Created a Certificate Request Locally](/create-new-certificate/create_csrcert/ and now need to install the certificate in windows, follow these steps:
- Download your certificate.
- Search in the Windows search bar for “Manage user certificate”.
- Click on the application.
- Click on Personal.
- Click on Certificates.
- Right Click on any whitespace.
- Select All Tasks -> Import.
- Click “Next” on the fist page of the wizard.
- Click the “Browse…” button.
- Select the certificate you just downloaded.
- Click “Next”.
- Click “Next”.
- Click “Finish”.
- Your certificate should now be imported in your certificate store.
Getting The Certificate From The Azure Portal
- Navigate to https://portal.azure.com
- Navigate to the Azure Key Vault you selected to keep this certificate.
- Click on Certificates
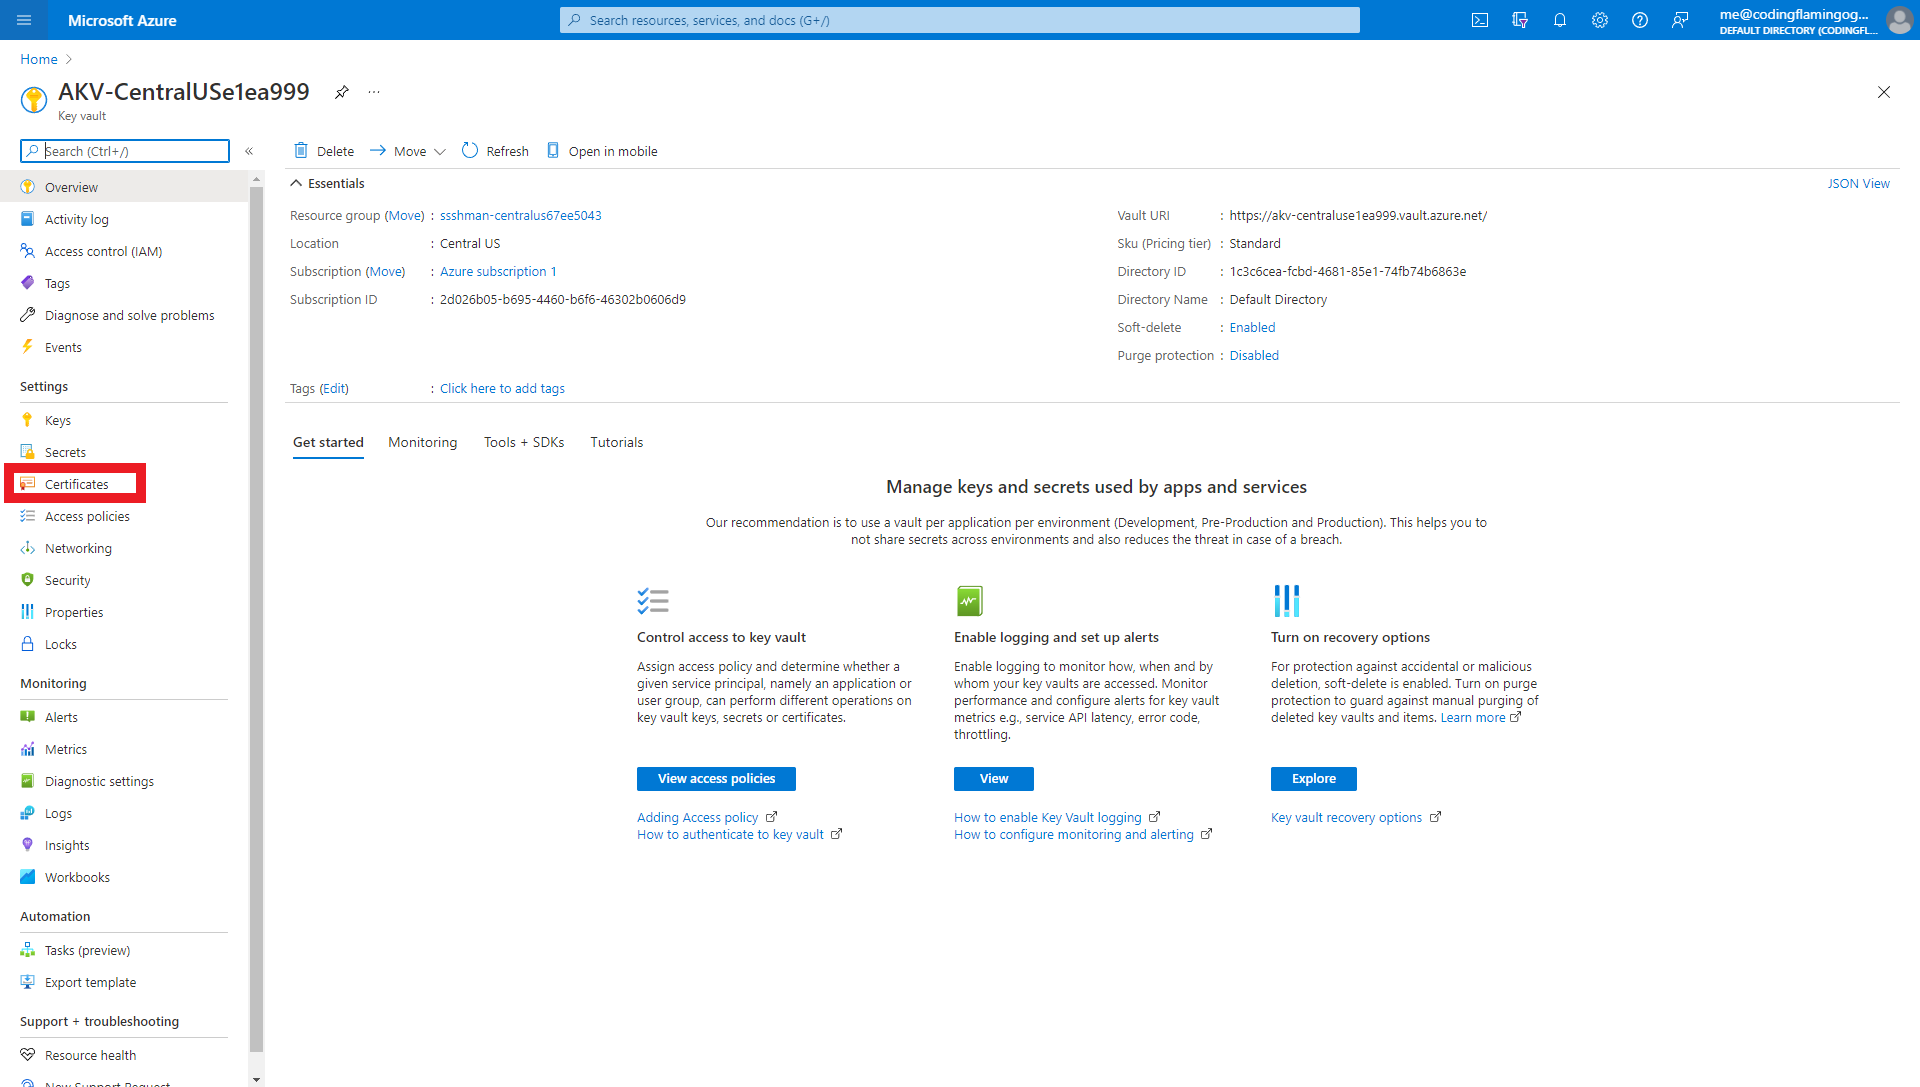
- You should see a certificate with the following name convention “CERTIFICATENAME"EZCA"RANDOMNUMBER” where CERTIFICATENAME is the subject name for your certificate and RANDOMNUMBER is a random number created by EZCA to avoid collisions in the Azure Key Vault.
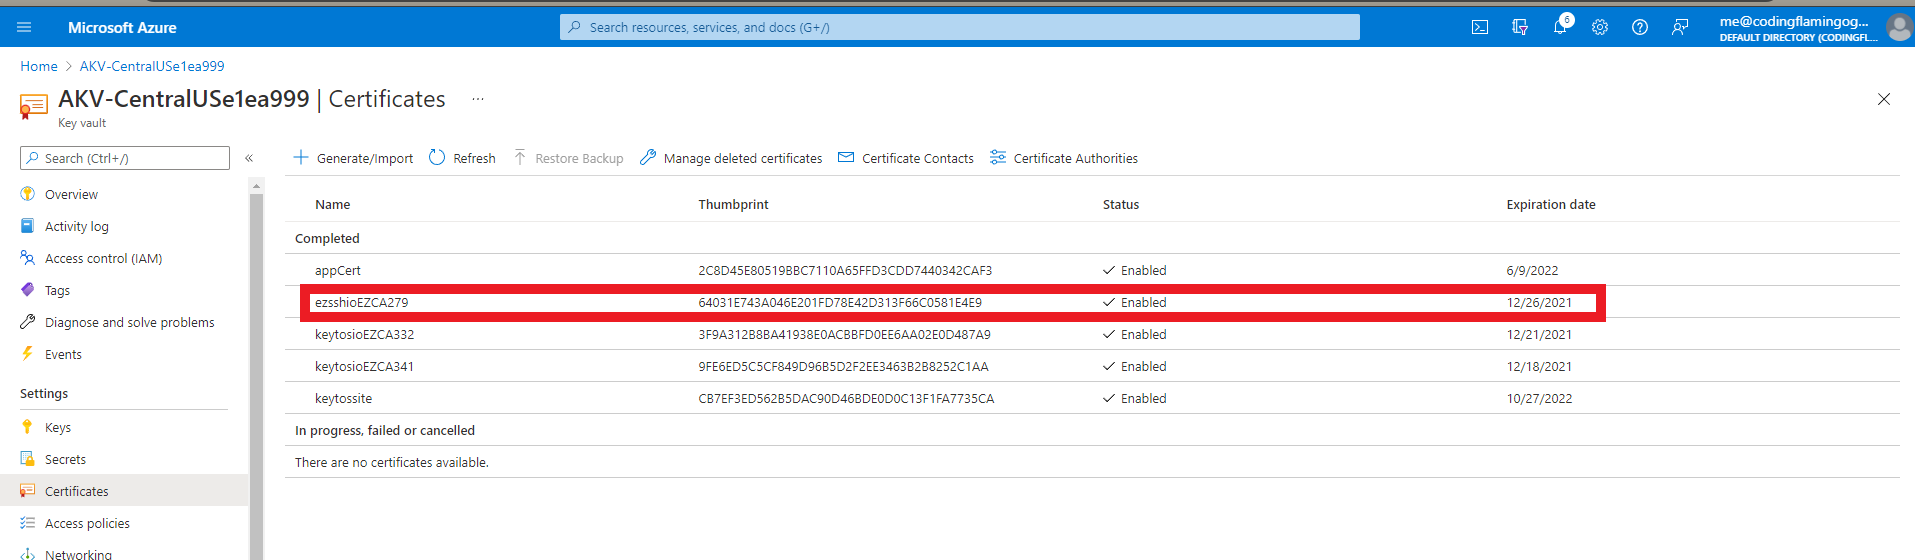
- Click on the certificate
- Click on the current version
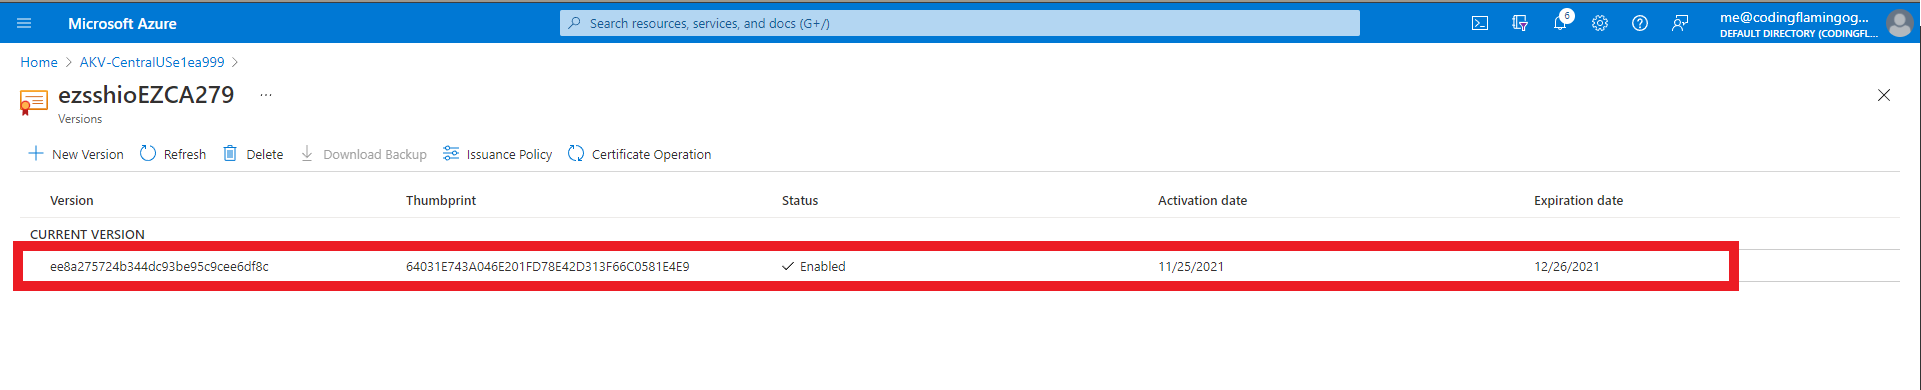
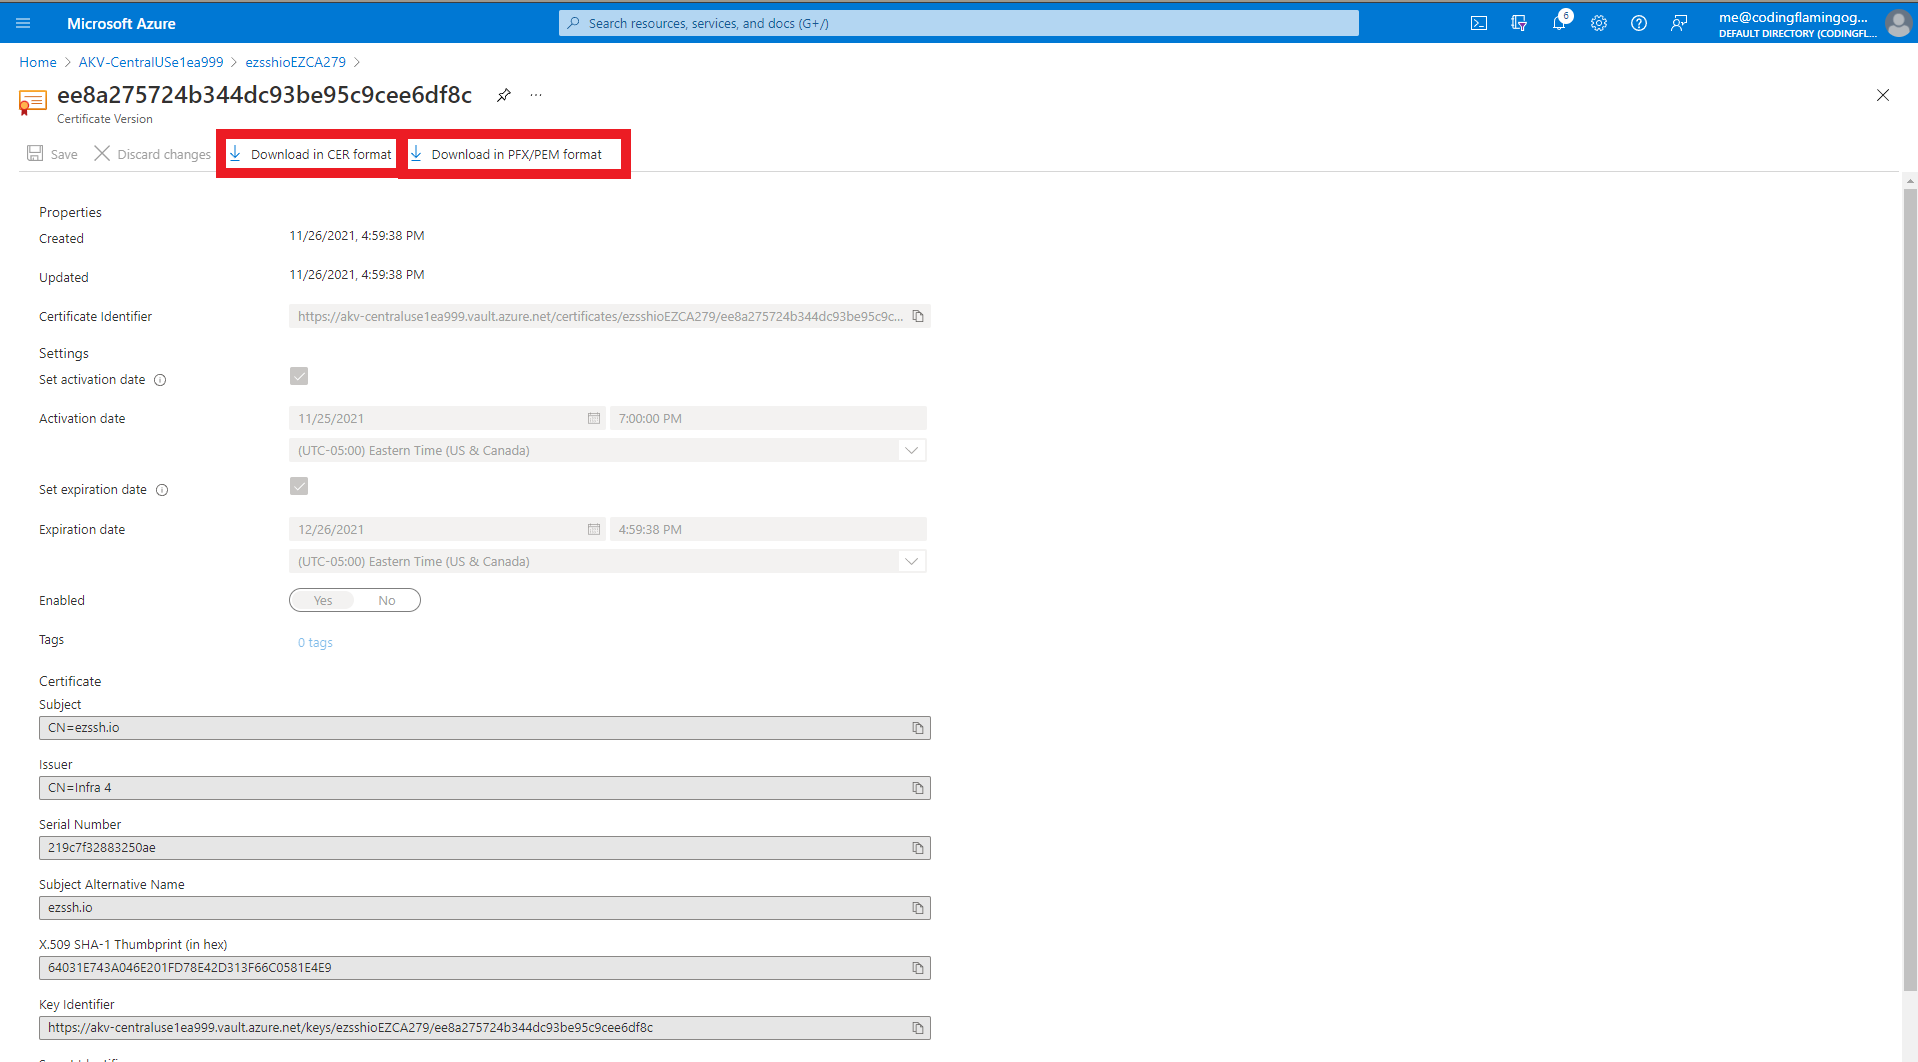
- This will open the certificate details page.
- From the certificate details page you can download the CER formatted certificate (No private key) or the PFX/PEM format that contains the private key.
- Once you have downloaded the certificate, you can use the “Merge Certificate with Certificate Request in Windows” section above to import your certificate.